LDS02
LDS02
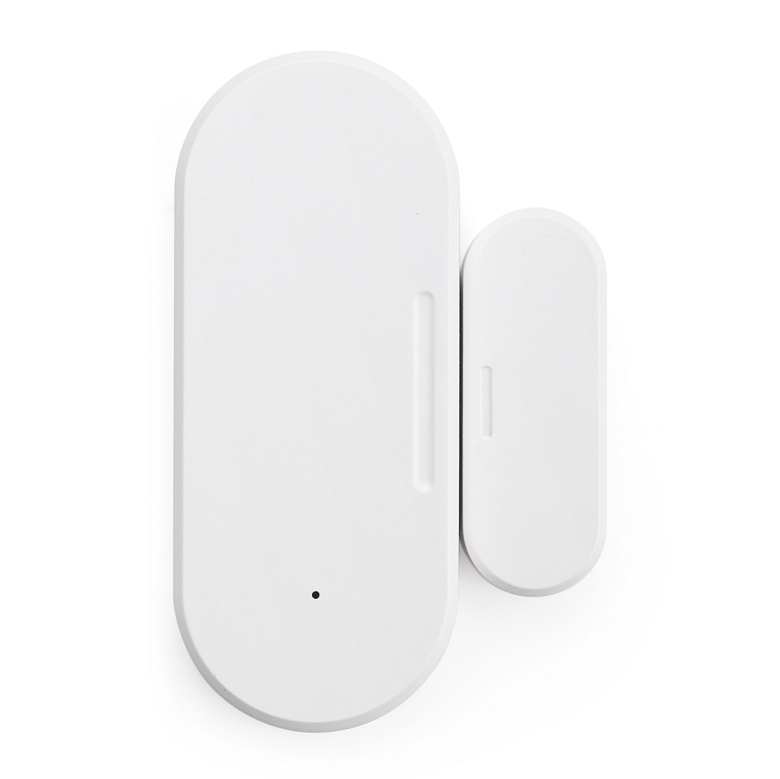
LDS02 - LoRaWAN Door Sensor
The Dragino LDS02 is a LoRaWAN Door Sensor. It detects the door open/close status and uplinks these statistics to an LNS server via a LoRaWAN Network. The LDS02 will send periodic data every day as well as for each door open/close action. It also counts the door open times and calculates the last door open duration. Users can also disable the uplink for each open/close event, instead, the device can count each open event and uplink periodically.
Resources
Specifications:
LoRaWAN device type:
- Class A end-device
Sensors:
- magnetometer
- open door alarm
Dimensions:
Device:
- width: 29.2 mm
- length: 69.2 mm
- height: 14.8 mm
Weight:
- 50 grams (excluding batteries)
Battery:
- type: 2x AAA (LR03)
- replaceable: true
Add Device to Console
To start, you'll need to add your device to the Helium Console. In the package is a sticker containing the Device EUI (also QR code), App EUI, and App Key. (The APSSKEY and NETSKEY are unused.) Follow our quick start guide on how to add a new device to Console.
Open the Debug panel on the Device view to observe incoming messages for the next step.
Install Batteries
Open the LDS02 enclosure and add 2x AAA (LR03) battery cells for power. For the best wide-range temperature tolerance and longevity, consider Lithium primary cells, such as Energizer Ultimate Lithium L92SBP.
On insertion, the LED should light quickly Red, Blue, Green, then off. You should immediately see Join and Uplink messages on the Helium Console Debug panel. If you see no messages, or no LED flashing, double-check the device IDs, then remove and reinstall one battery to start initialization again.
myDevices Cayenne
This device is supported directly by myDevices Cayenne via the included Integration in Helium's Console.
To add the LDS02 to Cayenne, you do not need to set up a Decode script at all. Cayenne takes the encoded Device payload directly and parses the events from it.
Be careful to select Helium when adding the LDS02 to Cayenne. As described here, select
- "Add new..."
- "Device/Widget"
- "LoRa"
- "Helium"
- select
Dragino LDS02 LoRaWAN Door Sensor - Enter the Device EUI and other information.
On the Helium Console, select Flow and directly connect the LHT65 Device to the Cayenne
Integration with a connecting flow line. Do not use a Decoder.
Cayenne will show:
- RSSI (dBm)
- SNR (dB)
- Battery Voltage (v)
- Battery (%)
- Door state (0/1)
- Door ("Dorr" sic) Open Times
- Last Door Open Duration (in minutes!)
- Alarm state (0/1)
Decode Device Payload
To decompose the packed 10-byte data payload from the device into individual values, you may provide a decode Function as explained in our short primer. The manufacturer of this device, Dragino, is using their own encoding scheme to define which bytes hold which piece of data. Below is a table taken from the manual showing the size and location of each piece of data.

If you would like to decode the device payload or to view it in Console or send to your own application, this section will show you how. We'll be using a Console Function Decoder to unpack the device payload into a human-readable form.
Create Function Decoder
Create a new custom Function decoder, by selecting Functions, then (+). Name the function
(perhaps "LDS02"), type Decoder and Custom Script. Paste the script below, provided by Dragino:
function Decoder(bytes, port) {
  // Decode an uplink message from a buffer
  // (array) of bytes to an object of fields.
  var value = ((bytes[0] << 8) | bytes[1]) & 0x3fff
  var bat = value / 1000 //Battery,units:V

  var door_open_status = bytes[0] & 0x80 ? 1 : 0 //1:open,0:close
  var water_leak_status = bytes[0] & 0x40 ? 1 : 0

  var mod = bytes[2]
  var alarm = bytes[9] & 0x01

  if (mod == 1) {
    var open_times = (bytes[3] << 16) | (bytes[4] << 8) | bytes[5]
    var open_duration = (bytes[6] << 16) | (bytes[7] << 8) | bytes[8] //units:min
    if (bytes.length == 10 && 0x07 > bytes[0] < 0x0f)
      return {
        BAT_V: bat,
        MOD: mod,
        DOOR_OPEN_STATUS: door_open_status,
        DOOR_OPEN_TIMES: open_times,
        LAST_DOOR_OPEN_DURATION: open_duration,
        ALARM: alarm,
      }
  } else if (mod == 2) {
    var leak_times = (bytes[3] << 16) | (bytes[4] << 8) | bytes[5]
    var leak_duration = (bytes[6] << 16) | (bytes[7] << 8) | bytes[8] //units:min
    if (bytes.length == 10 && 0x07 > bytes[0] < 0x0f)
      return {
        BAT_V: bat,
        MOD: mod,
        WATER_LEAK_STATUS: water_leak_status,
        WATER_LEAK_TIMES: leak_times,
        LAST_WATER_LEAK_DURATION: leak_duration,
      }
  } else if (mod == 3)
    if (bytes.length == 10 && 0x07 > bytes[0] < 0x0f) {
      return {
        BAT_V: bat,
        MOD: mod,
        DOOR_OPEN_STATUS: door_open_status,
        WATER_LEAK_STATUS: water_leak_status,
        ALARM: alarm,
      }
    } else {
      return {
        BAT_V: bat,
        MOD: mod,
      }
    }
}
Create a Flow
To associate the Device with the Decoder Function, go to the Flow panel.
Drag the Device instance and the Function into the field. Connect them with a line from the Device to the Function
Viewing Decoded Device Data
Once you have attached the Decoder we can now open the Debug window to view the decoded device payload in the received uplink. To open the Debug window just click on the bug icon on the right side of the device page. Once you have the Debug window open you can wait for the next packet to transmit or force a manual transmission by triggering the sensor with the magnet. You will see the LED flash green while it sends a packet to the network.
Google Sheets log
You can also use the Google Sheet integration to map the decoded data to a Form for recording in sheets. Create a Google Form with Short Answer questions for
battery-voltsdoor-opendoor-open-countlast-open-durationalarm
Map it to the Google Sheets Integration and provide this decoder as part of the Sheets setup:
function Decoder(bytes, port) {
  var value = ((bytes[0] << 8) | bytes[1]) & 0x3fff
  var bat = value / 1000 // Battery, units:V
  var door_open_status = bytes[0] & 0x80 ? 1 : 0 // 1:open, 0:close
  var alarm = bytes[9] & 0x01
  var open_times = (bytes[3] << 16) | (bytes[4] << 8) | bytes[5]
  var open_duration = (bytes[6] << 16) | (bytes[7] << 8) | bytes[8] //units:min
  if (bytes.length == 10 && 0x07 > bytes[0] < 0x0f) {
    var decodedPayload = {
      'battery-volts': bat,
      'door-open': door_open_status,
      'door-open-count': open_times,
      'last-open-duration': open_duration,
      alarm: alarm,
    }
    return Serialize(decodedPayload)
  }
}

// Generated: do not touch unless your Google Form fields have changed
var field_mapping = {
  'battery-volts': 'entry.702320693',
  'door-open': 'entry.1934071370',
  'door-open-count': 'entry.844671899',
  'last-open-duration': 'entry.1464236526',
  alarm: 'entry.2127237487',
}
// End Generated

function Serialize(payload) {
  var str = []
  for (var key in payload) {
    if (payload.hasOwnProperty(key)) {
      var name = encodeURIComponent(field_mapping[key])
      var value = encodeURIComponent(payload[key])
      str.push(name + '=' + value)
    }
  }
  return str.join('&')
}
The Sheets integration will provide its own Decoder Function block. Create a new flow from the LDS02 Device to this Decoder, to the Sheets Integration block.
Notes
Note that the Door Open Duration is a count of full minutes (rounded down) that the door was last open. It does not show the Door Closed time but repeats the Door Open time for the subsequent Open message.
If door open/close events happen faster than LoRa can send messages (about 3 seconds each), then the door open/close Count will still be correct, and you will see nonsequential values in the Count for missed door events. The last sent message appears to correctly reflect the state of the door, regardless of previously missed messages.
A heartbeat message is automatically sent every 24 hours (+ 5 seconds) when idle, restating the door condition.