Aruba Central Conversion Guide
Prerequisites
Before starting, confirm the following:
- Aruba system is running AOS 8.10.x.x or later
- Network uses an on-prem Aruba Mobility Controller
- APs are adopted and serving traffic
- Existing SSIDs are functional
- Aruba infrastructure has outbound internet access to Helium AAA endpoints
High-Level Steps
- Upload Helium RadSec Certificates
- Configure SSID for RadSec
- Configure Passpoint Settings
- Connect and Validate
This guide applies to "Classic Central".
If your Aruba dashboard shows a "Classic Central" toggle, enable it.
Upload Helium RadSec Certificates
Helium requires RADIUS traffic to be secured using RadSec (RADIUS over TLS).
Download the following from the Helium onboarding process (either from the WiFi Conversion process or sent to you by your Helium Plus contact):
- RadSec Server CA (ca.pem)
- RadSec Client Certificate (combine cert.pem and key.pem into a single PEM file; for example:
cat cert.pem key.pem > client_combined.pem)
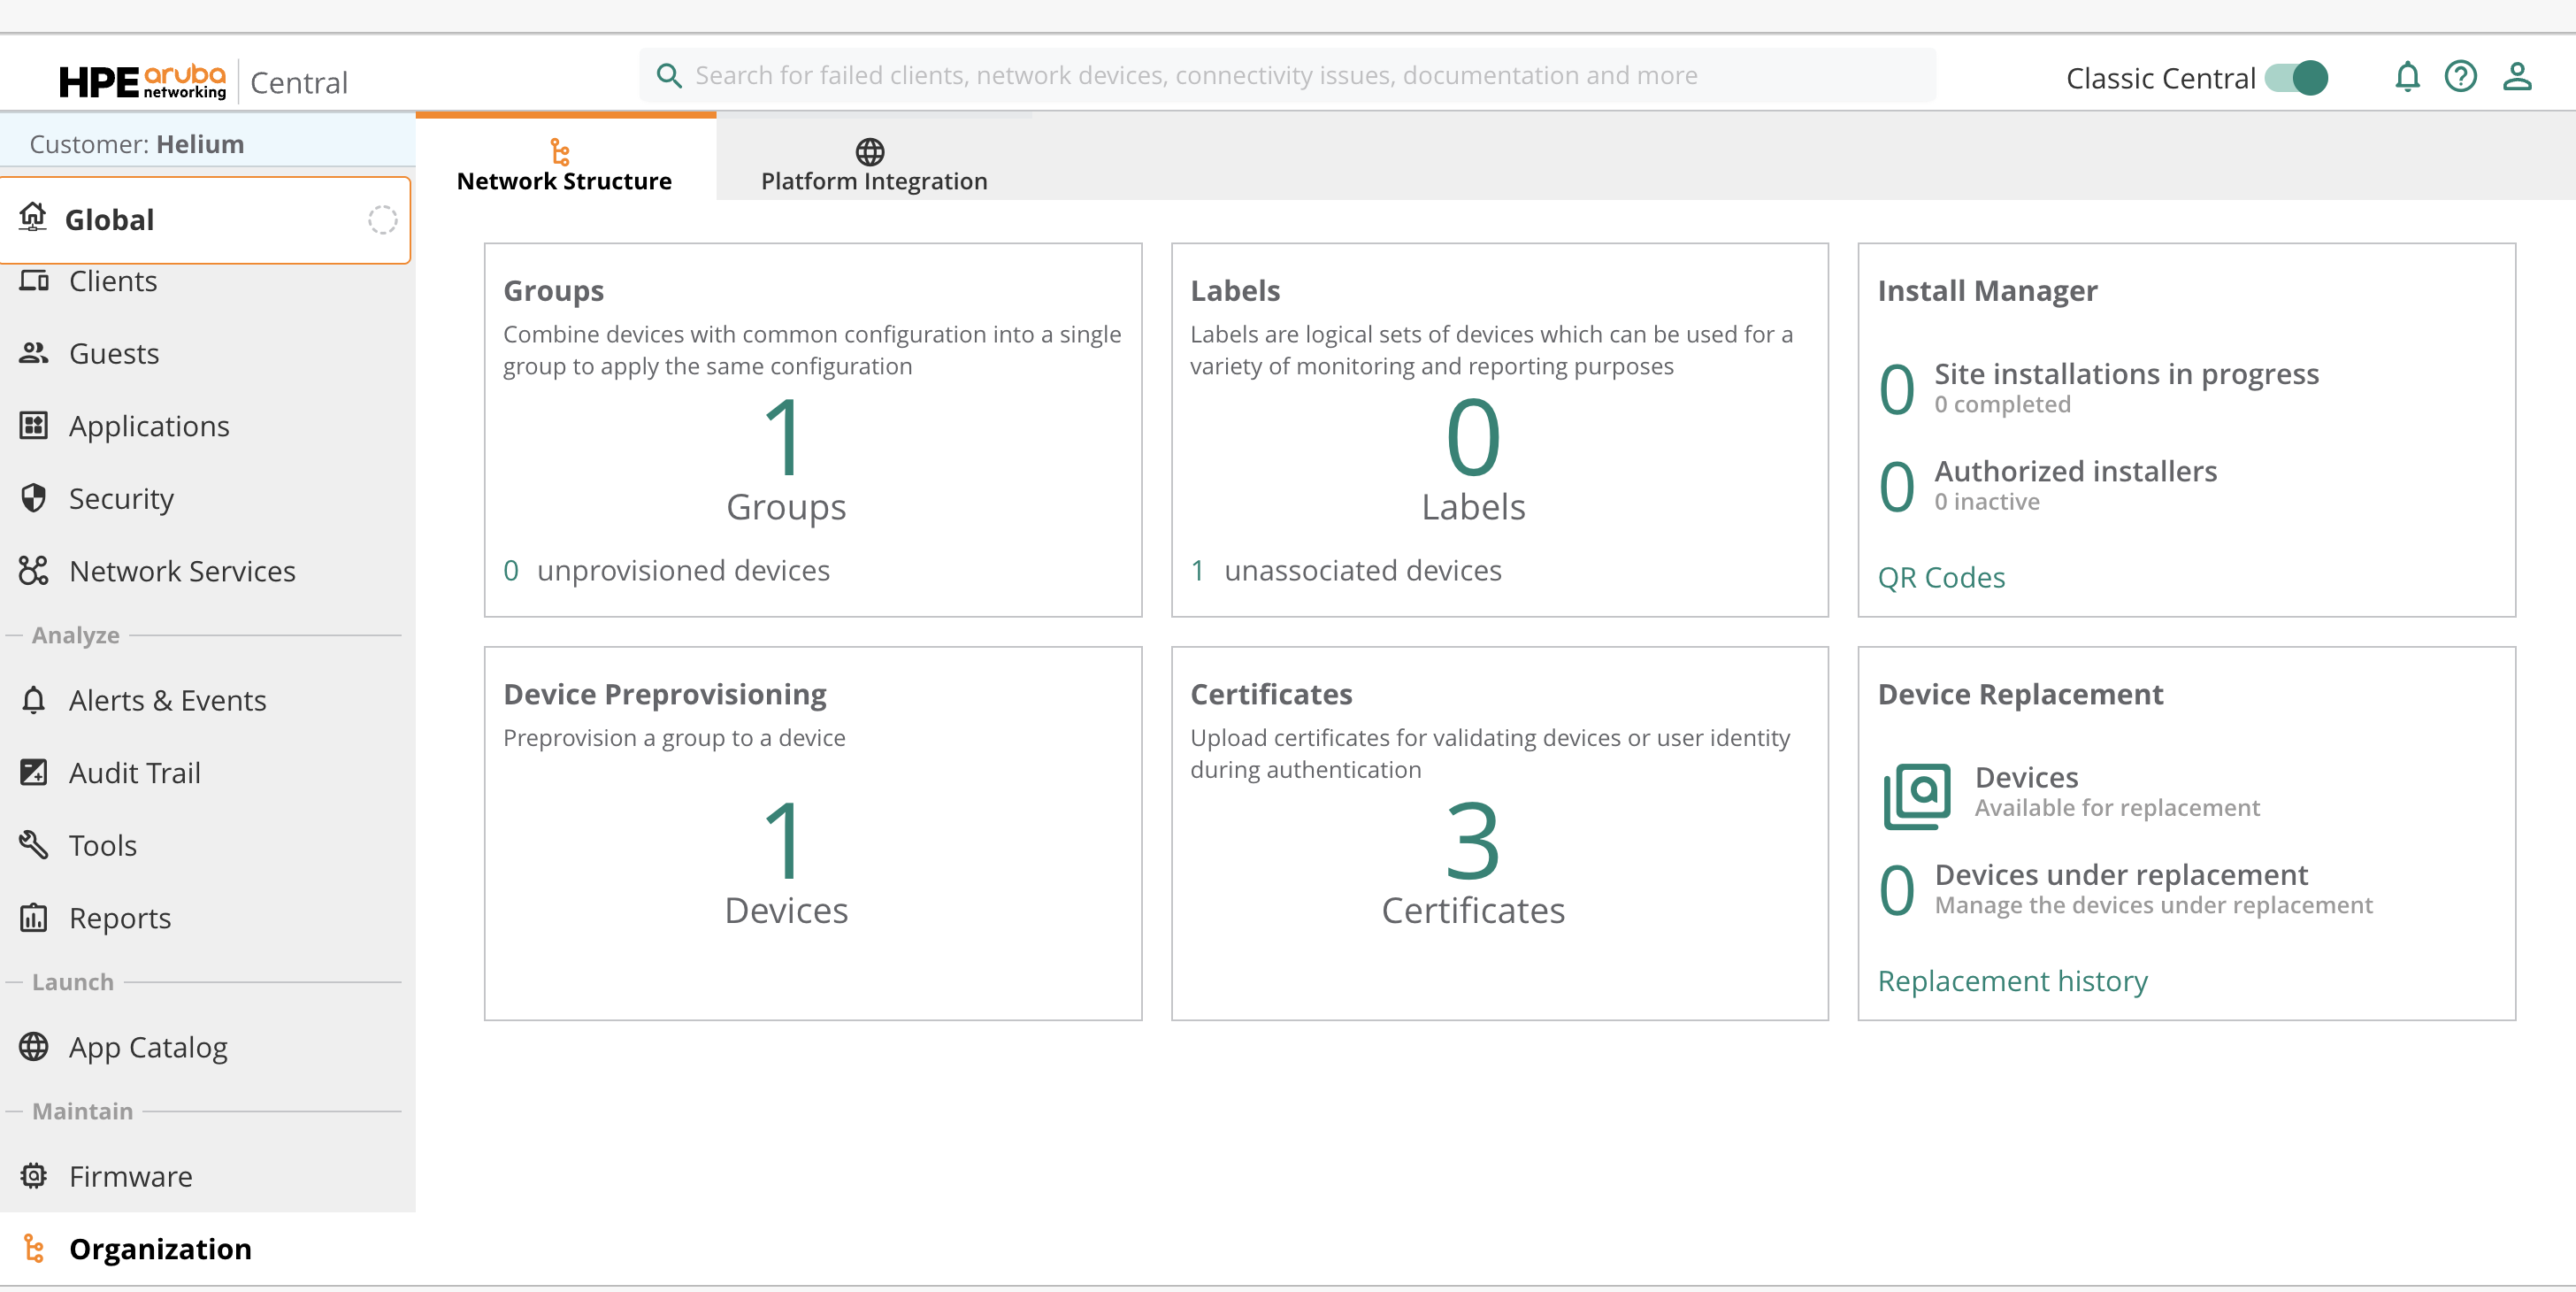
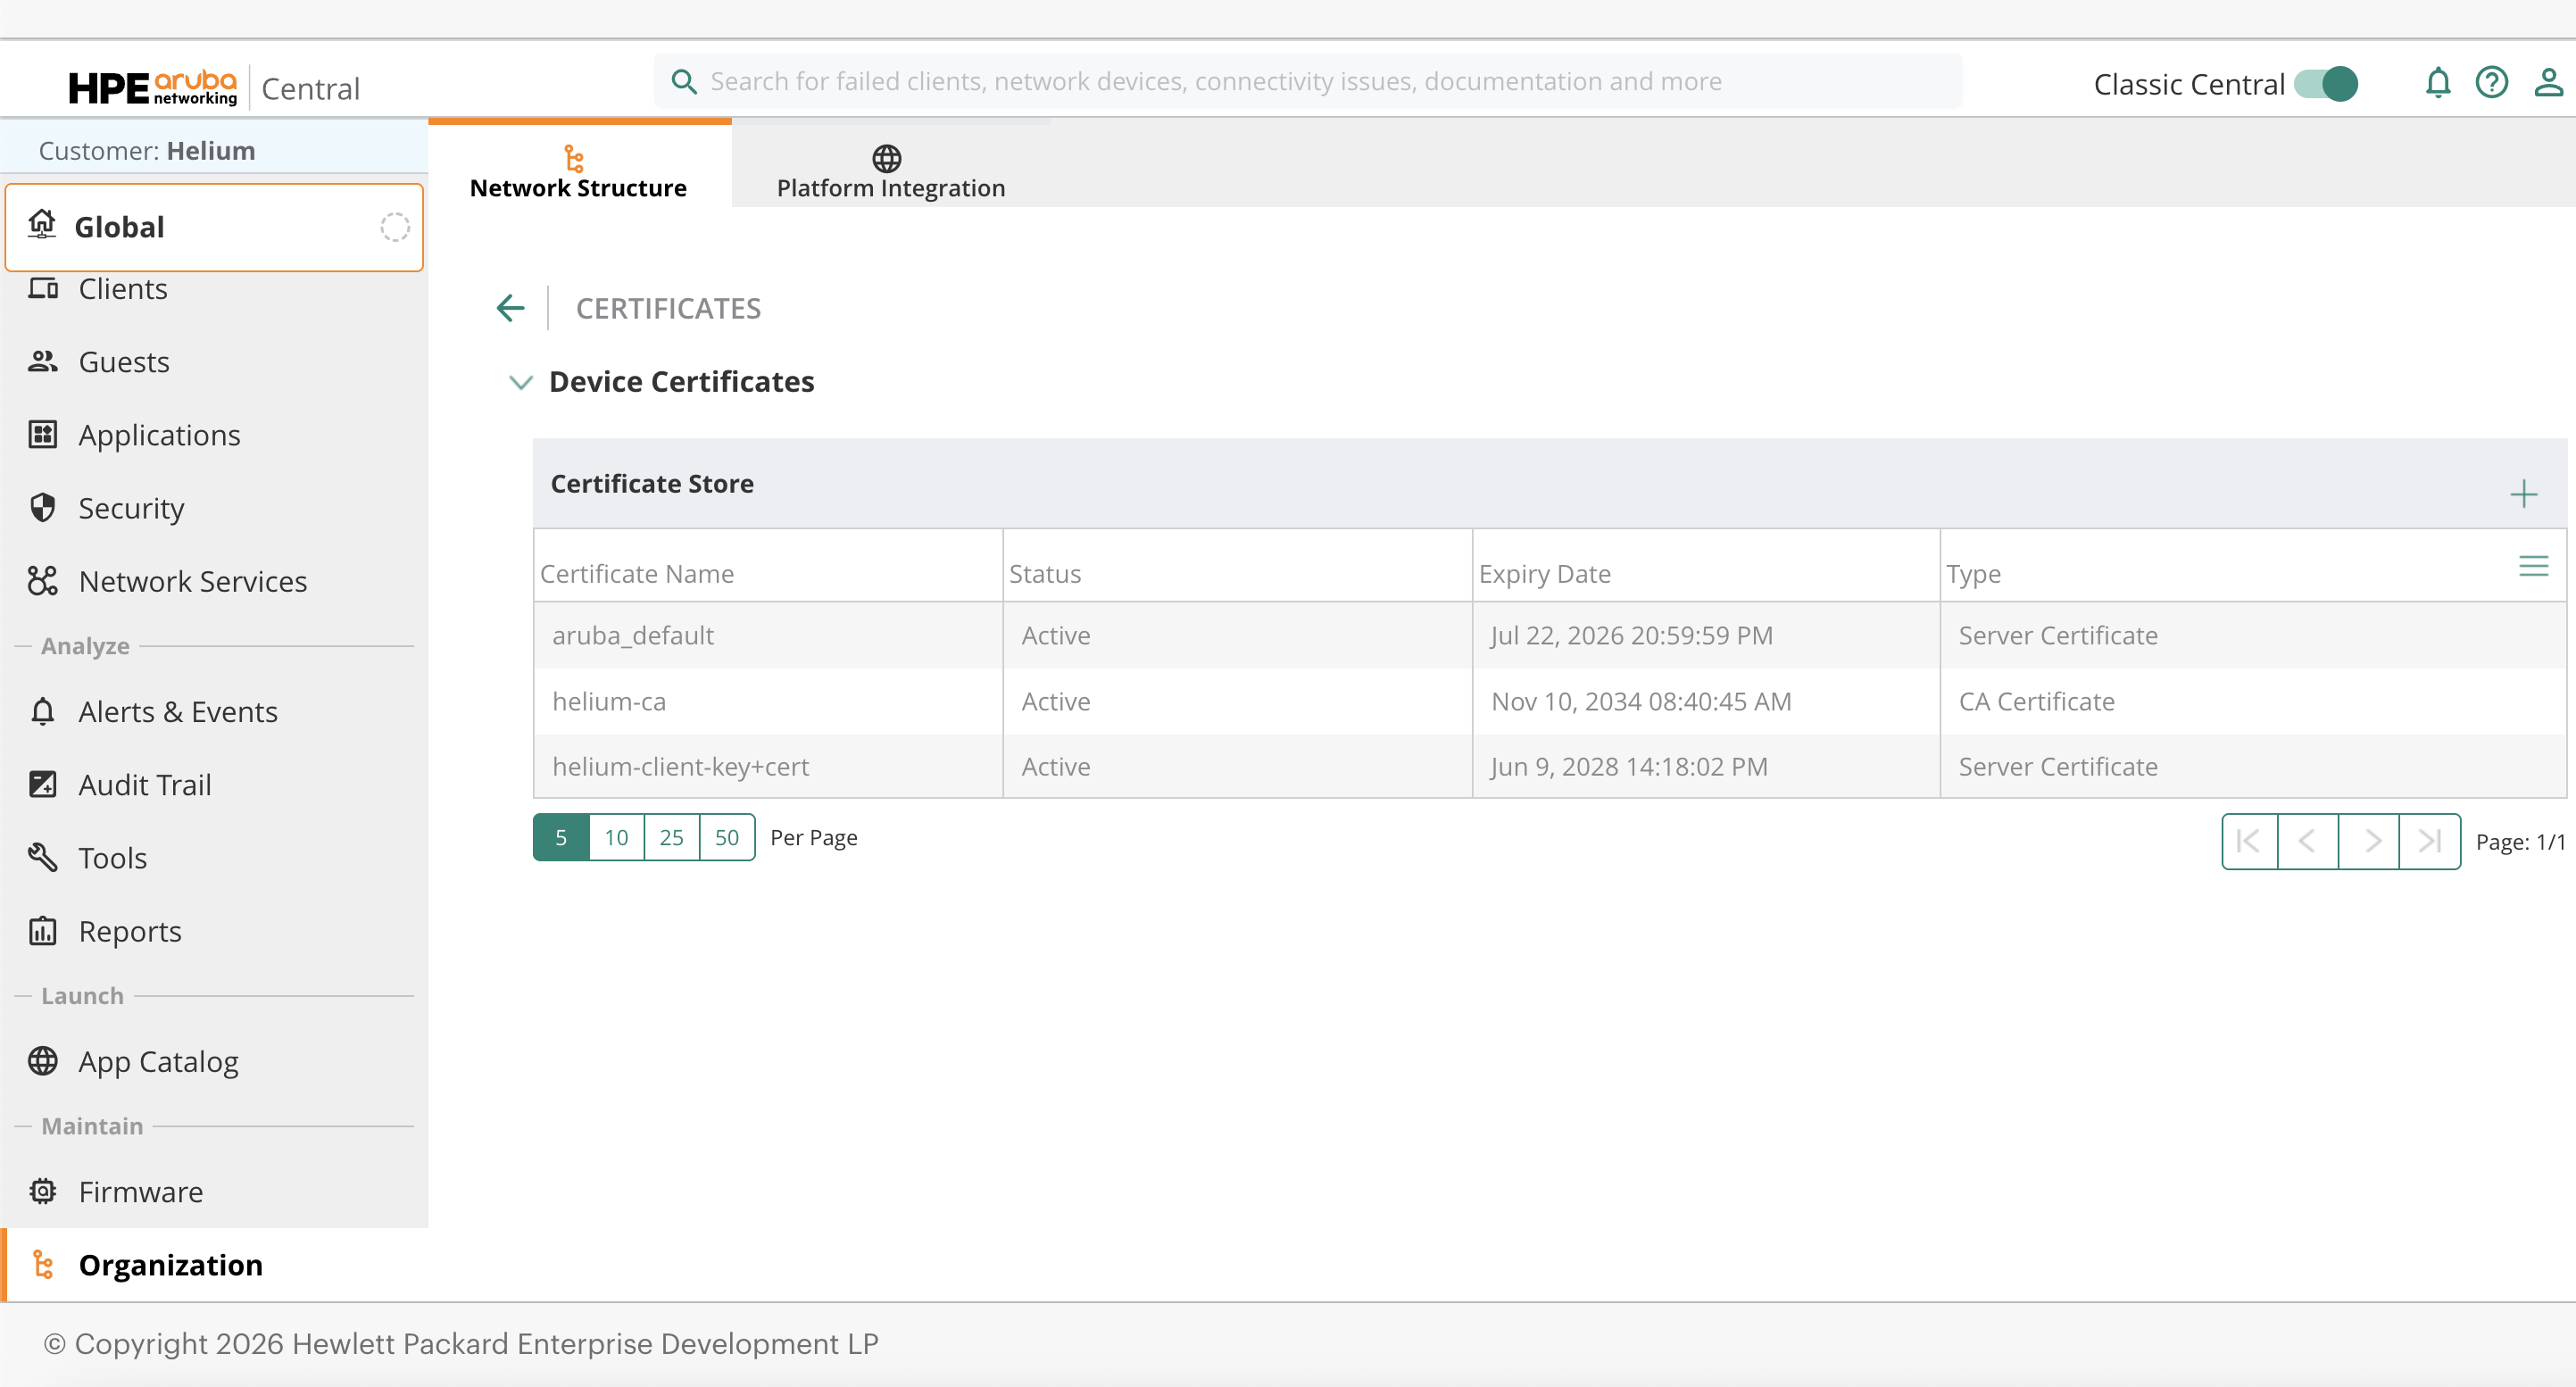
Navigate to:
Global → Organization → Network Structure → Certificates
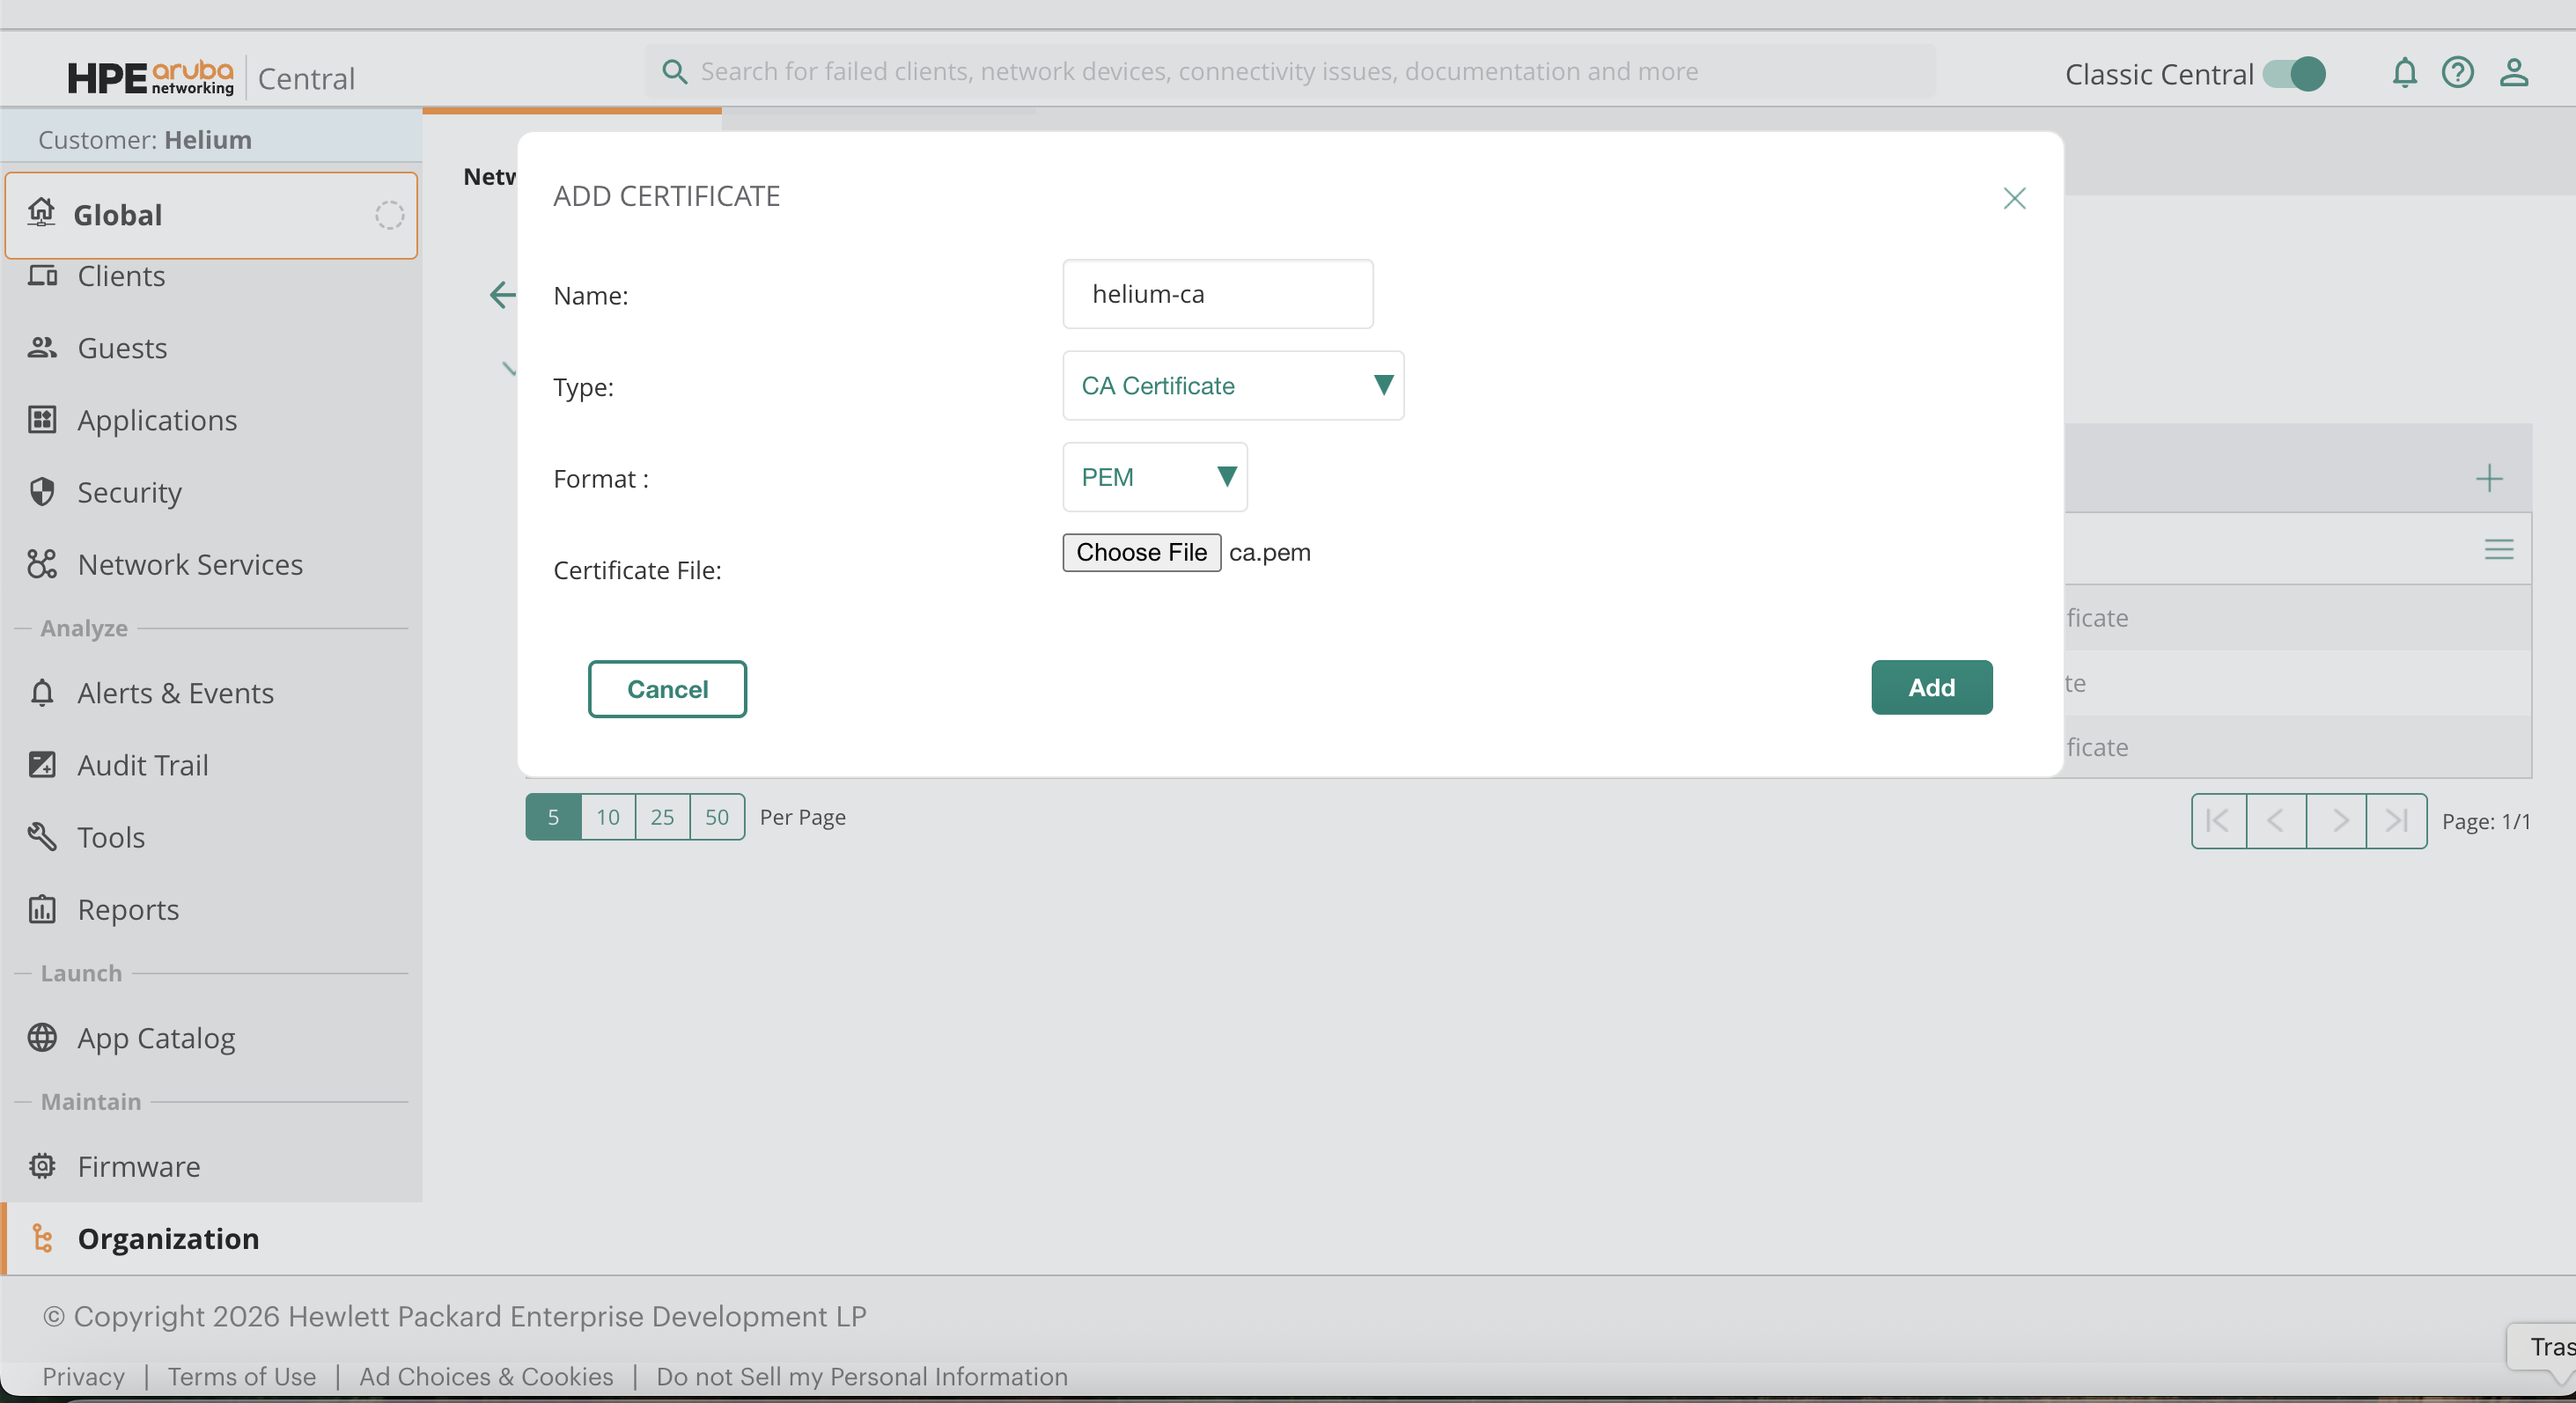
Upload Server CA
Navigate to 'Organization' then 'Certificates'
Create a new certificate with the following values:
- Name:
Helium Server CA(example) - Type: CA Certificate
- Format: PEM
- File: RadSec Server CA
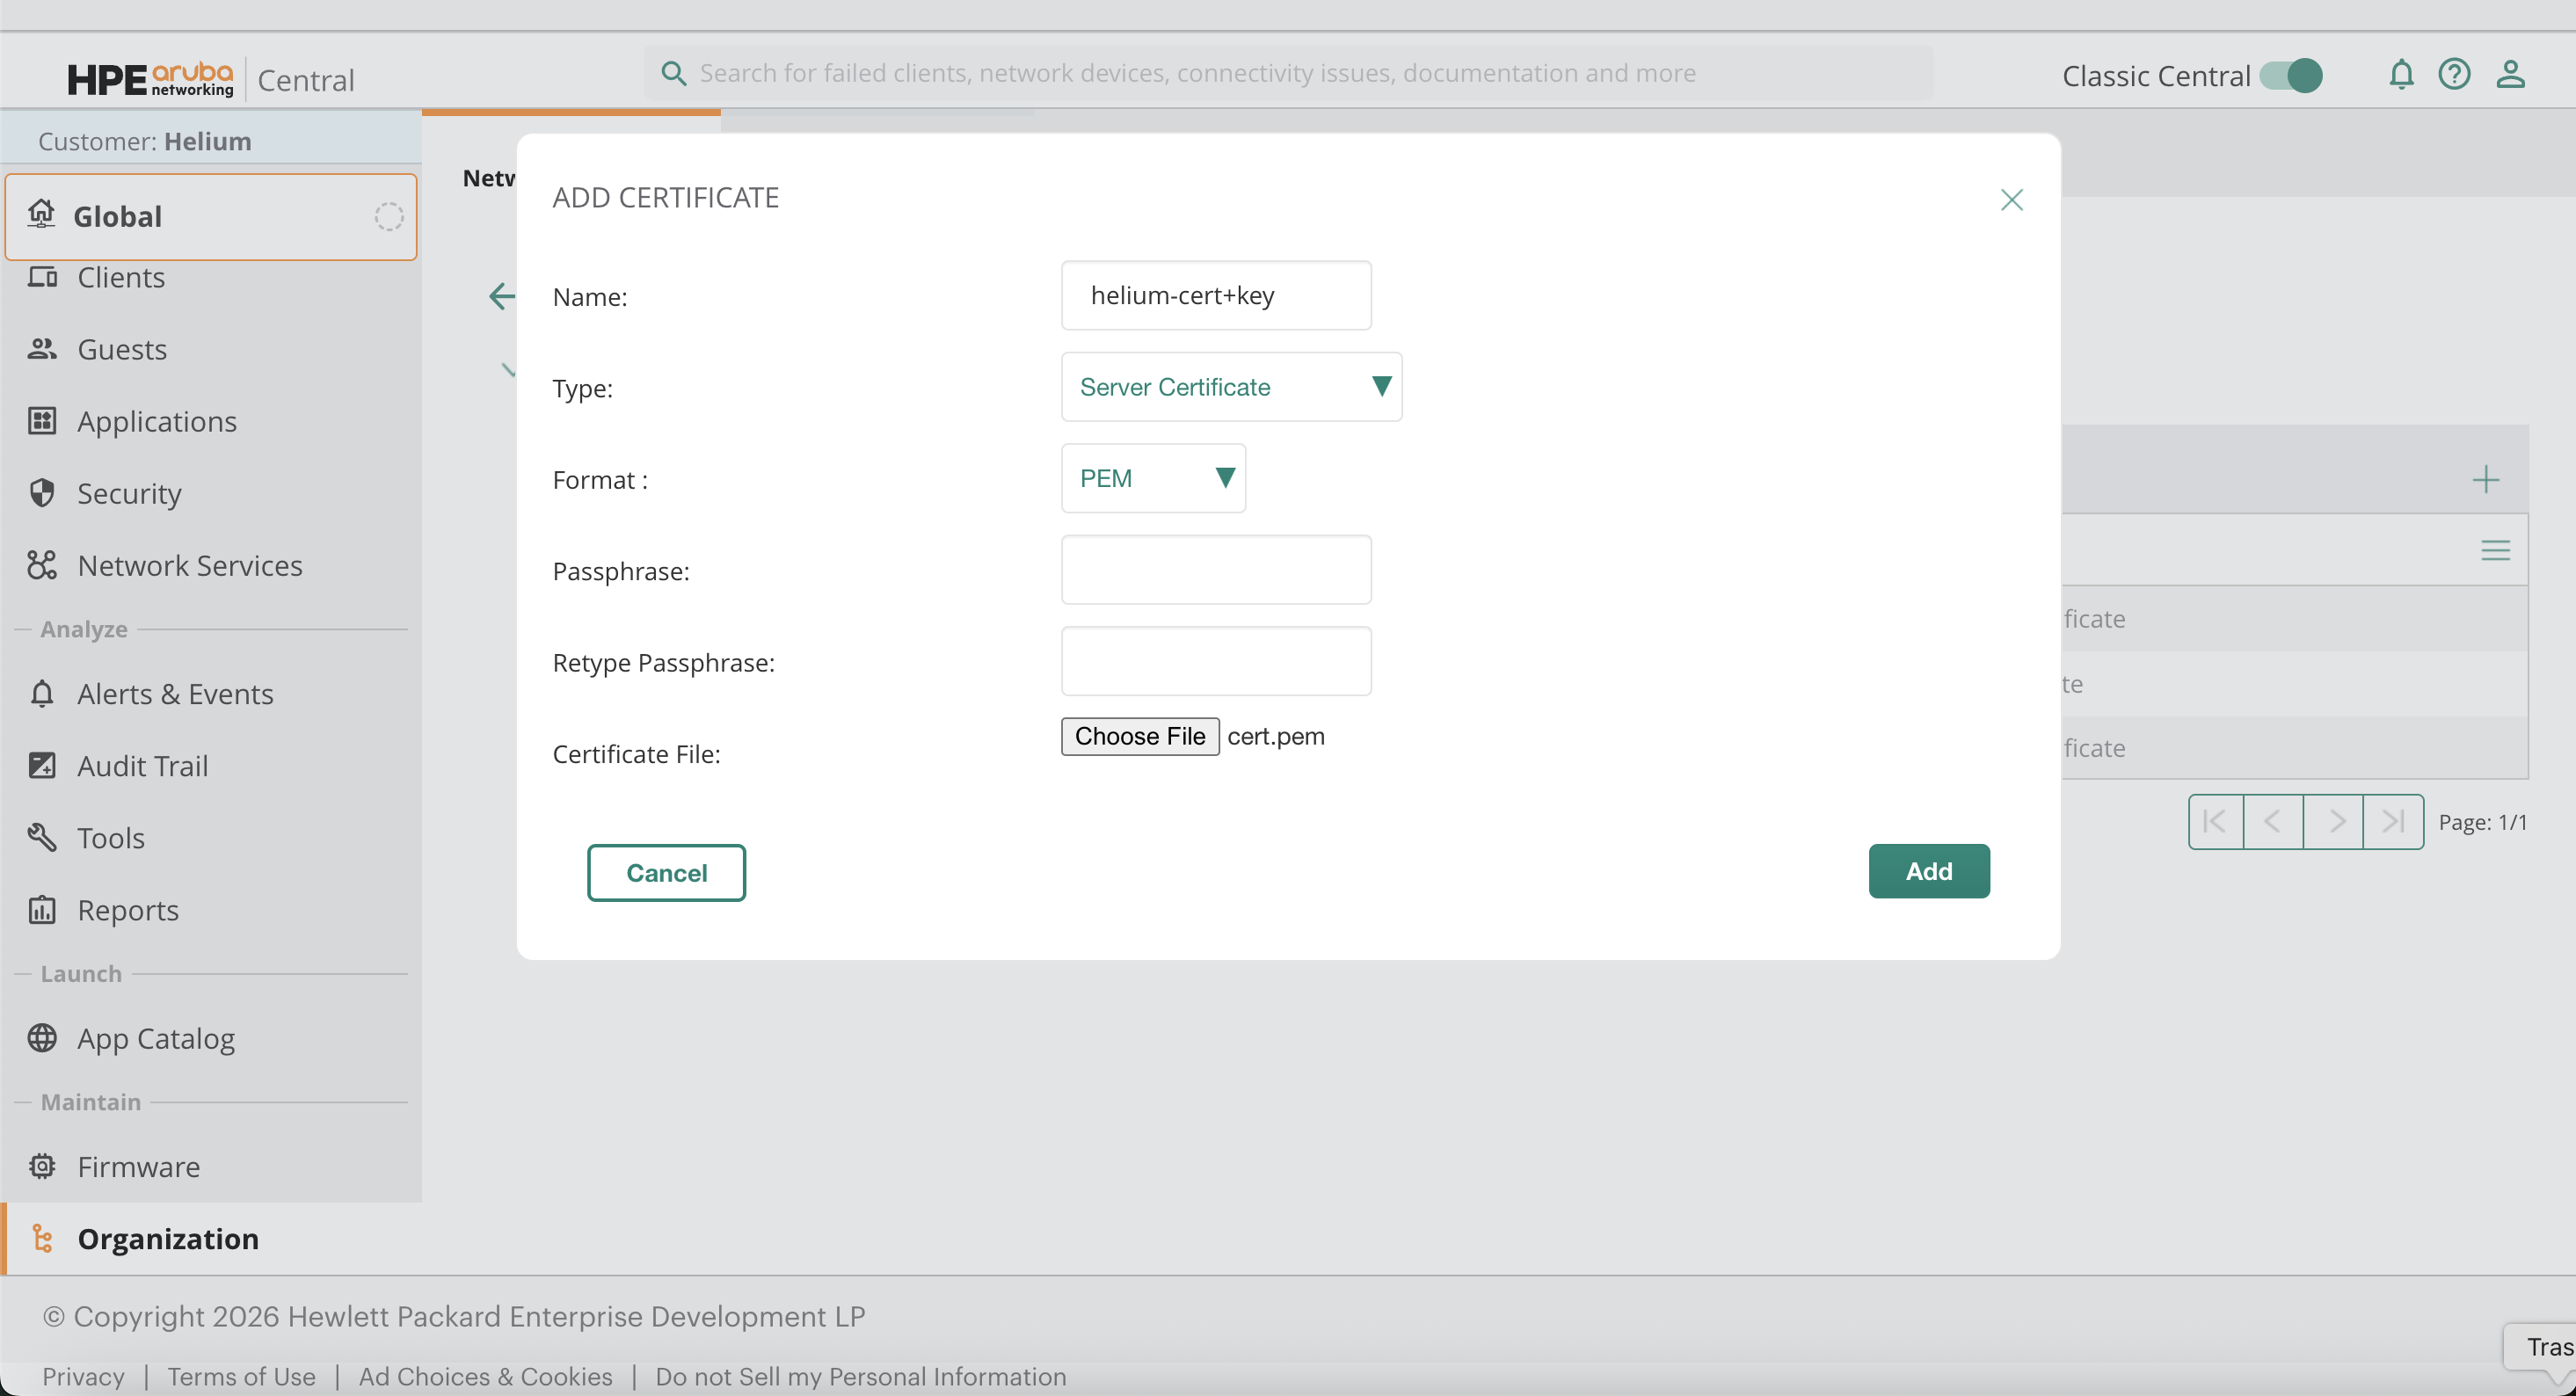
Upload Client Certificate
Create another certificate:
- Name:
Helium Client Certificate(example) - Type: Server Certificate
- Format: PEM
- File: Combined cert and key
Configure SSID for RadSec
Navigate to:
Devices → WLANs
Note: Ensure you've selected your AP first or the WLAN options won't show.
Click Add SSID and enter the SSID name.
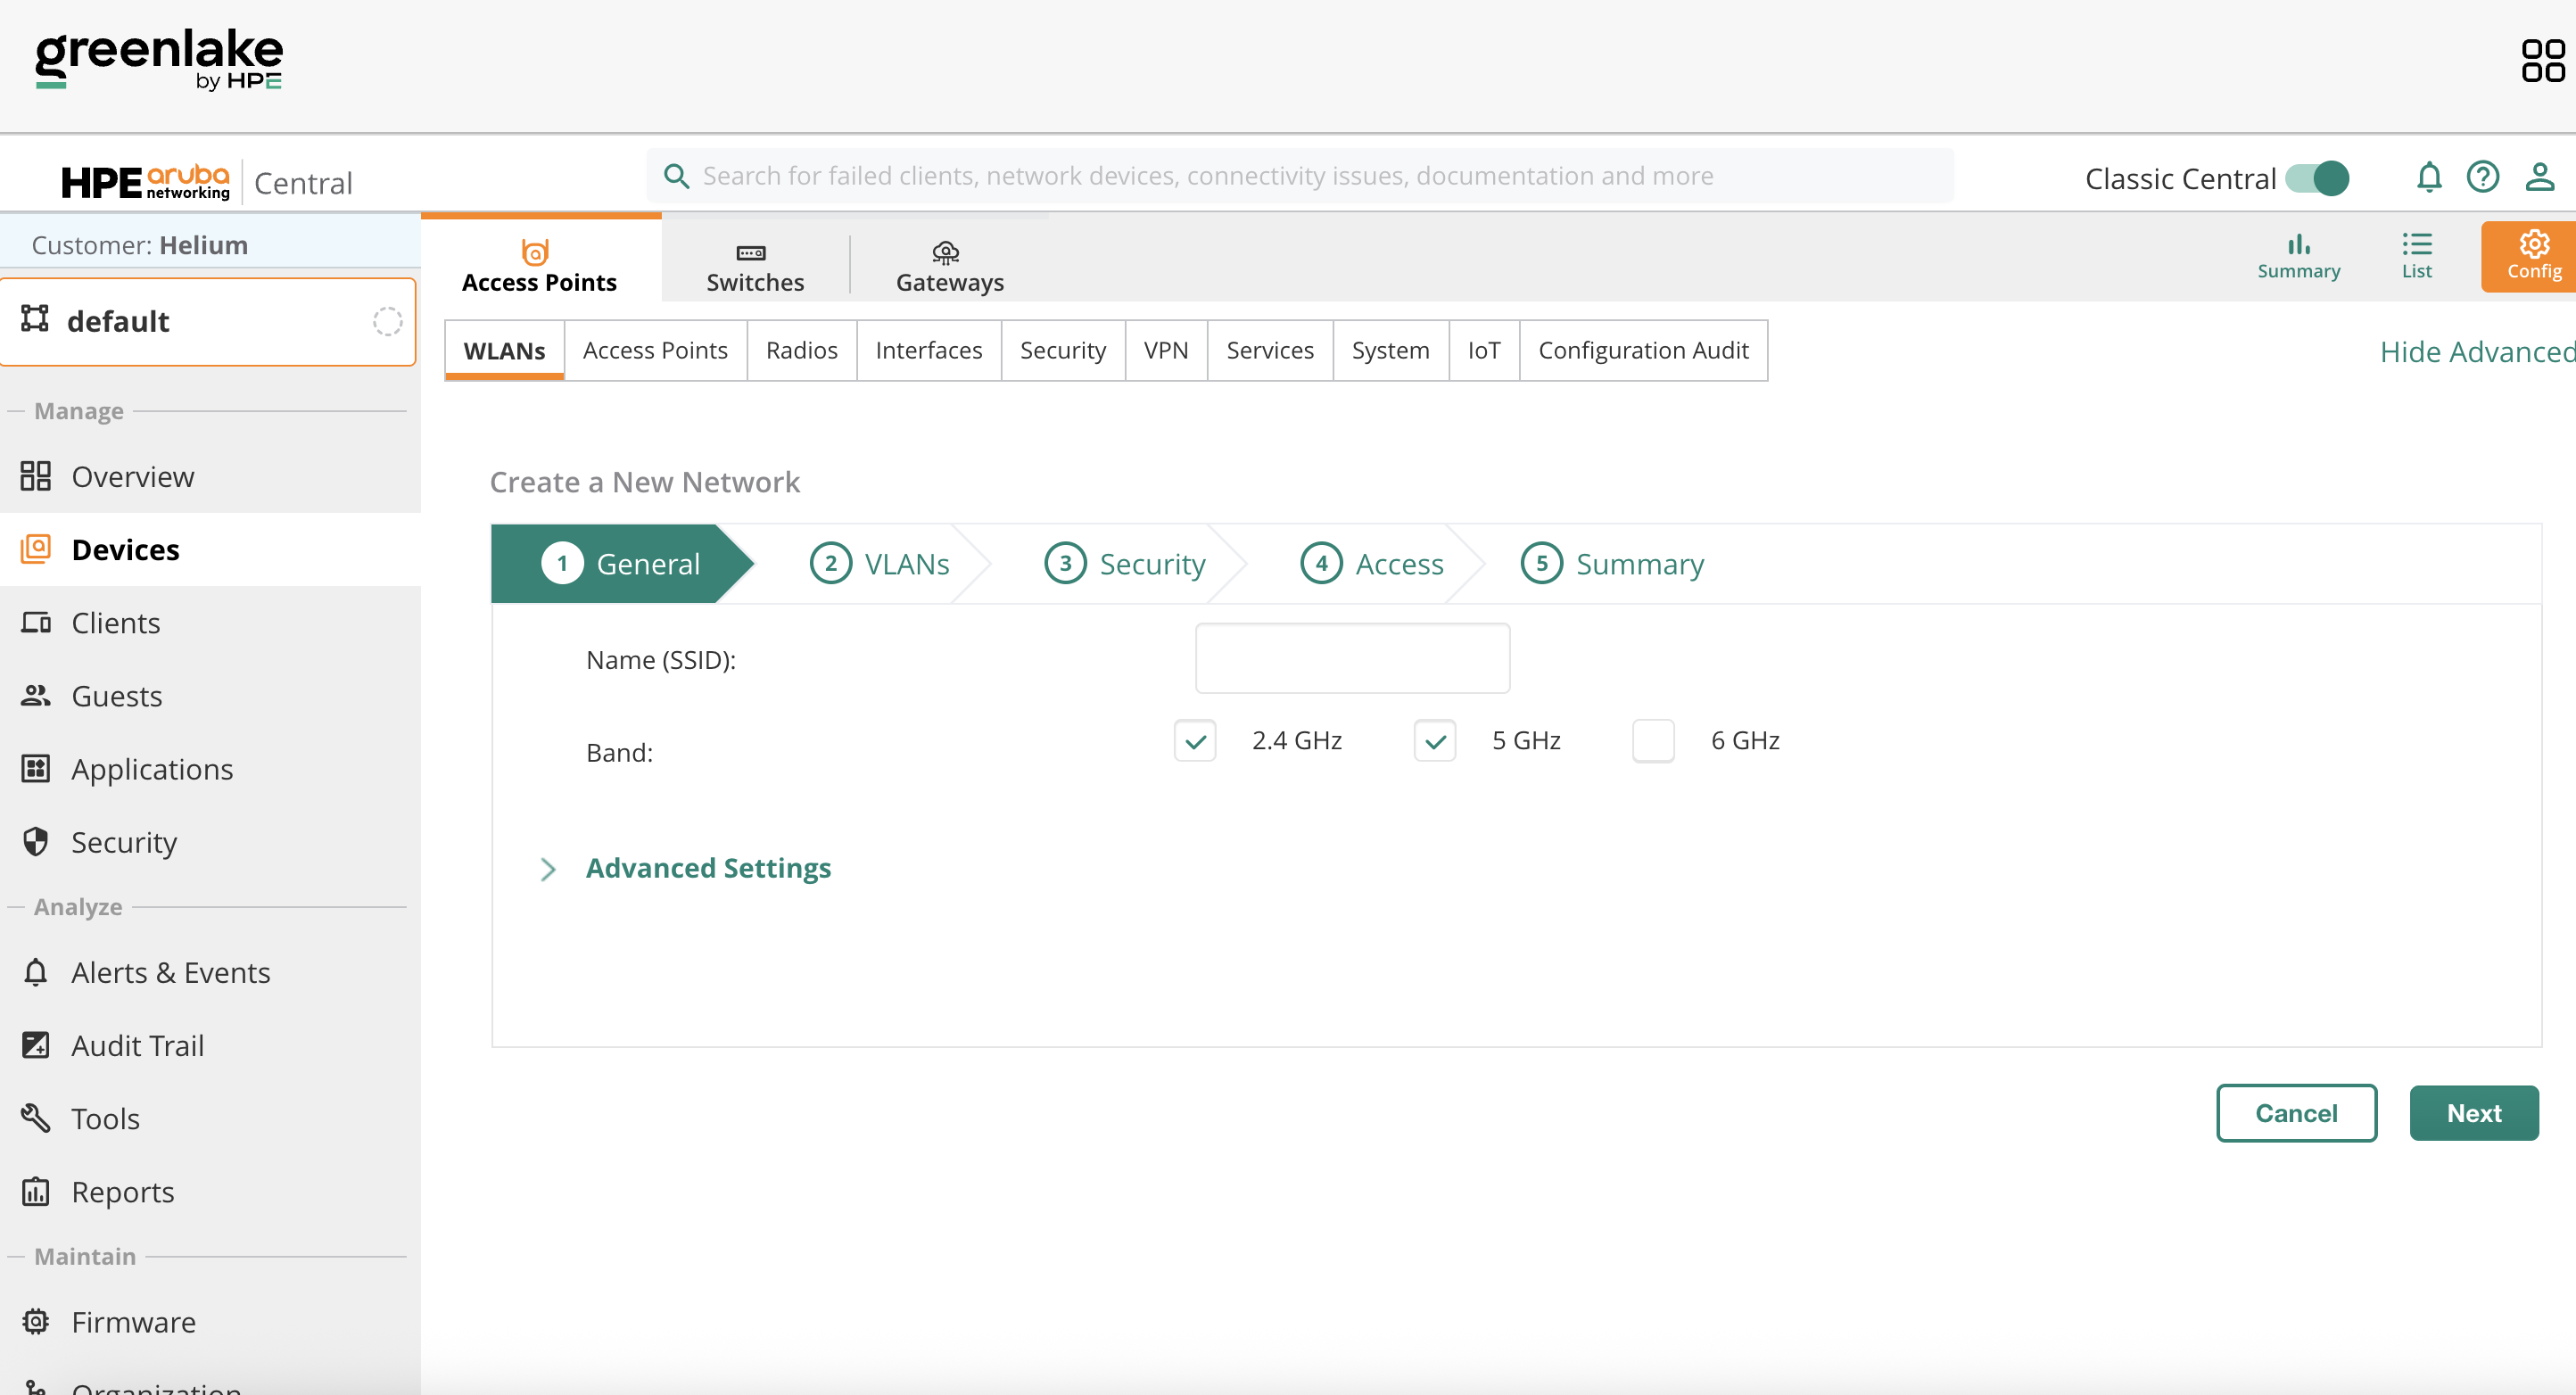
SSID General Configuration
Set the following values:
- Under 'General', set the SSID name to 'Helium'.
Click Next.
- Configure VLAN and IP assignment as required for your deployment
Click Next.
- Under Security, set Security Level to Enterprise
- Set Key Management to WPA3-Enterprise
Click Add next to Primary Server and create a new authentication server.
Create RadSec Authentication Server
Configure the authentication server with the following values:
- Server Name:
Helium-RadSec - Server Type: RADIUS
- Enable RadSec: enabled
- IP Address: radius-bf.wifi.hellohelium.com
- RadSec Port: 2083
- RadSec Keepalive Type: TCP Keepalive
Click OK.

Complete SSID Settings
Verify the following:
- Security Level: Enterprise
- Key Management: WPA3-Enterprise
- Server Group: Primary and backup only
- Primary Server:
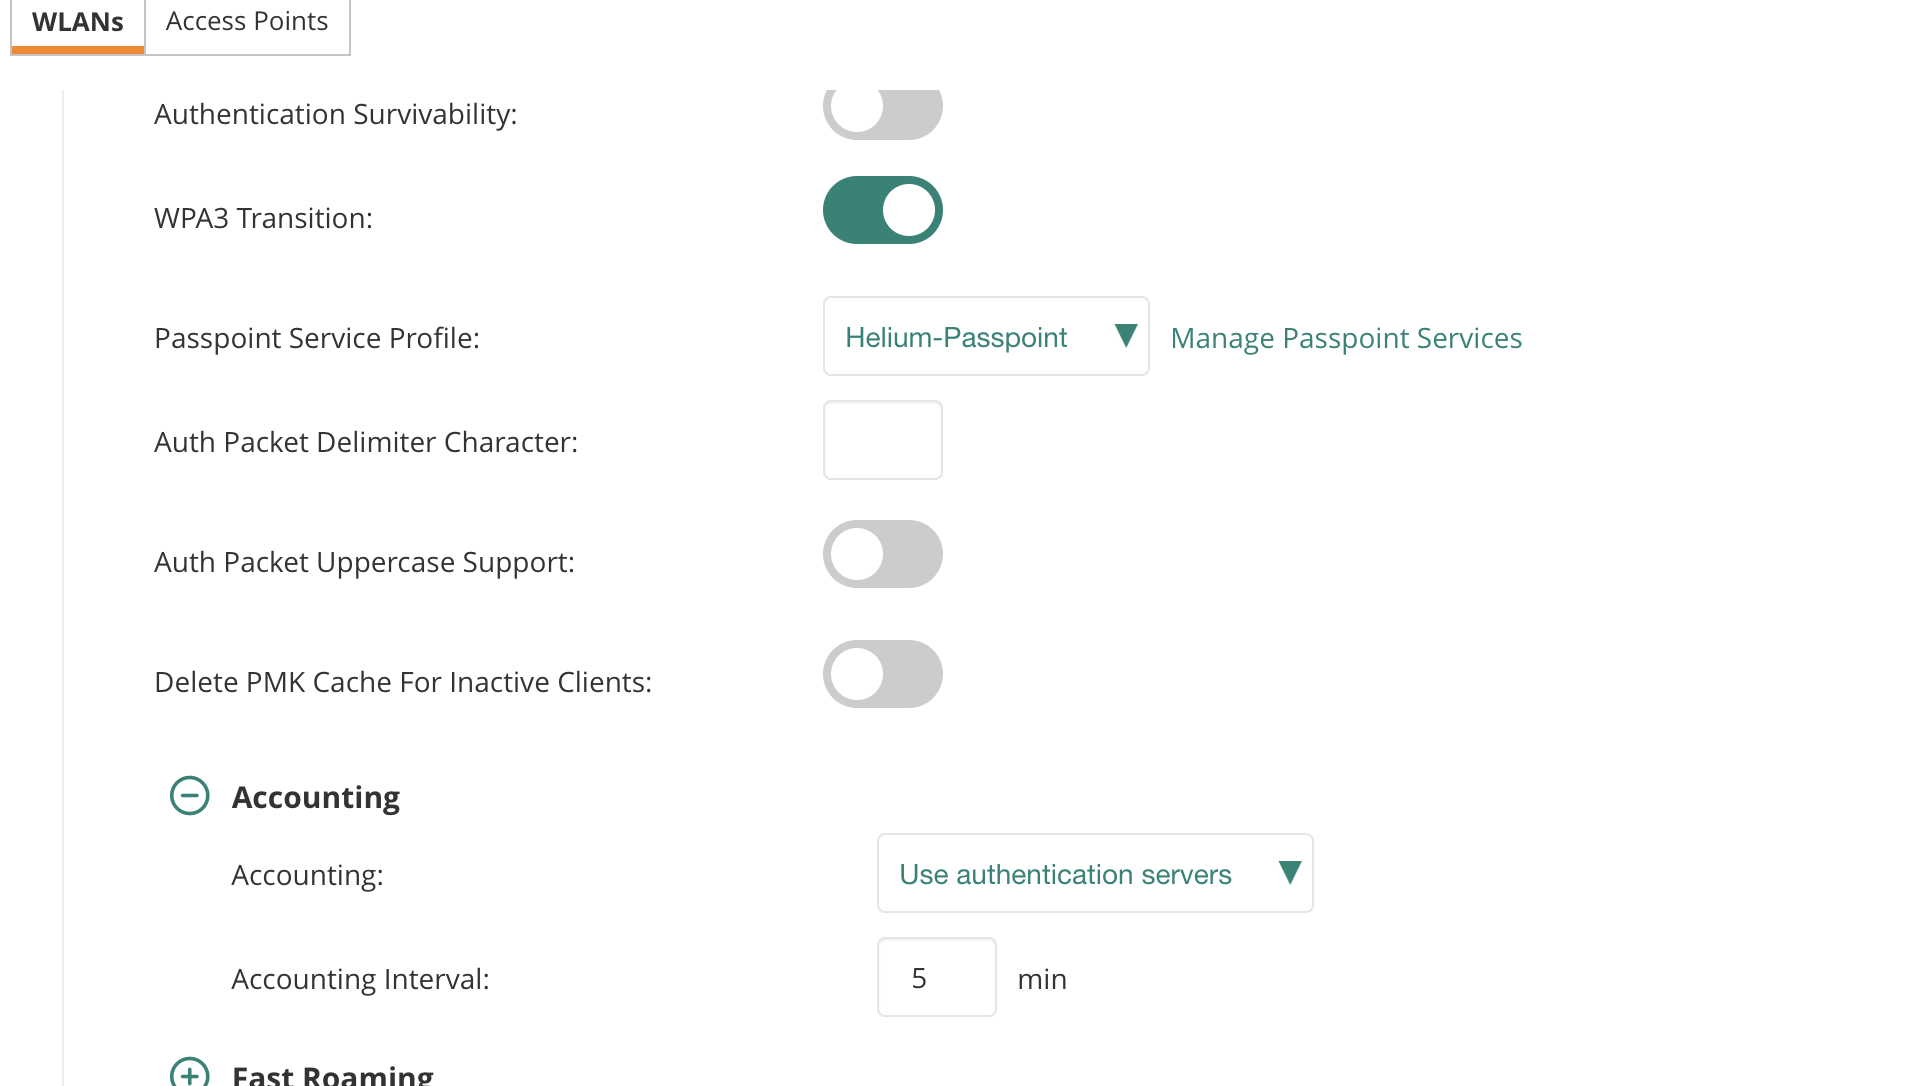
Helium-RadSec - Under Advanced Settings, go to
Passpoint Service Profileand clickManage Passpoint Services.- Click Add Profile.
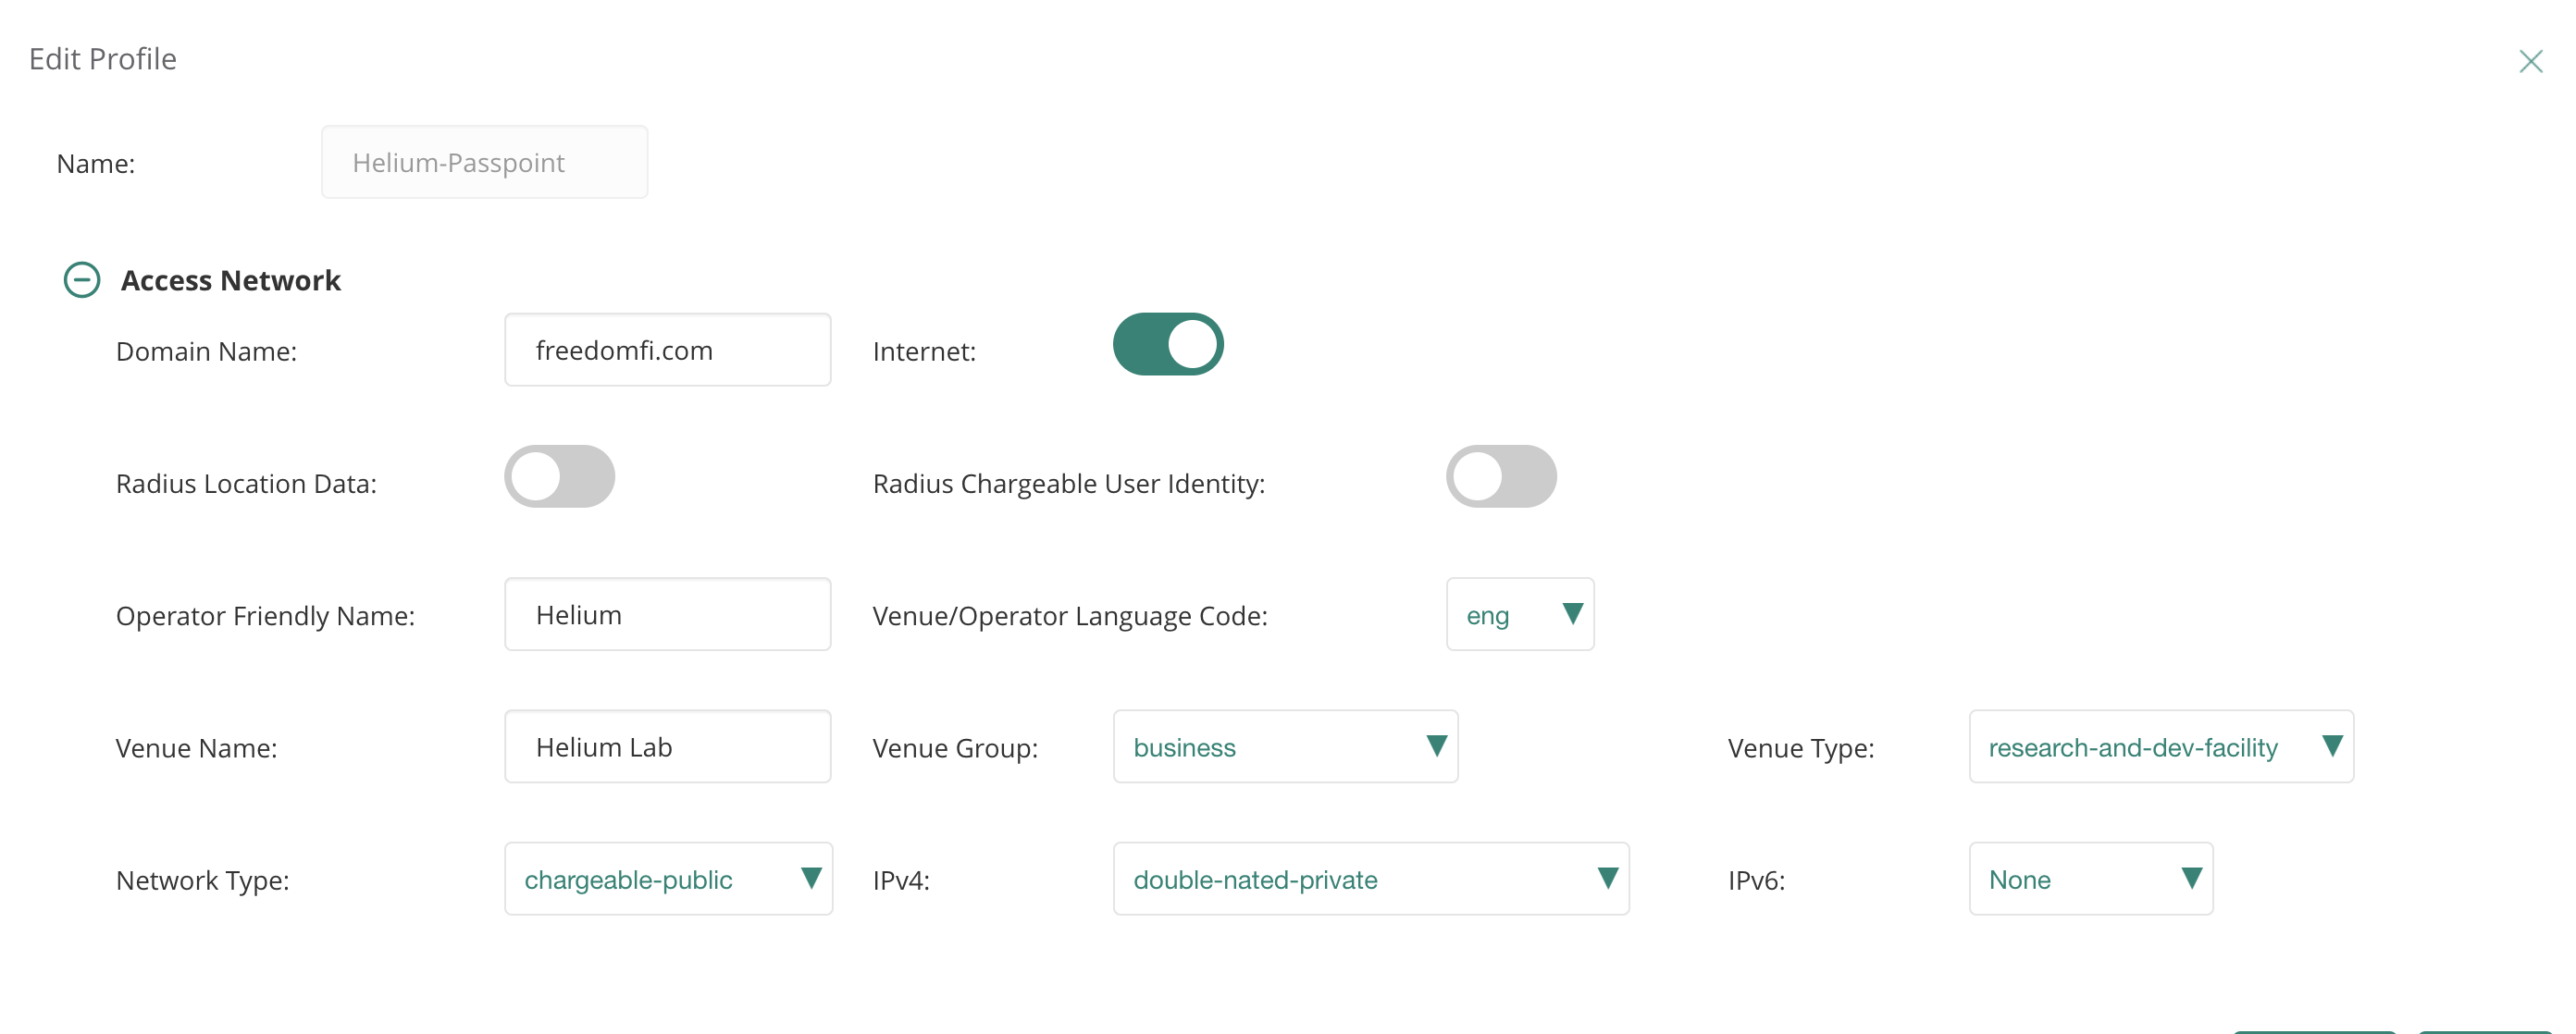
- Under
Access Network:- Name the profile
Helium Passpoint. - Enable the
Internetslider. - Set Domain Name to
freedomfi.com. - Set Network Type to
Chargeable Public. - Set IPv4 to
Double NAT Private. - Set IPv6 to
None.
- Name the profile
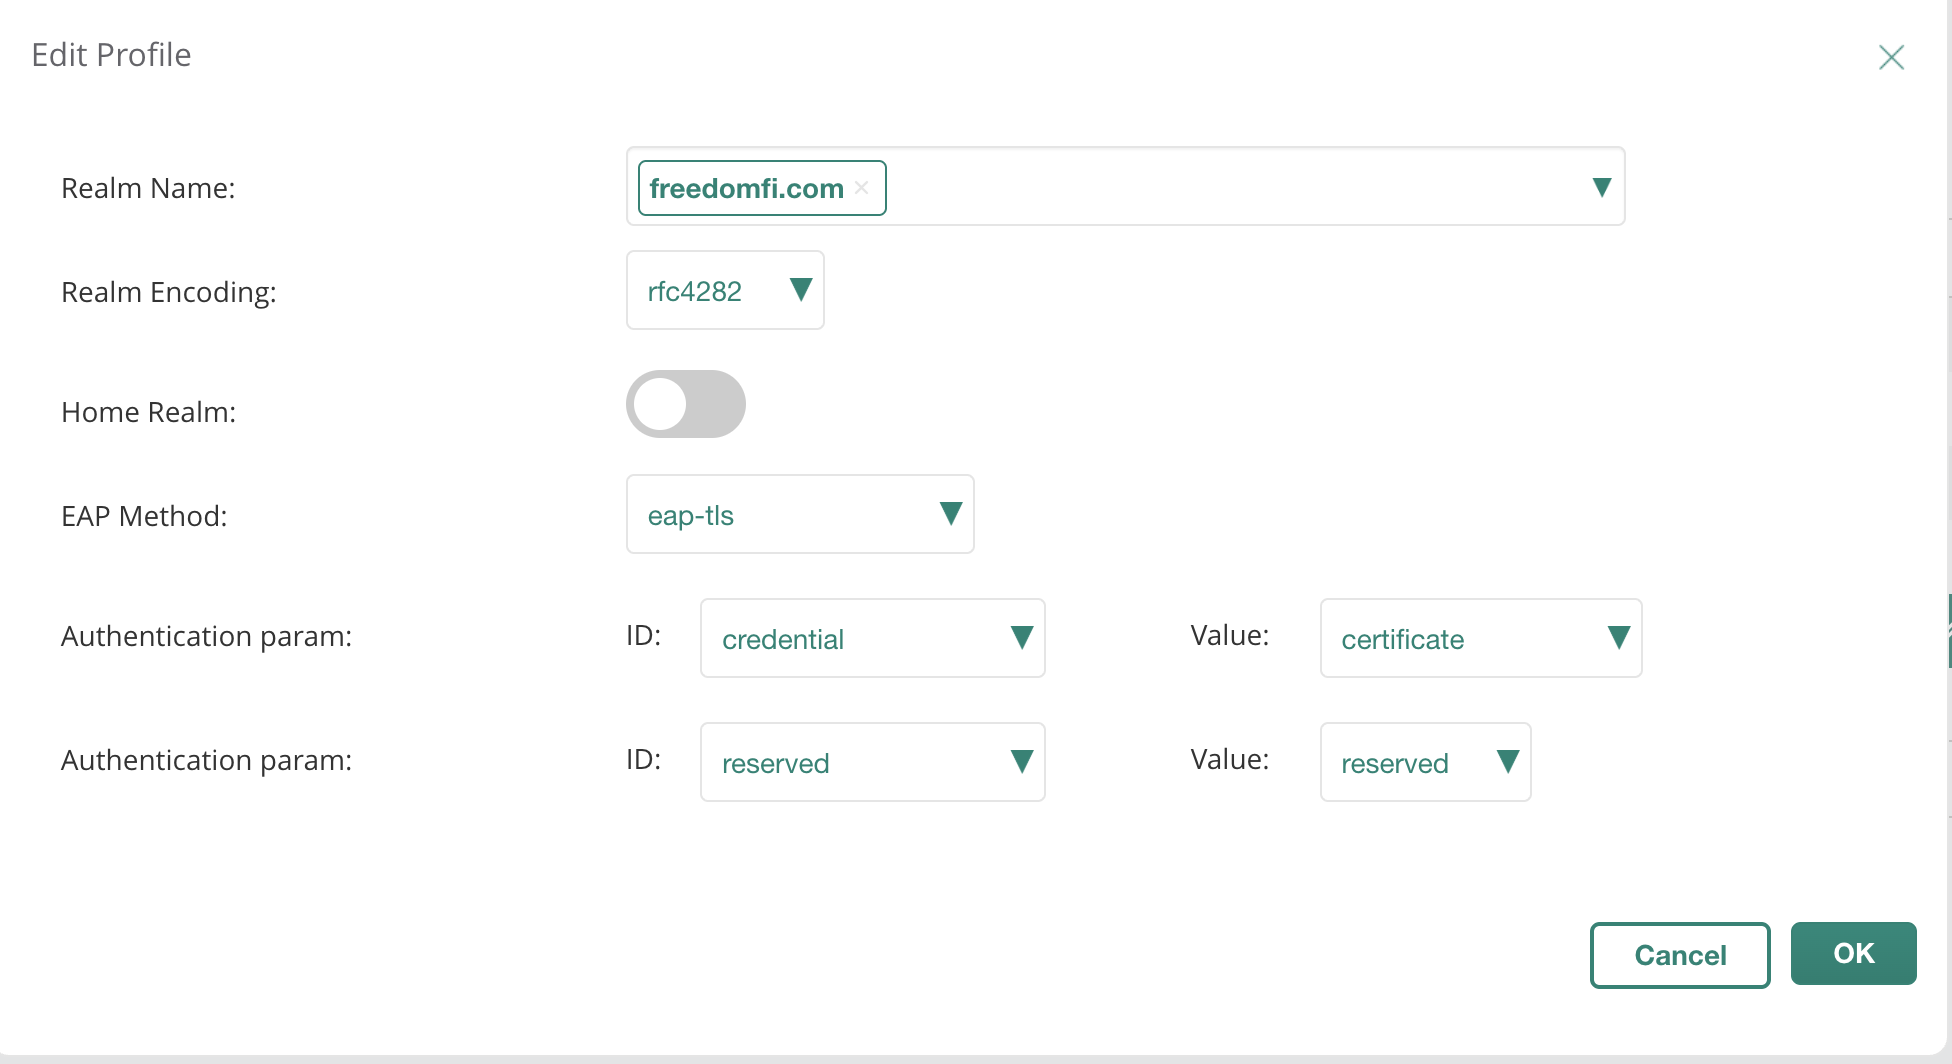
- Under
Identity Provider>NAI Realms:- Click Add NAI Realm.
- Set NAI Realm to
freedomfi.com. - Set EAP Method to
EAP-TLS. - Set Authentication parameter to
Certificate. - Click OK, then repeat to add
hellohelium.comwith the same settings.

- Back on the SSID settings under
Accountingtab:- Set accounting interval to
5 minutes
- Set accounting interval to
Troubleshooting
If authentication fails, check the following:
- Certificates: verify the Server CA and the combined client certificate were uploaded correctly and assigned to the device.
- Network: ensure outbound TCP 2083 to the Helium RadSec endpoint is allowed from your Aruba infrastructure.
- Logs: check Aruba controller logs and the Helium RADIUS logs for Access-Request / Access-Accept messages.
Connect and Validate
Connect a client device to the newly created SSID.
Verify successful authentication.