Aruba Conversion Guide
Prerequisites
- Aruba system must be running AOS 8.10.x.x or later.
- Guide assumes the network is using an on-prem Aruba Mobility Controller.
- Aruba system has AP(s) linked to the Mobility Controller.
- Aruba system has basic traffic routing working with existing SSID(s).
- An Intel-based host is required in the network to run the RadSecProxy container.
High Level Steps
- Deploy RadSecProxy container and record the IP address of the host
- Build Helium Passpoint SSID
- Build RADIUS Authentication Servers
- Build WLAN
- Link AAA Profile to RADIUS Accounting Server Group
- Build ANQP Profile
- Build Advertisement Profile
- Link ANQP Profile to the Advertisement Profile
- Build Hotspot 2.0 Profile
- Link Advertisement Profile to Hotspot 2.0 Profile
- Link Hotspot 2.0 Profile to Virtual AP
Deploy RadSecProxy Container
RADIUS messages used to authenticate users and for session accounting are transmitted unsecured and over UDP by default. By directing these messages internally in your secure network to a RadSecProxy, the UDP is then converted to a TLS protected TCP connection to the Helium Network core AAA servers.
Prerequisites
- An Intel-based machine with Docker installed.
- The Intel-based machine has a private IP in your network reachable from your Aruba Mobility Controller
- ACLs or Firewalls allow Aruba Mobility Controller and Docker Container to communicate UDP on port 1812 and 1813
- ACLs or Firewalls allow container/host to reach the internet on TCP ports 2083 and 3802.
Container Deployment
- Un-zip and untar the
Helium_RadSec_Docker.tar.gzfile into the directory of your choice on the host machine. This will unpack the following items:Dockerfile- The docker instructions on how to build the containerRadsecproxy.conf- The radsecproxy config file is pre-populated to connect to Helium Network AAA serversdocker-compose.yml- File to start and stop the container as a daemon.
tar -xvzf Helium_RadSec_Docker.tar.gz
- Into the same directory copy the 3 certificates obtained from Helium Network
ca.pem- the root CA certificatecert.pem- the user certificatekey.pem- the key file matched to the certificate
- Start the container using:
sudo docker compose up -d
- If/when needed, stop the container using:
sudo docker compose down
Build Aruba Helium Passpoint SSID
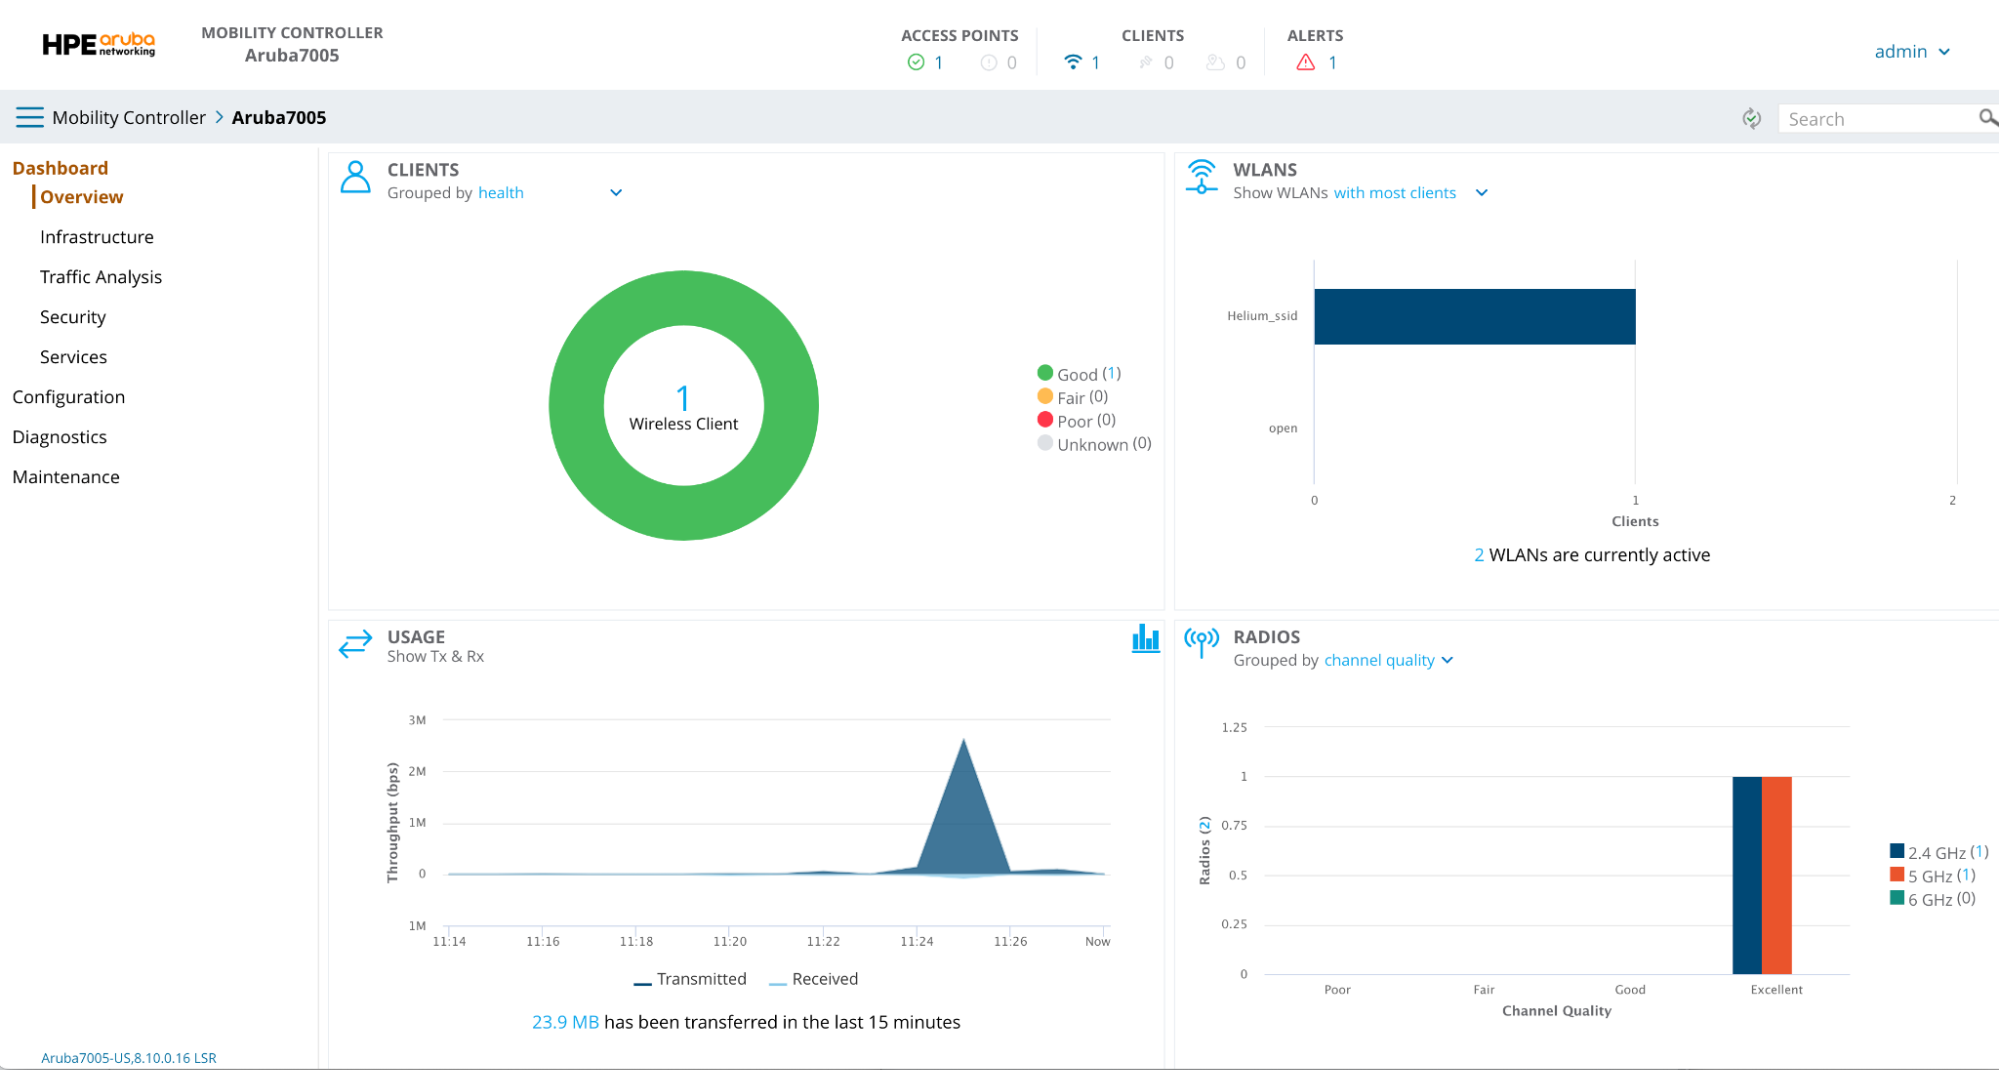
The following steps will configure your Aruba Mobility Controller and AP to broadcast an SSID with the needed Passpoint and RADIUS configurations to support Helium Mobile user offload.
To start login to your Mobility Controller GUI in your browser, this will be our starting point for all major steps below.
Most windows will have many other parameters with default values set. Leave any unmentioned parameter at it's default value.
Build RADIUS Authentication Servers
- Click on Configuration and then Authentication in the left menu column.
- Click the + in the All Servers box to add a server
- Enter “RadSec-1” as the Name
- Choose RADIUS as the Type
- Enter the IP address of the RadSecProxy Container host
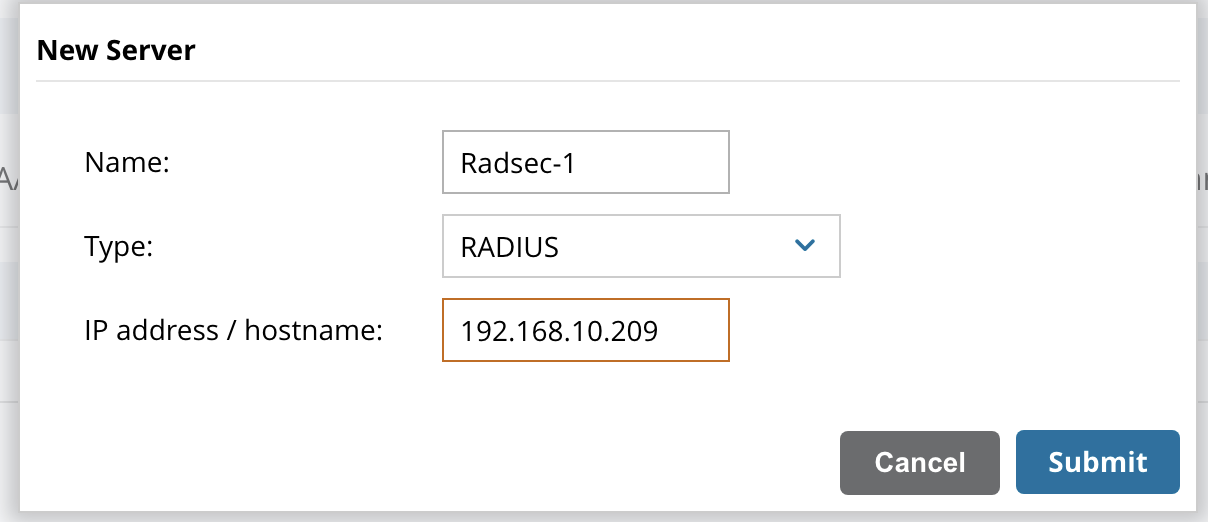
- Click Submit
- Click on the Server name in the table to enter further configuration
- Enter Auth Port = 1812
- Enter Acct Port = 1813
- Enter “mysecret” as the shared key and retype key
- Enter the NAS-ID used during onboarding with Helium Network
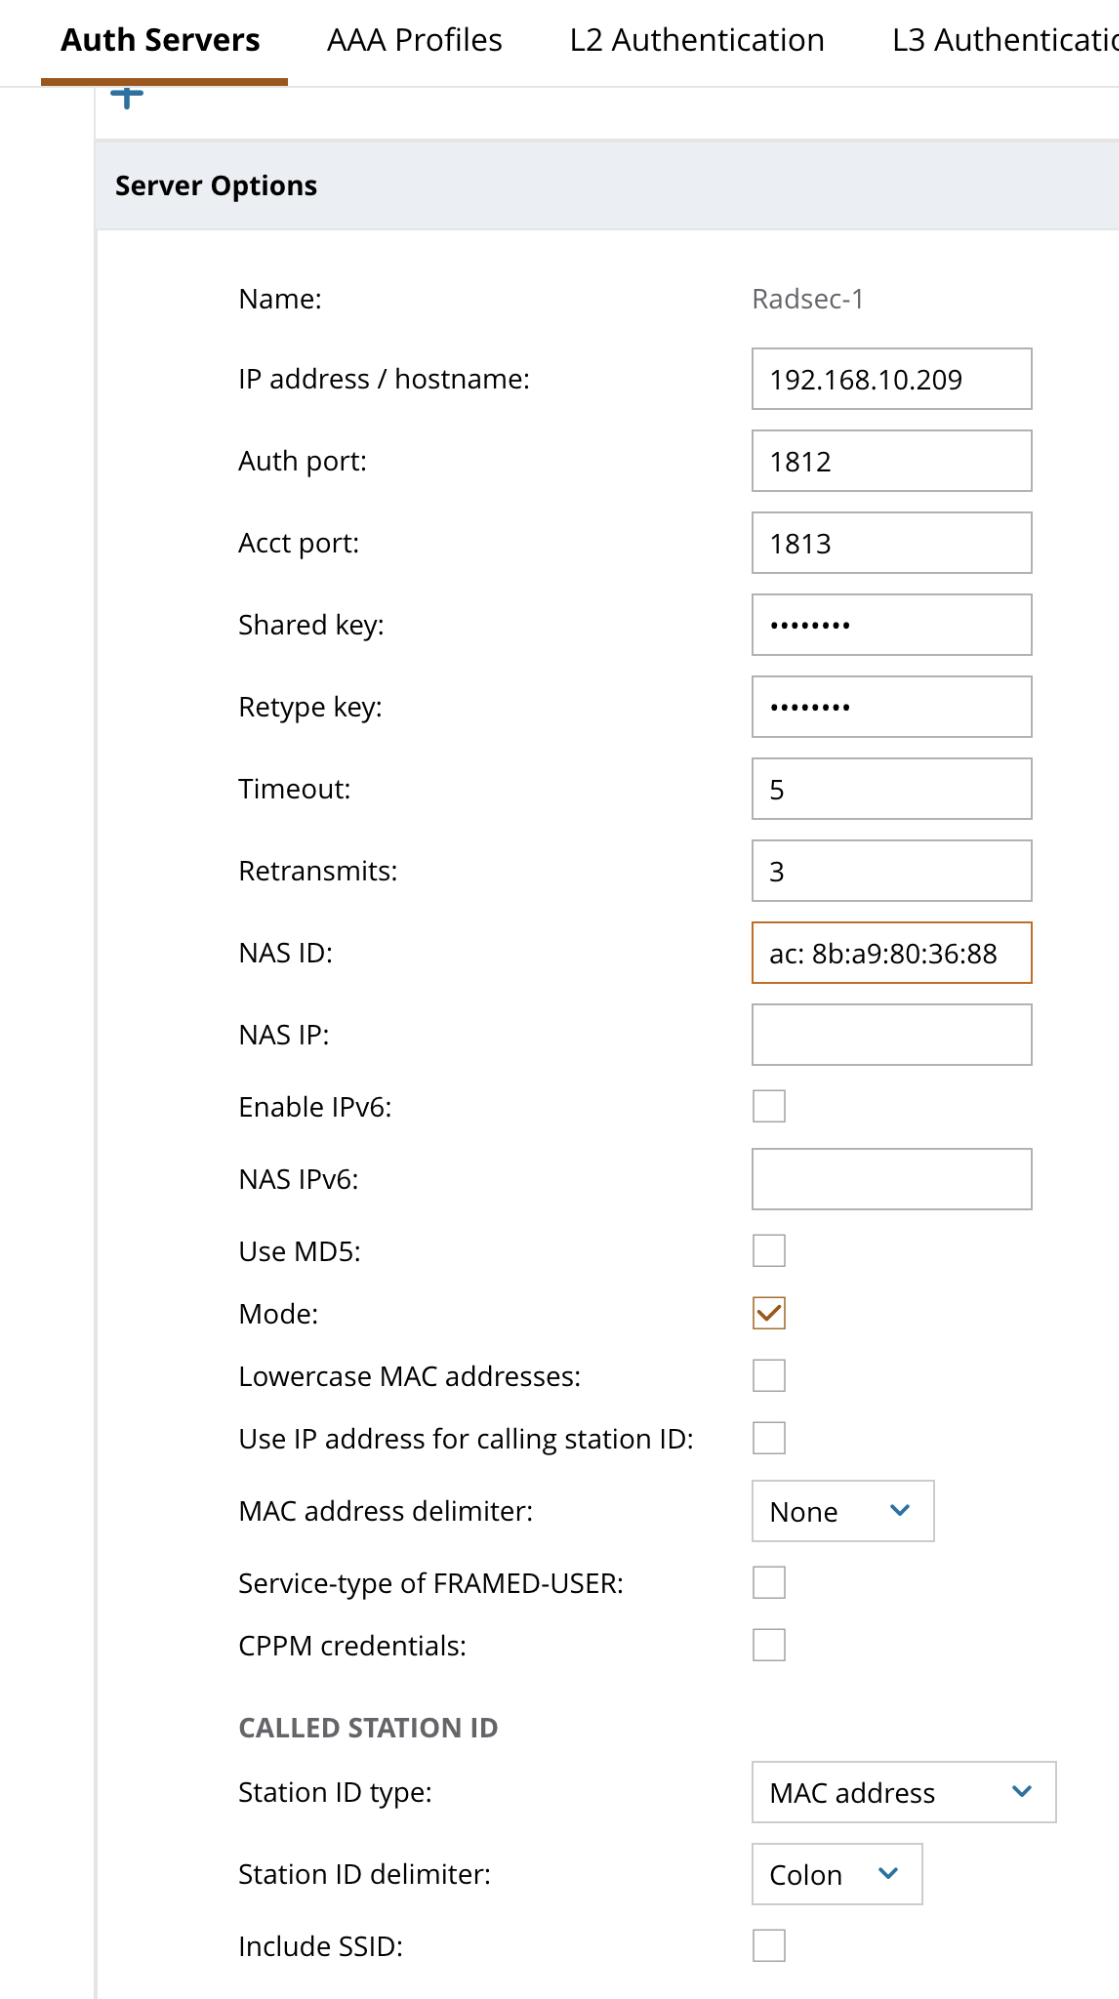
- Click Submit
- Click Pending Changes in the top right corner.
- Click Deploy Changes in the pop up.
Redundancy is good. If you deploy two containers on two hosts, repeat these steps for a second RadSec server called Radsec-2.
Build WLAN
- Click on the arrow next to Mobility Controller in the top left corner of the window and select the controller you want to configure.
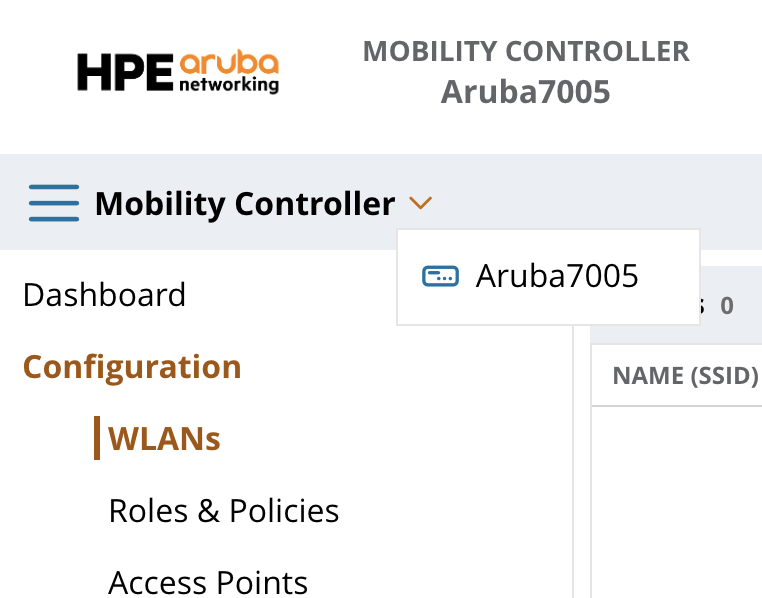
- Click on Configuration and WLAN in the left menu column.
- Click the + in the bottom left of the box to add a new WLAN
- Enter Name (SSID) = “Helium”
- Edit Broadcast on AP group and Forwarding mode based on your network configuration. In this example we use All APs and Tunnel mode.
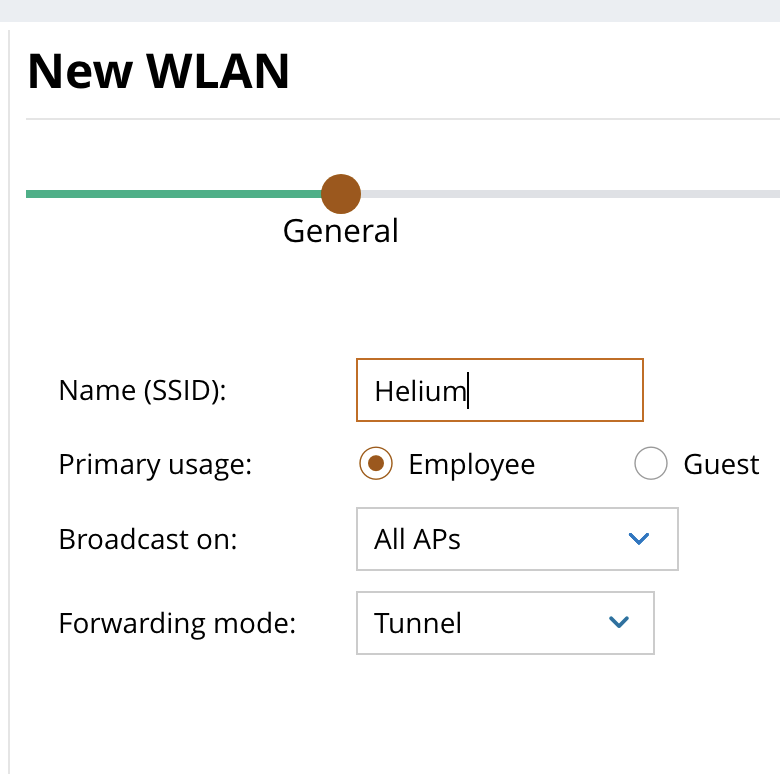
- Click Next
- Configure the VLAN settings based on your network configuration. In this example we have a VLAN called “LAN” that we use.
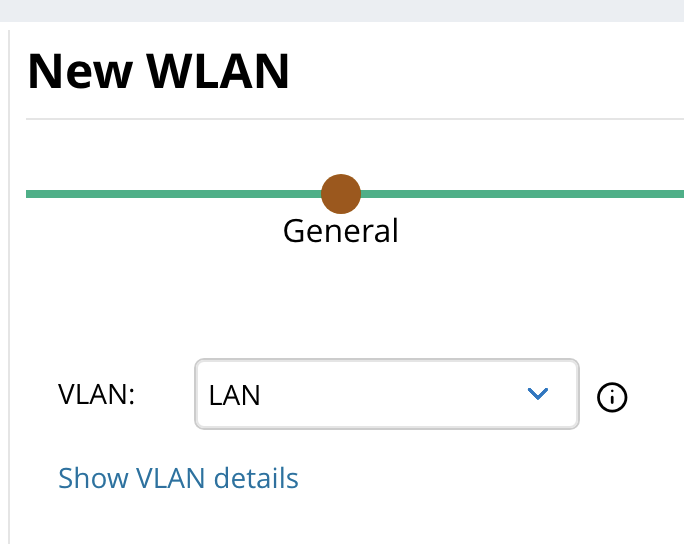
- Click Next
- Select WPA3-Enterprise for Key Management
- Click + in Auth Servers and select Radsec-1 (and Radsec-2 if you have two)
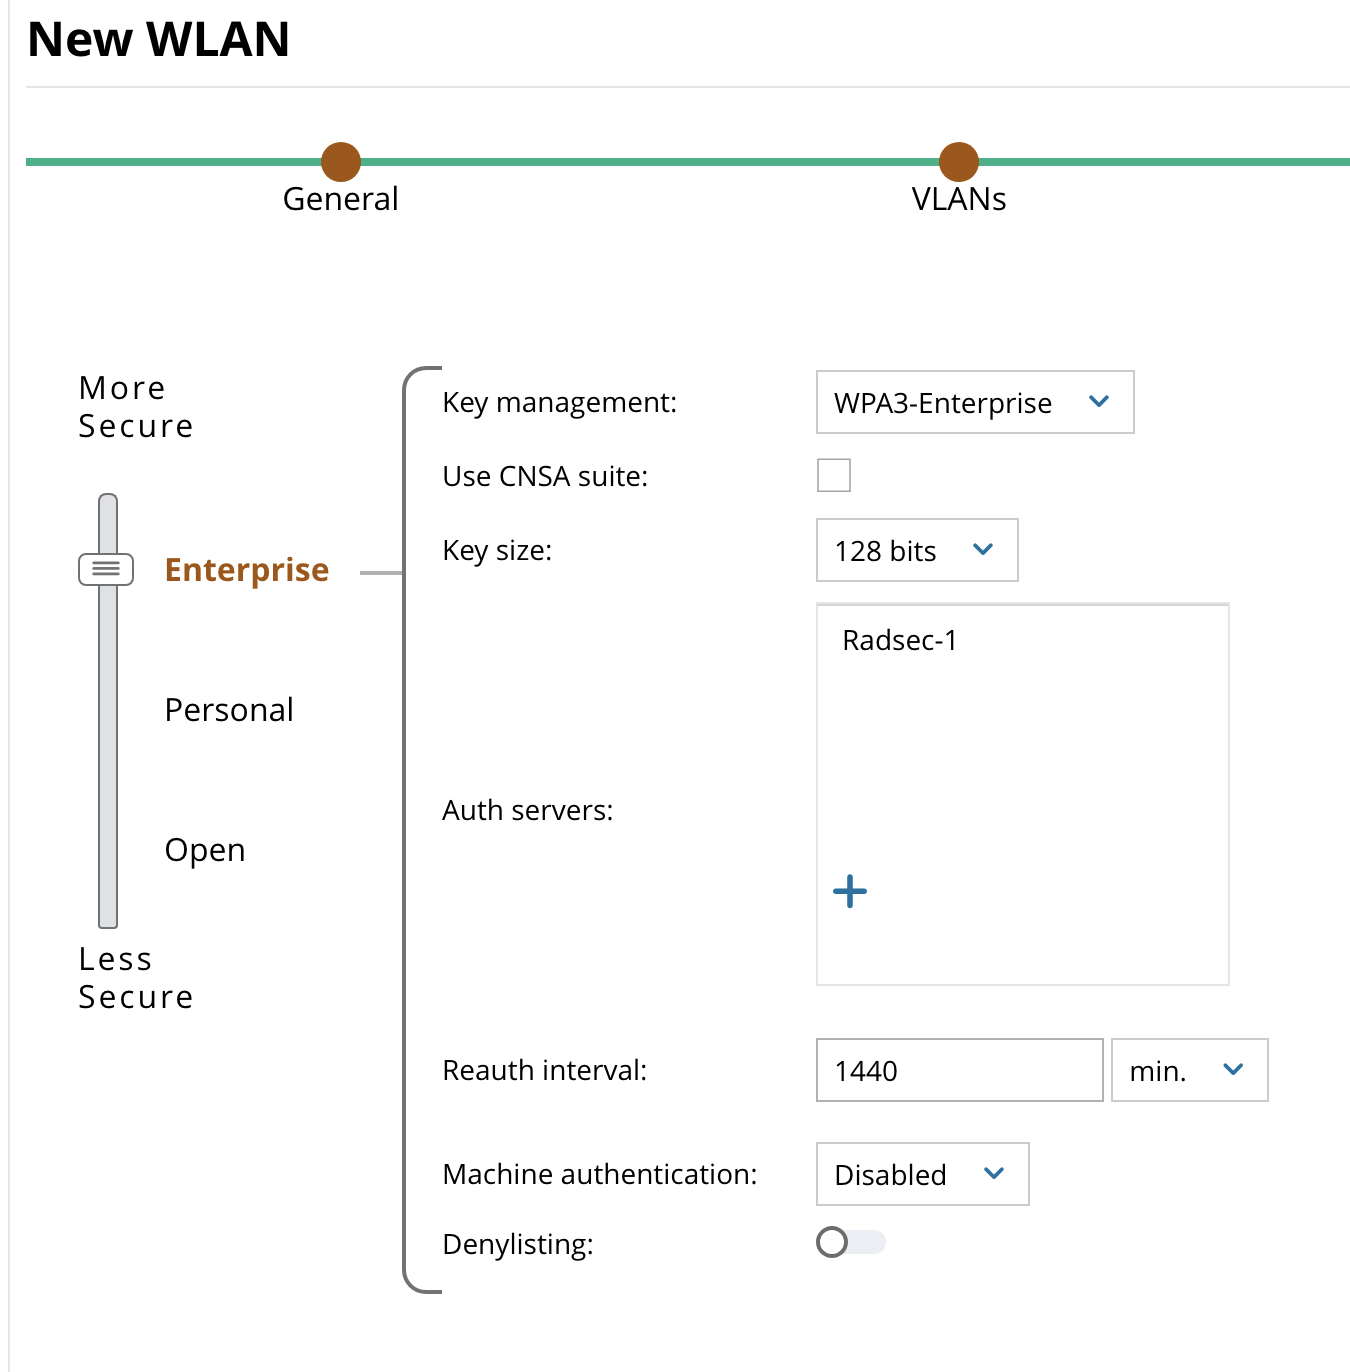
- Click Next
- Select the Default Role based on your network configuration. In this example we use a “allow-all” rule that is wide open and allows-all user traffic.
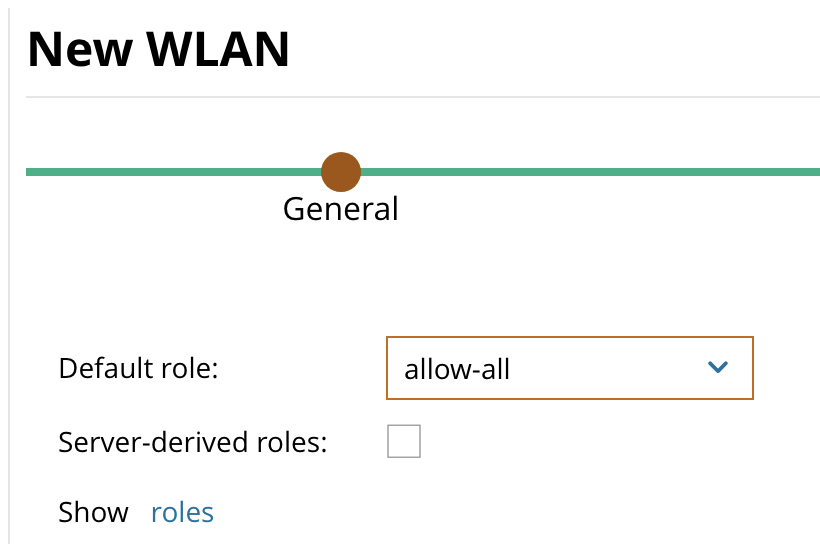
- Click Finish
Link AAA Profile for RADIUS Accounting Server Group
- Click on Configuration and then Authentication in the left menu column.
- Click on AAA Profiles in the top menu bar
- Click the + next to AAA and + next to Helium_aaa_prof
- Click on RADIUS Accounting Server Group
- Select Heium_dot1_svg from drop down menu next to Server Group
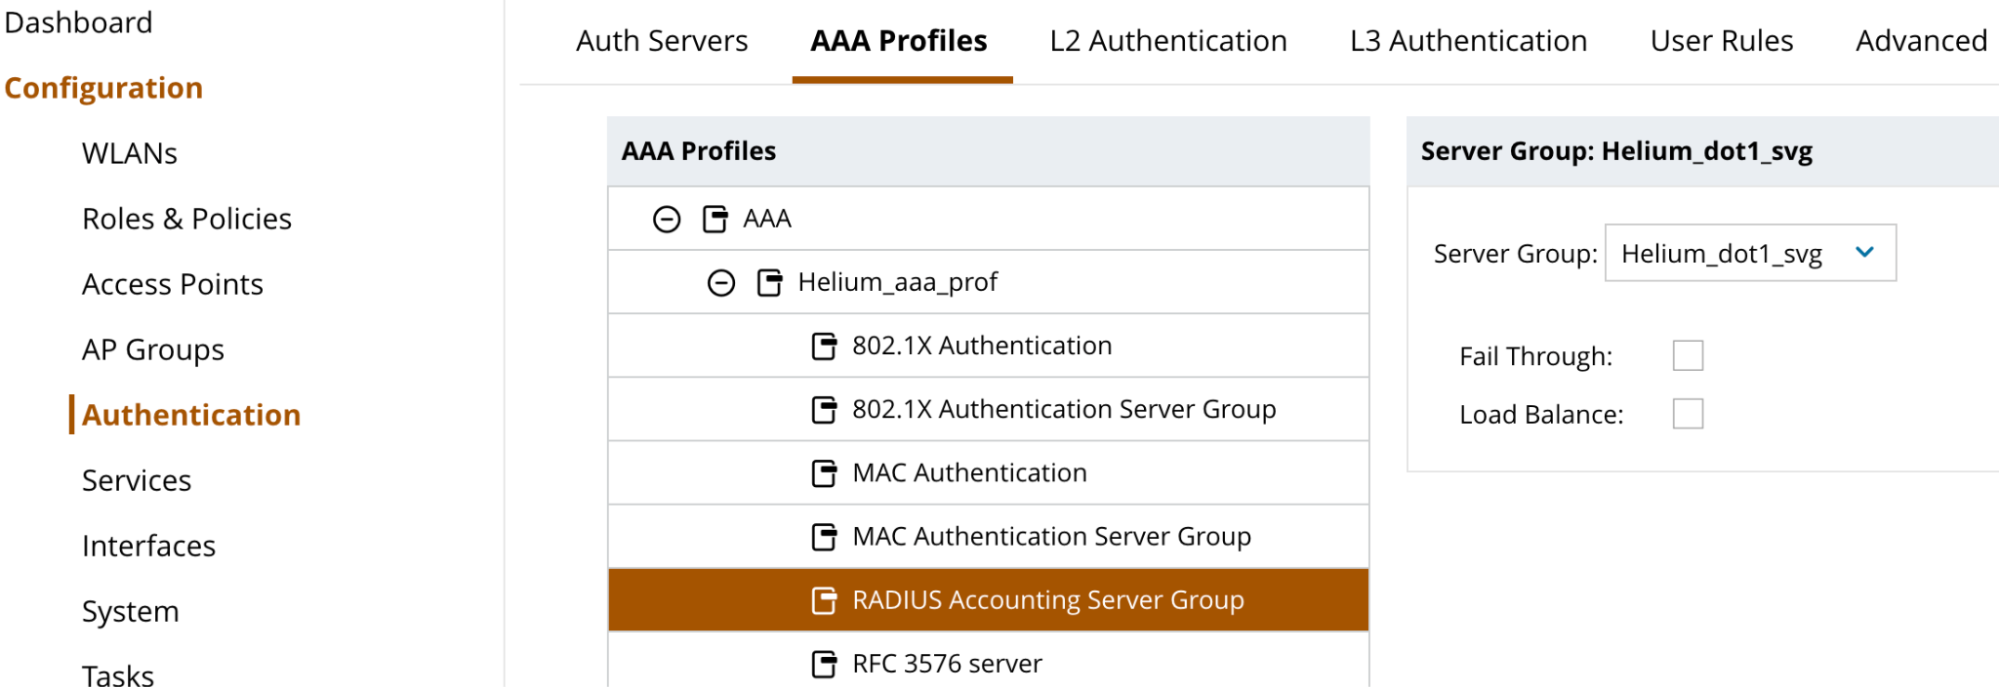
- Click Submit
- Click Pending Changes in the top right corner.
- Click Deploy Changes in the pop up.
Build ANQP Profile
Domain Name
- Click on Configuration and System in the left menu column.
- Click on Profiles in the menu bar across the top
- Click the + next to Wireless LAN and scroll down to find ANQP Domain Name
- Click the + in the area to the right to build a new ANQP Domain Name Profile
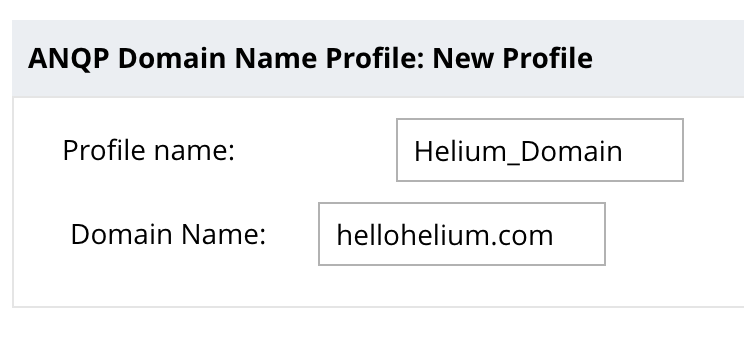
- Enter “Helium_Domain” for Profile Name and “Hellohelium.com” for Domain Name
- Click Submit
- Click Pending Changes in the top right corner.
- Click Deploy Changes in the pop up.
IP Address Availability
- Click on Configuration and System in the left menu column.
- Click on Profiles in the menu bar across the top
- Click the + next to Wireless LAN and scroll down to find ANQP IP Address Availability
- Click the + in the area to the right to build a new ANQP IP Address Availability Profile
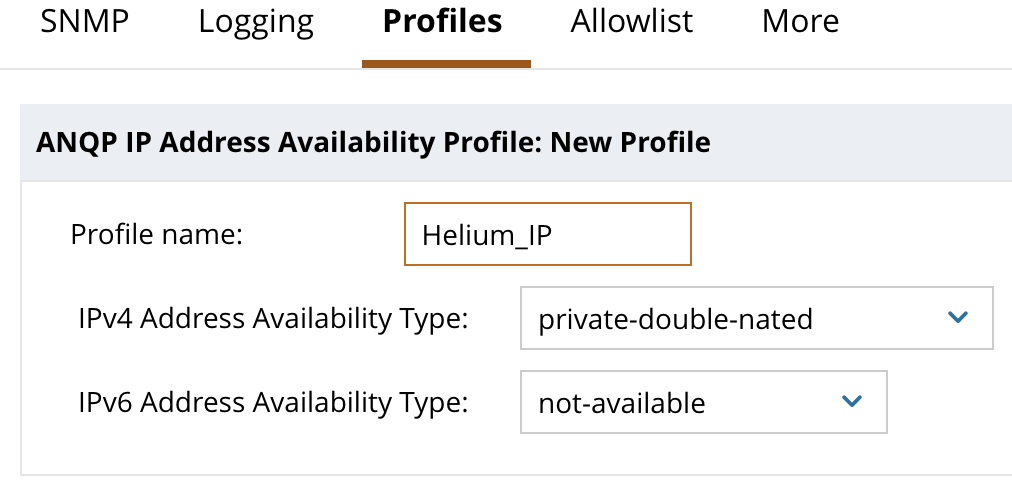
- Enter “Helium_IP” for profile name, select appropriate values for IPv4 and IPv6 availability. If unsure, select “private-double-nated” and “not-available”.
- Click Submit
- Click Pending Changes in the top right corner.
- Click Deploy Changes in the pop up.
NAI Realm
- Click on Configuration and System in the left menu column.
- Click on Profiles in the menu bar across the top
- Click the + next to Wireless LAN and scroll down to find ANQP NAI Realm
- Click the + in the area to the right to build a new ANQP NAI Realm Profile
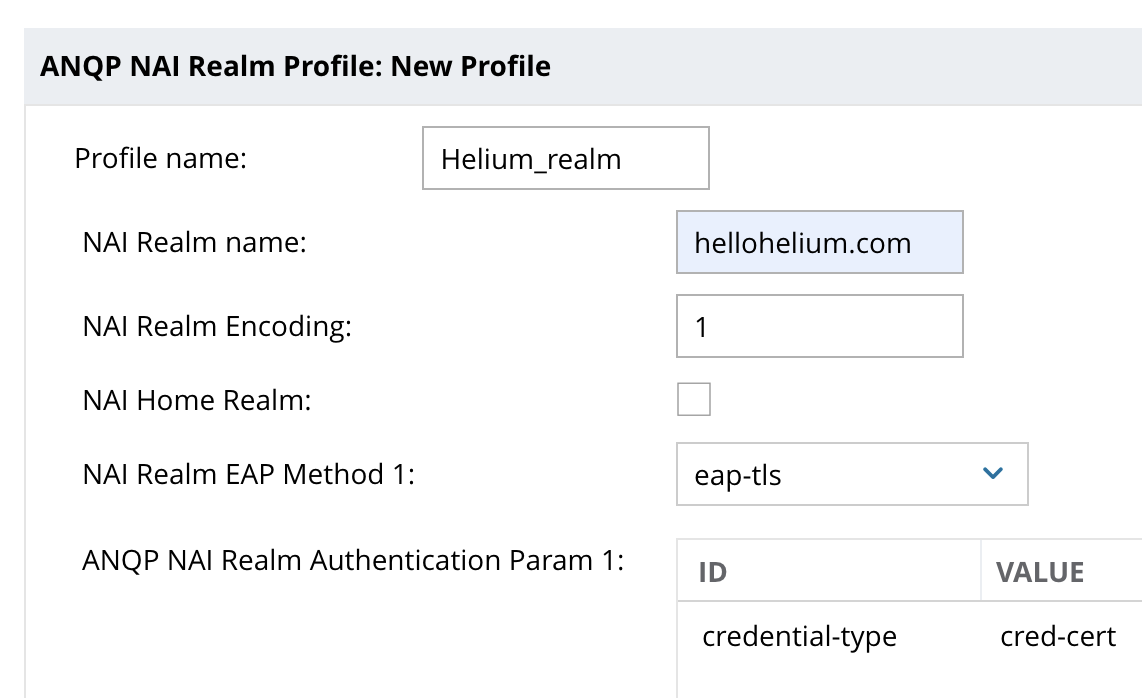
- Enter “Helium_realm” for Profile Name and “hellohelium.com” for NAI Realm Name.
- In the drop down for NAI Realm EAP Method 1 chose “eap-tls” and below that click the + to set ID = Credential Type and Value = cred-cert
- Click OK
- Click Submit
- Click Pending Changes in the top right corner.
- Click Deploy Changes in the pop up.
Venue Name
- Click on Configuration and System in the left menu column.
- Click on Profiles in the menu bar across the top
- Click the + next to Wireless LAN and scroll down to find ANQP Venue Name
- Click the + in the area to the right to build a new ANQP Venue Name Profile
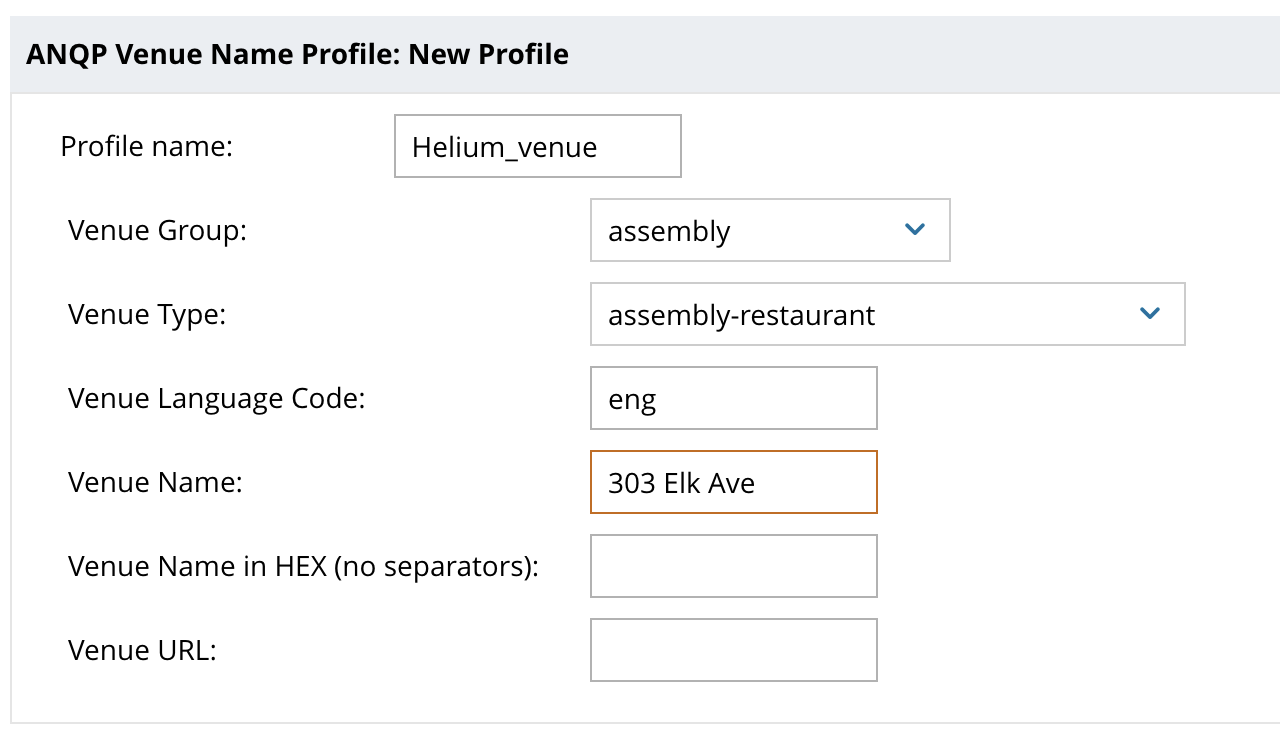
- Enter “Helium_venue” in Profile Name, select the best fitting Venue Group e.g. “business” and best fitting Venue Type e.g. “assembly-restaurant” and supply a Venue Name which can be the street address of your venue e.g. “303 Elk Ave”
- Click Submit
- Click Pending Changes in the top right corner.
- Click Deploy Changes in the pop up.
Build Advertisement Profile
- Click on Configuration and System in the left menu column.
- Click on Profiles in the menu bar across the top
- Click the + next to Wireless LAN and scroll down to find Advertisement Profile
- Click the + in the area to the right to build a new Advertisement Profile
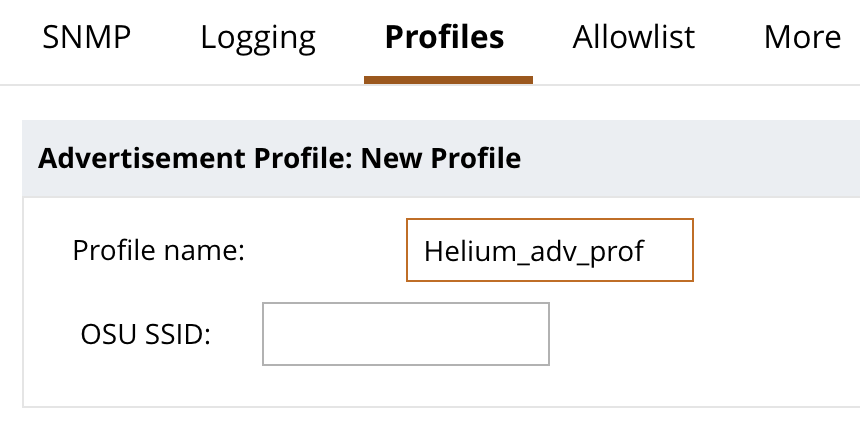
- Enter “Helium_adv_prof” as Profile name
- Click Submit
- Click Pending Changes in the top right corner.
- Click Deploy Changes in the pop up.
Link ANQP Profiles to the Advertisement Profile
- Click on Configuration and System in the left menu column.
- Click on Profiles in the menu bar across the top
- Click the + next to Wireless LAN and scroll down to find Advertisement
- Click the + next to Advertisement and click on the + next to Helium_adv_profile
- Select ANQP Domain Name from the list and click on the + in the box to the right and select “Helium_Domain” from the list.
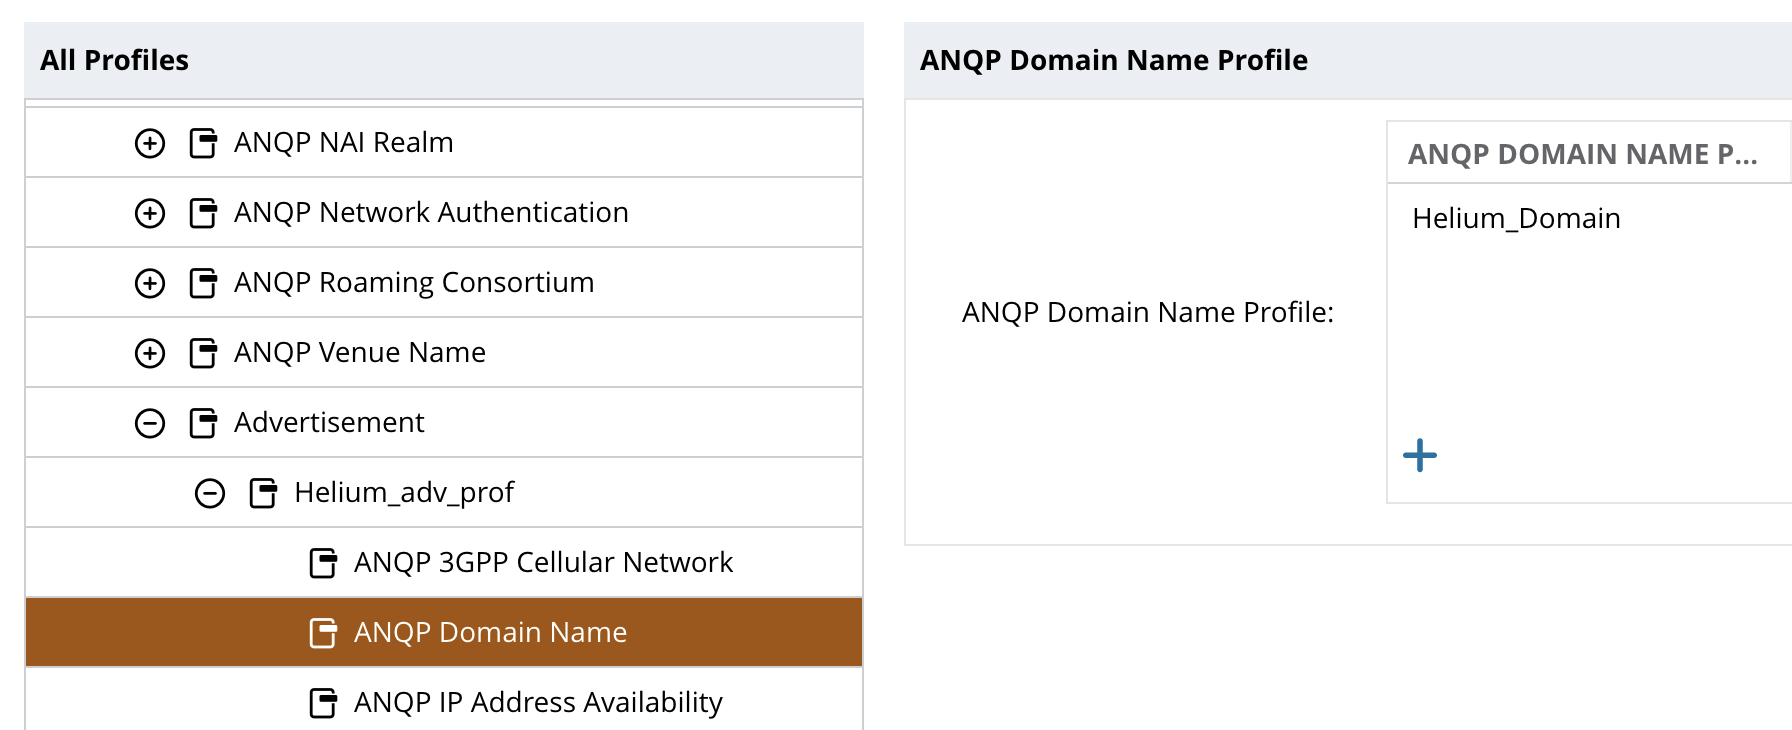
- Click OK
- Click Submit
- Click Pending Changes in the top right corner.
- Click Deploy Changes in the pop up.
- Repeat steps 1-9 to add:
- ANQP IP Address Availability
- ANQP NAI Realm
- ANQP Venue name
You must do each parameter individually and deploy changes each time.
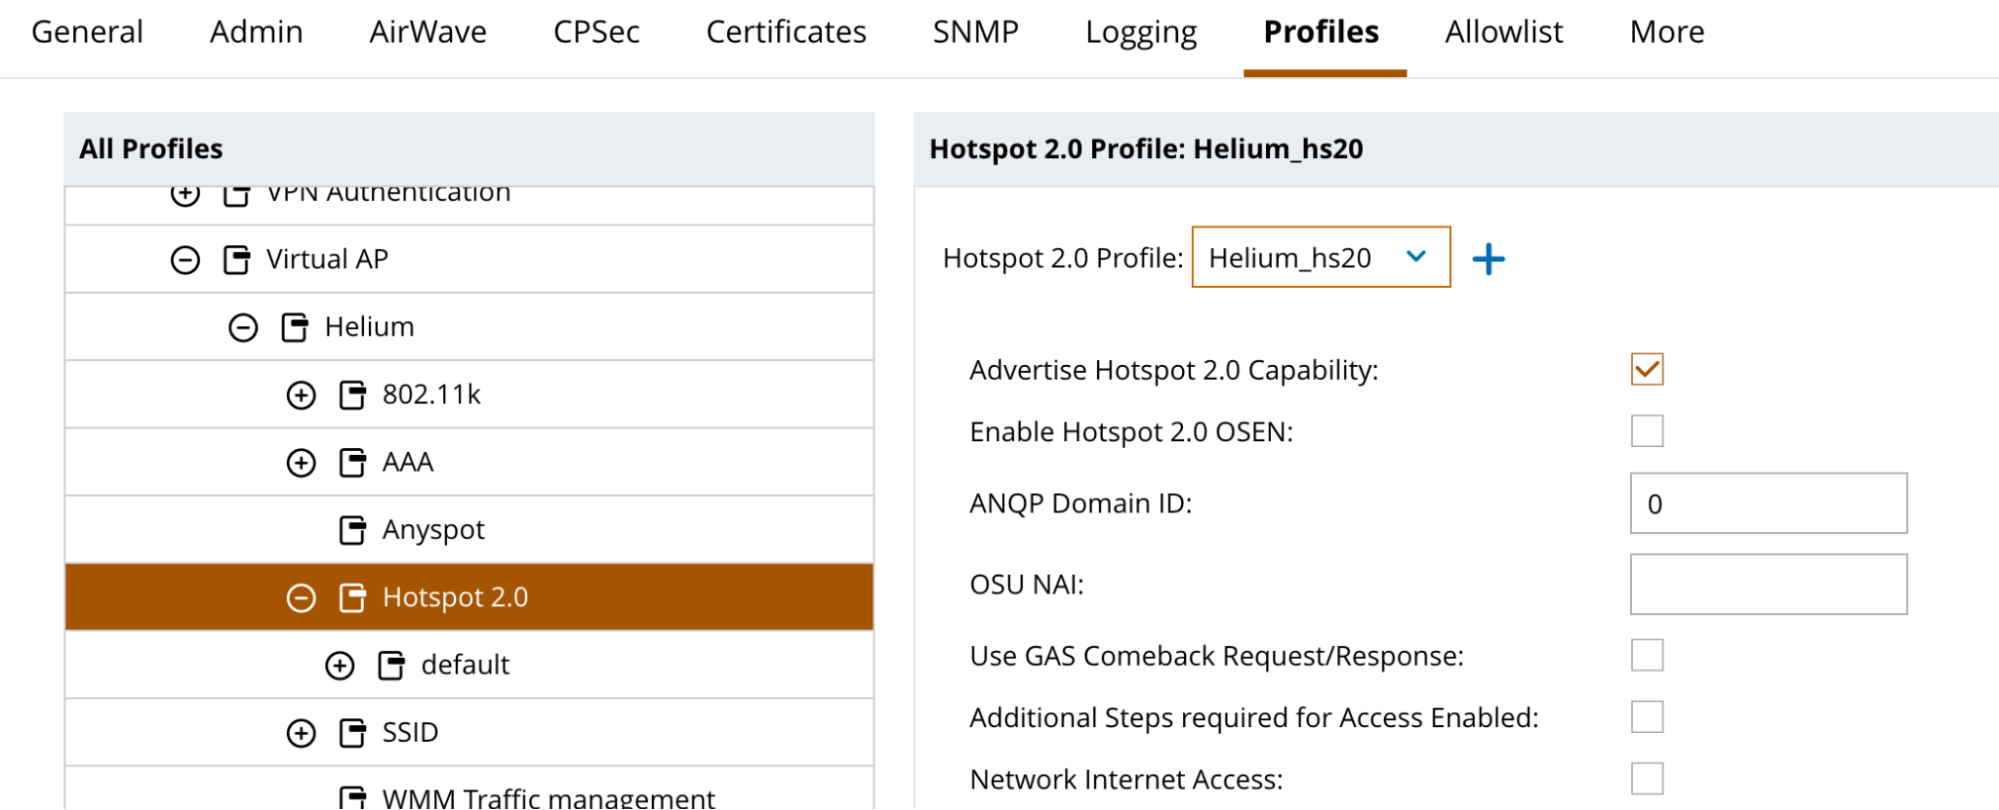
Build Hotspot 2.0 Profile
- Click on Configuration and System in the left menu column.
- Click on Profiles in the menu bar across the top
- Click the + next to Wireless LAN and scroll down to find Hotspot 2.0
- Click the + in the area to the right to build a new Hotspot 2.0 Profile
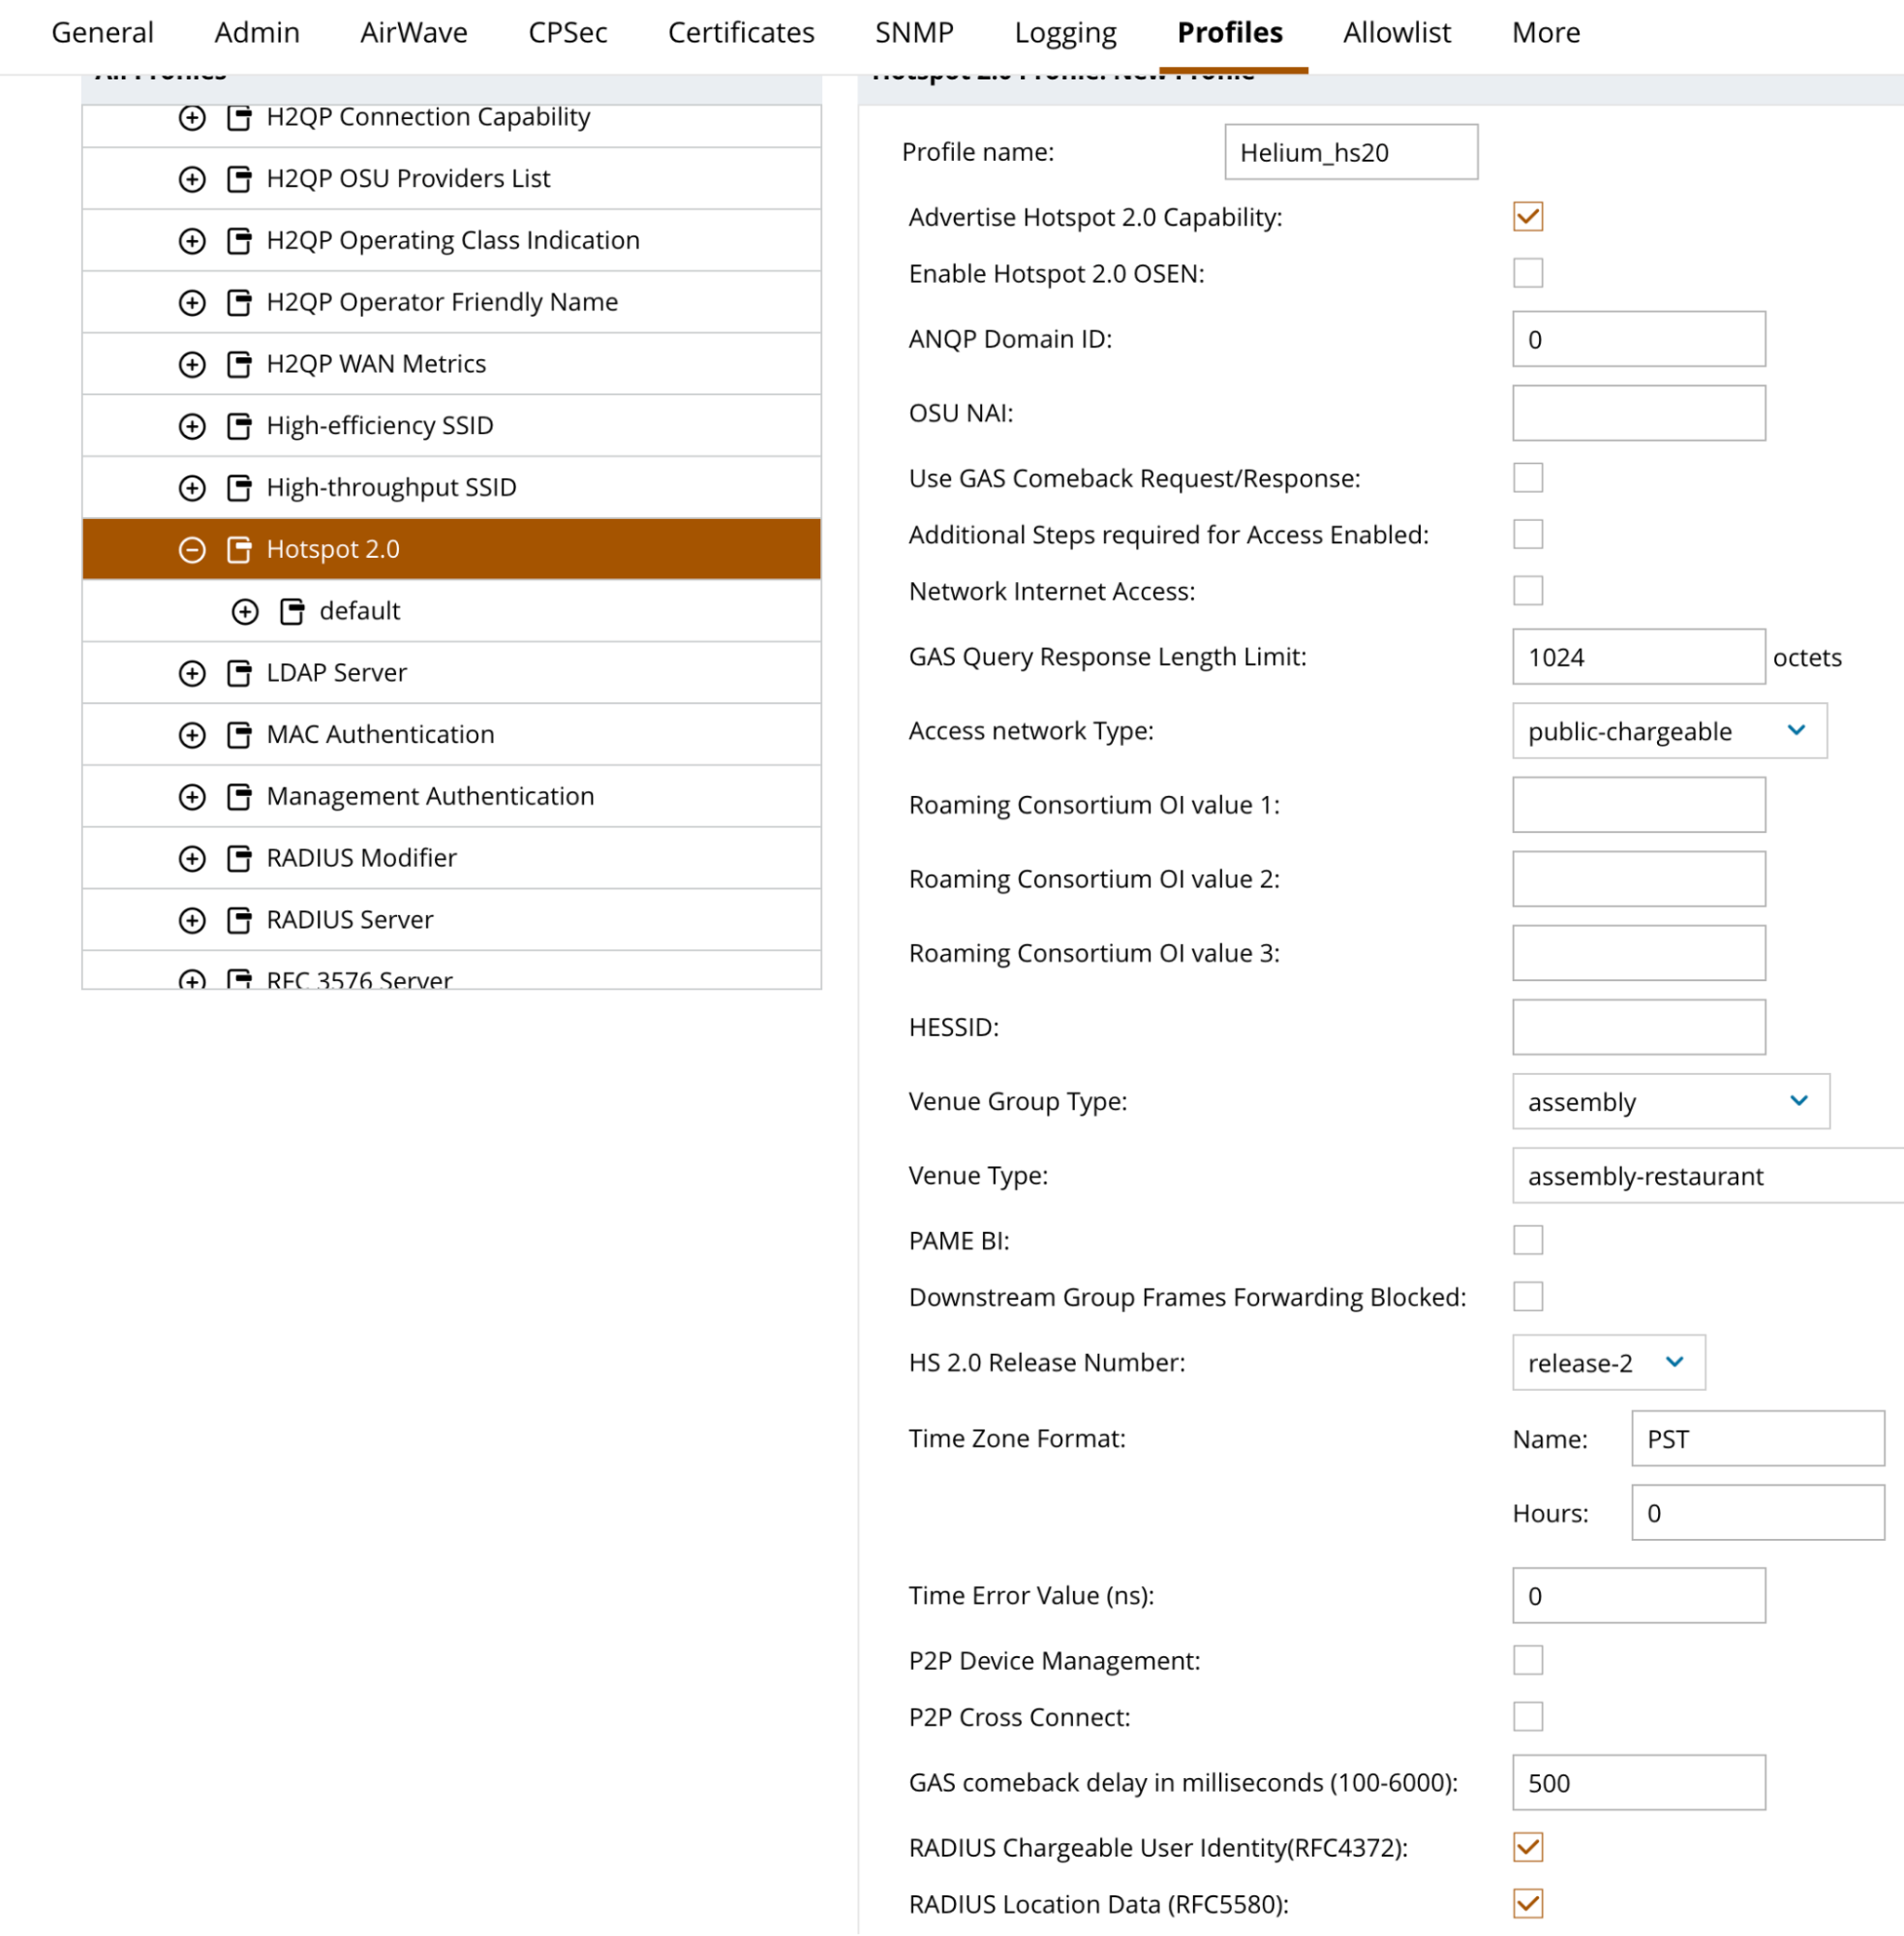
- Enter “Helium_hs20” for Profile name
- Check the box for Advertise Hotspot 2.0 Capability
- Select Access Network Type = Public chargeable
- Select best fitting Venue Group Type e.g. assembly
- Select Best fitting Venue Type e.g. assembly-restaurant
- Check the box next to RADIUS Chargeable User Identity(RFC4372)
- Check the box next to RADIUS Location Data (RFC5580)
- When complete the form should look like above.
- Click Submit
- Click Pending Changes in the top right corner.
- Click Deploy Changes in the pop up.
Link Advertisement Profile to Hotspot 2.0 Profile
- Click on Configuration and System in the left menu column.
- Click on Profiles in the menu bar across the top
- Click the + next to Wireless LAN and scroll down to find Hotspot 2.0
- Click the + next to the Helium Hotspot 2.0 profile
- Click on Advertisement
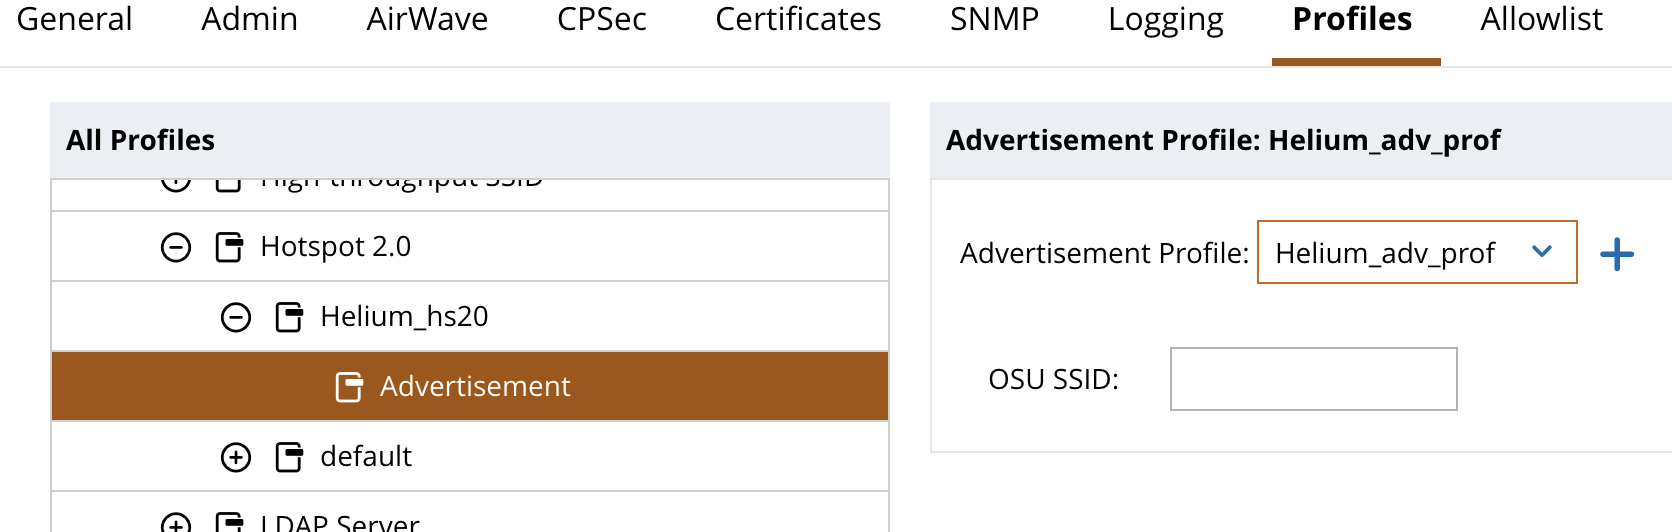
- Select Helium_adv_prof from the drop down menu
- Click Submit
- Click Pending Changes in the top right corner.
- Click Deploy Changes in the pop up.
Link Hotspot 2.0 Profile to Virtual AP
- Click on Configuration and System in the left menu column.
- Click on Profiles in the menu bar across the top
- Click the + next to Wireless LAN and scroll down to find Virtual AP
- Click the + next to Virtual AP and click the + next to Helium
- Click on Hotspot 2.0
- Select Helium_hs20 from drop down menu next to Hotspot 2.0 Profile at the top
- Click Submit
- Click Pending Changes in the top right corner.
- Click Deploy Changes in the pop up.
Troubleshooting
Look for incoming RADUS packets in RadSec Logs
radsec@radsec:~$ sudo docker ps
CONTAINER ID   IMAGE          COMMAND                  CREATED        STATUS                  PORTS                                                           NAMES
4cefb87fb8cc   612e4c464d65   "/usr/bin/radsecprox…"   13 hours ago   Up 13 hours (healthy)   0.0.0.0:1812-1813->1812-1813/udp, :::1812-1813->1812-1813/udp   radsec-radsecproxy-1

radsec@radsec:~$ sudo docker logs -f 4cefb87fb8cc
Follow logs from the container and look for Accept or Rejects for any reasons.
- No Radius when phone is trying means:
- Aruba setup is not forwarding or not forwarding the right ports
- Network is blocking, check for ACLs or Firewall in network path
- Container host network is blocking it being sent to container check for firewall services on host
- Radius arrives but you are getting rejects means:
- Make sure NAS_ID has been onboarded to Helium Network
- Double check ANQP profile creation steps
Inspect RADIUS AVP contents
ssh radsec@192.168.10.209 -- sudo tcpdump -i any -U -s0 -w - port 1813 or 1812 or 2083 | /Applications/Wireshark.app/Contents/MacOS/Wireshark -k -i -
Wireshark/TCPdump on host for port 1812, 1813, 2083, 3802.
User on host must have “sudo nopasswd” privileges.
Look for:
- Username AVP must have hellohelium.com realm
- NAS-ID AVP must be formatted exactly as submitted during onboarding
- Check ports are 1812 for authentication and 1813 for accounting
- Ensure the TCP connections are established on 2083 and 3802