Data-Only Hotspot Onboarding

This guide walks through the process of onboarding a Data-Only Hotspot to the Helium Network. The onboarding procedure expects a gateway configured with the Semtech Packet Forwarder and Helium Gateway-rs.
Prerequisites
- LoRaWAN Gateway with Gateway-rs installed.
- Helium Wallet CLI with a funded account imported.
- Token balances to onboard a Data-Only Hotspot.
- 100,000 ($1) Data Credits (DCs) comprised of
- 50,000 ($0.50) Data-Only Onboard
- 50,000 ($0.50) Data-Only Location Assert
- SOL (Solana's native cryptocurrency) to cover transaction fees (~0.01 Sol)
- 100,000 ($1) Data Credits (DCs) comprised of
Installing Gateway-rs
If the gateway is already configured with gateway-rs, skip to Prepare the Helium Wallet CLI.
If the gateway does not already have gateway-rs installed, follow these steps to install and
configure it.
For more in-depth guides, refer to the available tutorials.
Running From a Release
Compiled releases are available directly from GitHub.
Building From Source
Build the program from source. The build chain for gateway-rs is Rust.
curl https://sh.rustup.rs -sSf | sh
source "$HOME/.cargo/env"
sudo apt-get update && sudo apt-get install protobuf-compiler
git clone https://github.com/helium/gateway-rs.git
cd gateway-rs/
cargo build --release
The compiled helium_gateway program will be available in the gateway-rs/target/release/
directory.
Prepare Gateway-rs
To simplify running the helium_gateway program, place it in a folder that is easily accessible or
in the /usr/bin/ directory. Placing helium_gateway in this bin directory will automatically add
it to the shell path.
sudo cp gateway-rs/target/release/helium_gateway /usr/bin/
$ helium_gateway --version
> helium_gateway 1.1.1
Configure settings.toml
From the downloaded release or built source, copy the settings.toml file into a directory where it will not be overwritten and can be easily found.
The default path is /etc/helium_gateway/settings.toml. If using a different path, pass the
location of the settings.toml file to helium_gateway using the -c flag.
sudo mkdir /etc/helium_gateway
sudo cp gateway-rs/config/settings.toml /etc/helium_gateway/
For the subsequent steps, a command-line-based text editor is used.
sudo nano /etc/helium_gateway/settings.toml
[Optional] Region Plan
Setting the gateway's region is only required if the Hotspot is not added and asserted to the blockchain. For onboarded Hotspots, the region is retrieved via the asserted location stored on-chain. The Hotspot will not transfer data unless one of these criteria is met.
# region = "US915"
Determine the region plan that should be used. The selected region plan must match the region plan in the Semtech Packet Forwarder.
[Optional] Define gateway_key.bin Location
The default path is /etc/helium_gateway/gateway_key.bin. If using a different path, update the key
location in settings.toml.
The gateway_key.bin file stores the information used to identify the Hotspot on the network. The
key file will allow gateway-rs to securely sign all messages transferred from the Hotspot. Key
signing allows the Helium Network to confirm that data payloads are delivered from verifiable
sources. The gateway_key will be generated during the first run of the server if no existing key is
found.
# File based:
keypair = "/etc/helium_gateway/gateway_key.bin"
It's advised to backup the gateway_key.bin file, especially if it needs to be recovered after the
onboarding process.
First Run
With gateway-rs installed on the gateway, initialize the key for the Hotspot. If creating the
gateway_key in /etc/helium_gateway/, sudo may be required on first run to create the key file.
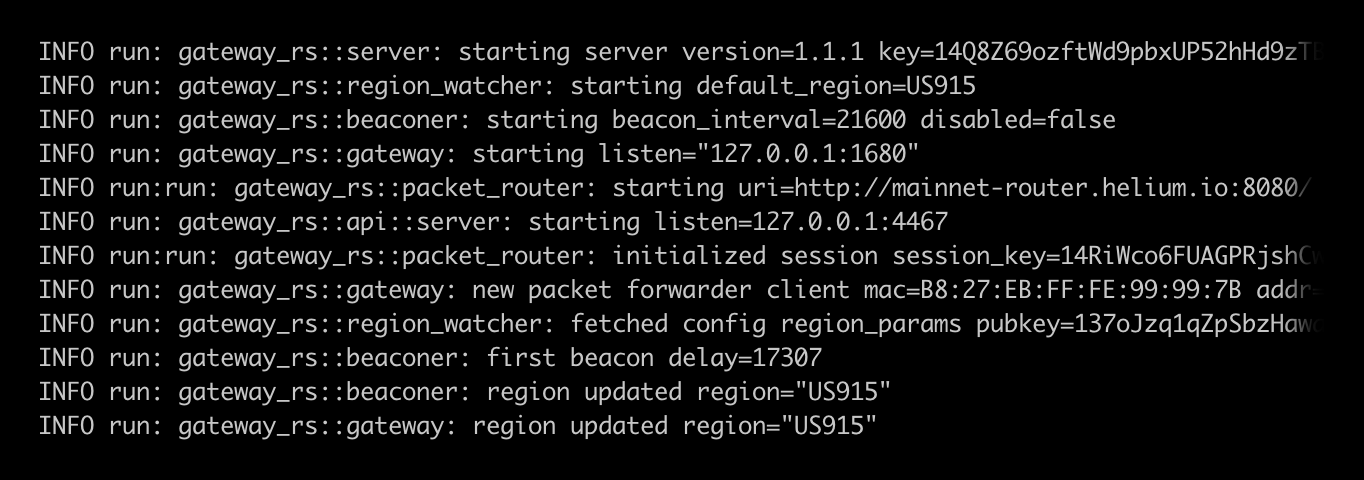
sudo helium_gateway server
Continued Operation
Gateway-rs will not automatically run at system start. To make gateway-rs automatically run, create a system service.
sudo nano /etc/systemd/system/gateway-rs.service
Define the system user to execute the service (Line 9).
# /etc/systemd/system/gateway-rs.service
[Unit]
Description=Helium Gateway

[Service]
ExecStart=helium_gateway server
Restart=on-failure
RestartSec=15
User=<fill in current user>

[Install]
WantedBy=multi-user.target
Once the service is written, activate it using the following commands.
sudo systemctl enable gateway-rs.service
sudo systemctl start gateway-rs.service
sudo journalctl -fu gateway-rs
If there are errors in the service, edit it by first stopping the service
(systemctl stop gateway-rs.service), then editing it
(sudo nano /etc/systemd/system/gateway-rs.service). After changes are made, rerun the above
commands to test and monitor.
Prepare the Helium Wallet CLI
The Helium Wallet CLI will be used to sign and submit the transaction generated. The Helium Wallet CLI should not be installed on the Hotspot.
For details on setting up the Helium Wallet CLI and using an existing account, see the CLI Wallet documentation.
./helium-wallet -f <path/to/>wallet.key info
The info command will return the wallet addresses for both the Solana blockchain and the legacy
Helium L1.
{
  "address": {
    "helium": "<Helium Address>",
    "solana": "<Solana Address>"
  },
  "pwhash": "Argon2id13",
  "sharded": false
}
Generate the add Transaction Using Gateway-rs
Connect to the Hotspot using SSH or the interface provided by the hardware manufacturer.
Gateway-rs provides tooling to generate a transaction using the gateway_key. Use the Solana address
for the <OWNER> and <PAYER> fields.
helium_gateway add --owner <OWNER> --payer <PAYER>
The owner and payer accounts can both be the same. To onboard the Hotspot, the payer account will need to sign the transaction and pay the DC onboarding fee. The owner will be the recipient of the Hotspot.
The add command will generate the transaction that can be used in the onboarding step.
{
  "address": "<Hotspot Address>",
  "mode": "dataonly",
  "owner": "<Owner>",
  "payer": "<Payer>",
  "txn": "<Add Hotspot Transaction>"
}
Onboarding With The Command Line Interface Wallet
Onboarding is done using the Helium CLI Wallet.
The Helium CLI Wallet will not automatically convert HNT to Data Credits. Make sure the paying account has at least 50,000 Data Credits available to complete the add transaction. The transactions take place on the Solana blockchain, so a small amount of SOL is also required to cover Solana fees.
helium-wallet hotspots add iot <Txn from gateway-rs> --commit
The CLI will return a Solana transaction hash for the on-chain event. This transaction can be looked up using a Solana block explorer such as Solana Explorer or Solscan.
{
  "result": "ok",
  "txid": "<Transaction ID>"
}
Asserting With The Command Line Interface Wallet
To assert the location of the Hotspot using the Helium CLI Wallet, use the command
helium-wallet hotspots update.
Make sure the paying account has at least 50,000 Data Credits available to complete the location assert transaction. The transactions take place on the Solana blockchain, so a small amount of SOL is also required to cover Solana fees.
Before running the assert command, get the public key from the Data-Only Hotspot.
helium_gateway key info
The key info command will return the Hotspot's 'animal name' along with the Hotspot's public key.
{
  "name": "angry-purple-tiger",
  "key": "11TL62V8NYvSTXmV5CZCjaucskvNR1Fdar1Pg4Hzmzk5tk2JBac",
  "onboarding": "11TL62V8NYvSTXmV5CZCjaucskvNR1Fdar1Pg4Hzmzk5tk2JBac"
}
Use the "key" value along with the Hotspot's physical latitude and longitude to assert its location to the network. A utility such as latlong.net is helpful for looking up coordinates. Gain is set in dBm and elevation is set in meters.
helium-wallet hotspots update iot <Hotspot Public Key> --lat=37.771150 --lon=-122.419200 --gain 1.2 --elevation 7 --commit
--elevation and --gain are optional values and can be updated at any time without further fees
as long as the lat/lon values remain the same. Use the built-in help command,
helium-wallet hotspots update --help for more info.
While Hotspot metadata like RSSI or pubkey are reported immediately, it may take up to 24 hours for the location information to be processed and reflected in the LNS.