Akenza
Akenza is an IoT application enablement platform, allowing you to build great IoT products and services with value. It connects, controls, and manages IoT devices; all in one place. You can sign up for a free account at https://auth.akenza.io/register.
Create Integration in Console
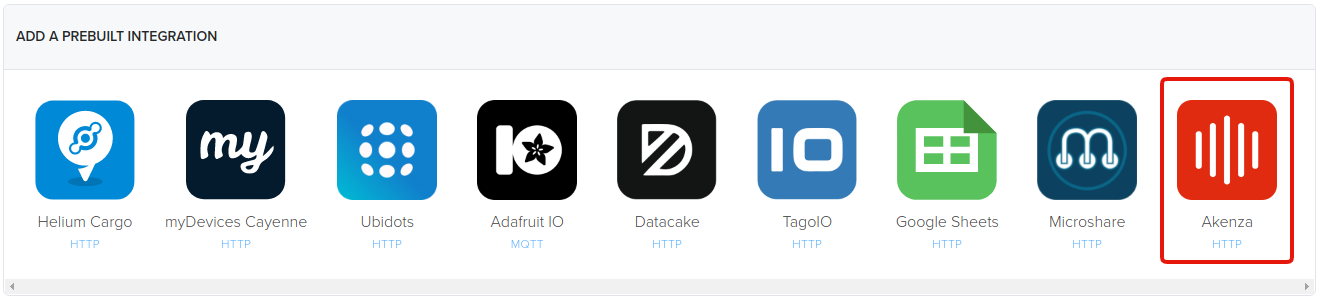
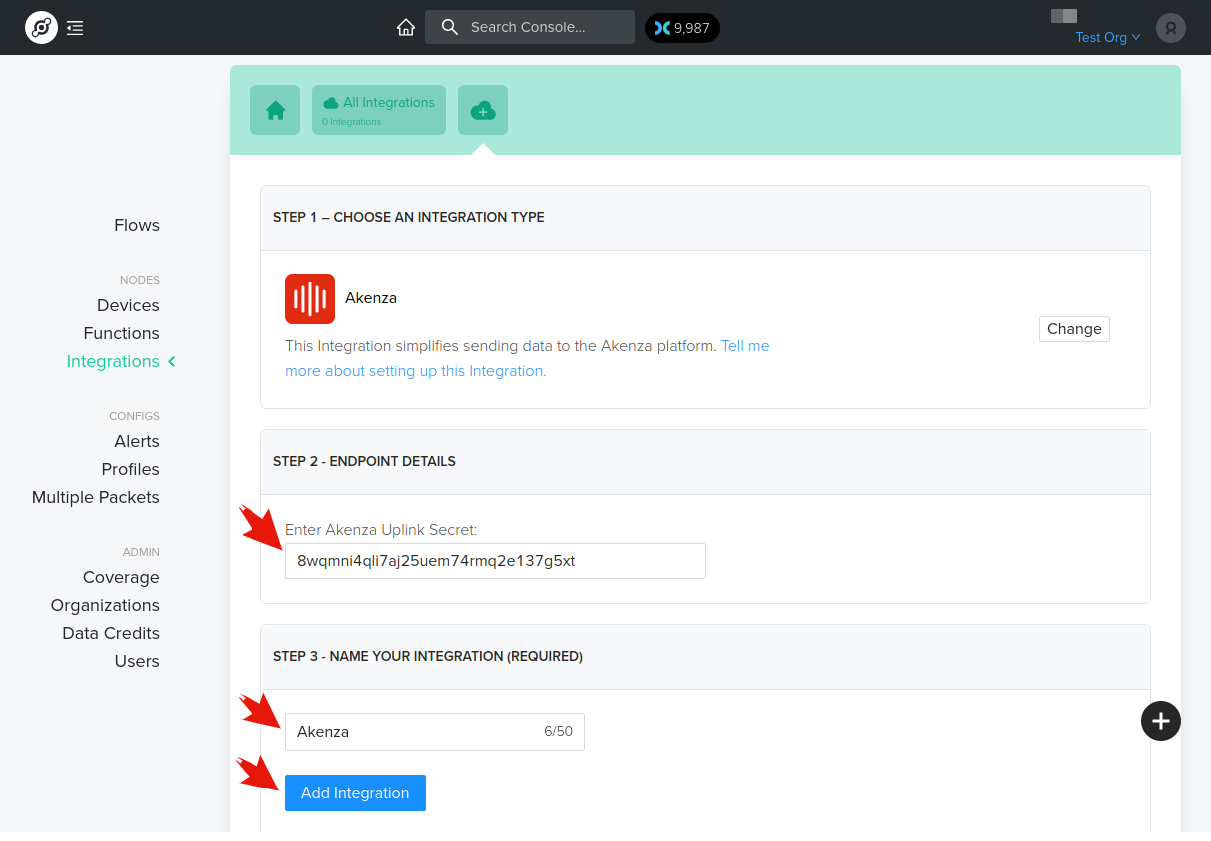
To add the integration in Console, go to Integrations on the left-hand menu. Select the integration to add - in this case, the Akenza integration as shown below.
Next you will need to navgigate to your Akenza portal in another browser window in order to obtain the Akenza uplink secret.
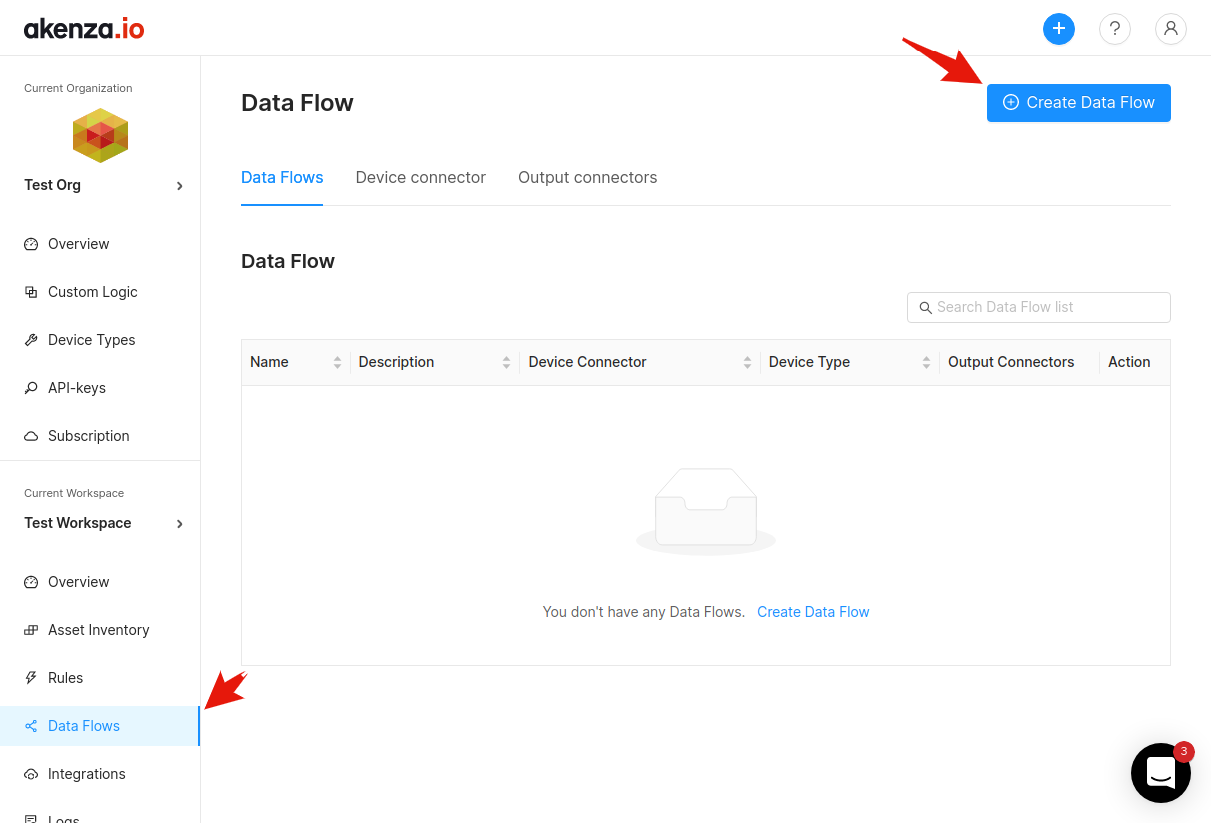
In the Akenza user portal, navigate to the Data Flows section as shown below and click Create Data Flow in the top right.
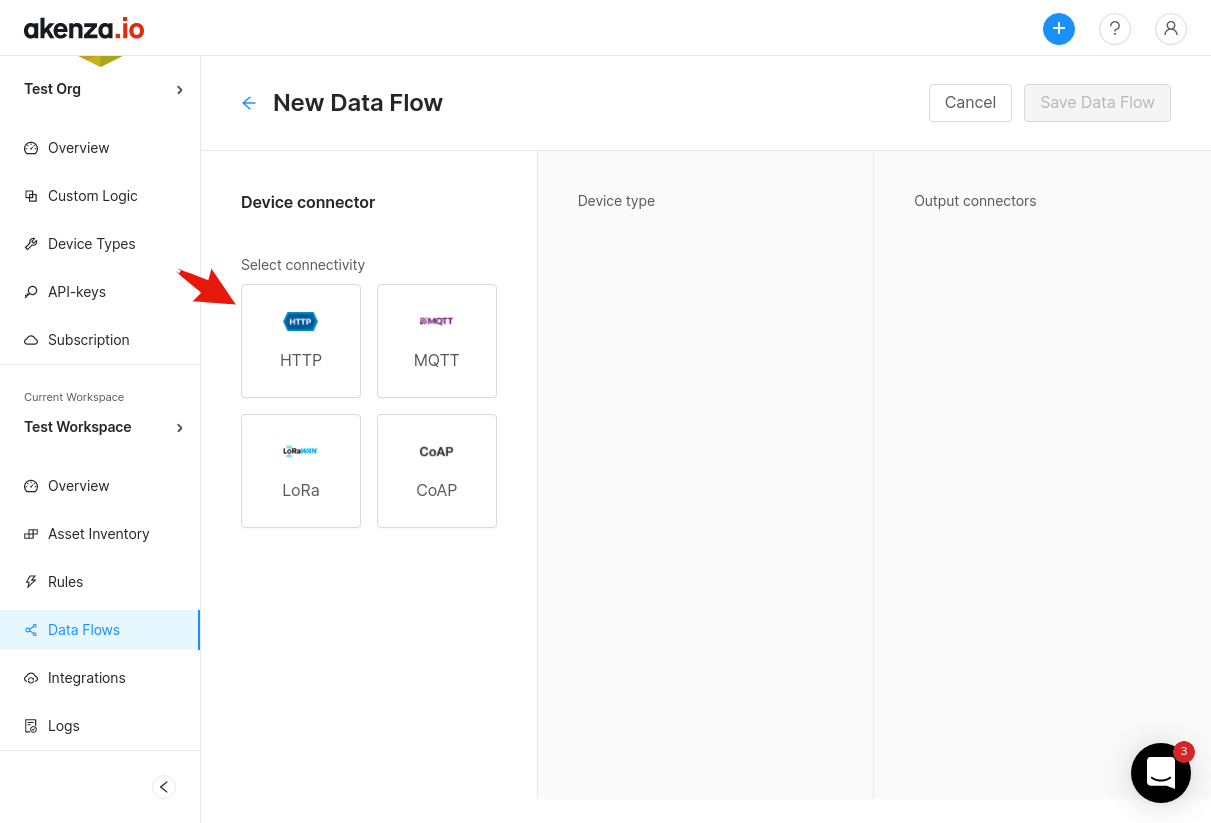
Next, select HTTP for connectivity.
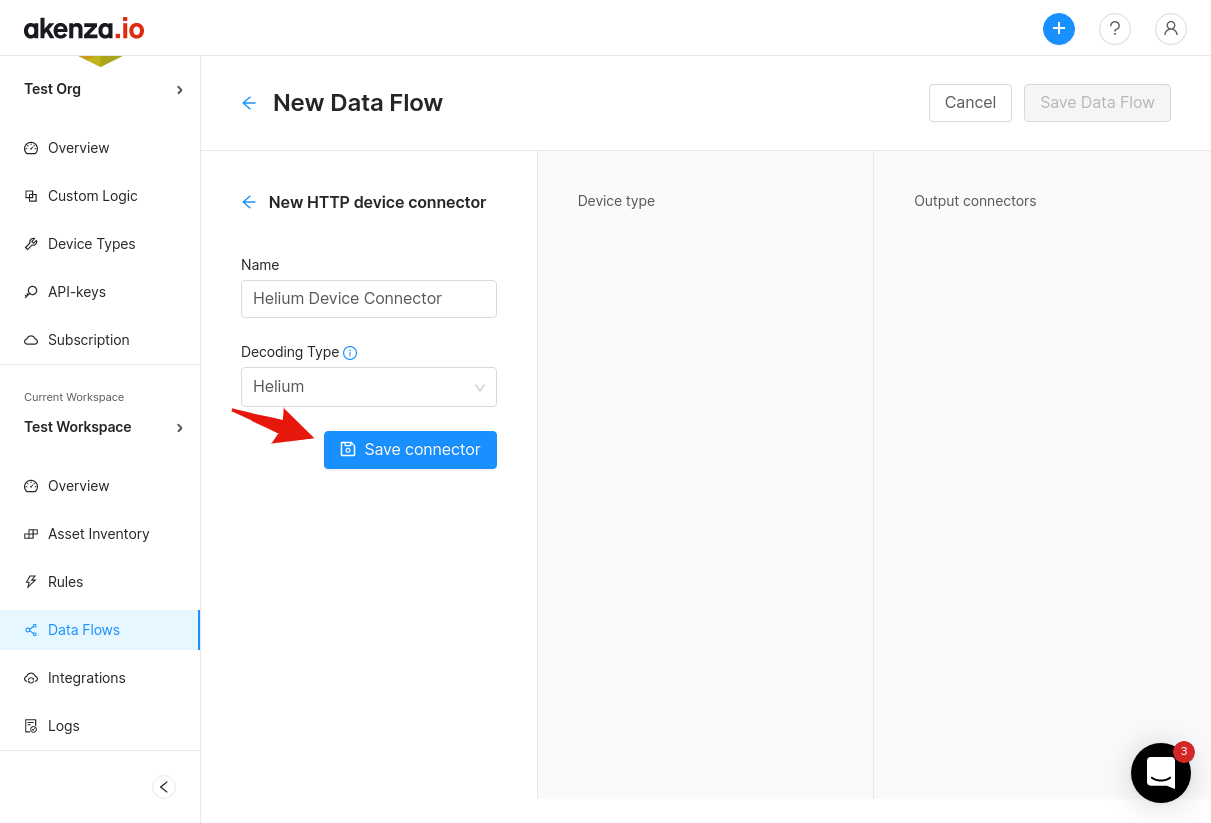
Next, name the device connector and select Helium for the decoding type. Lastly, save the connector.
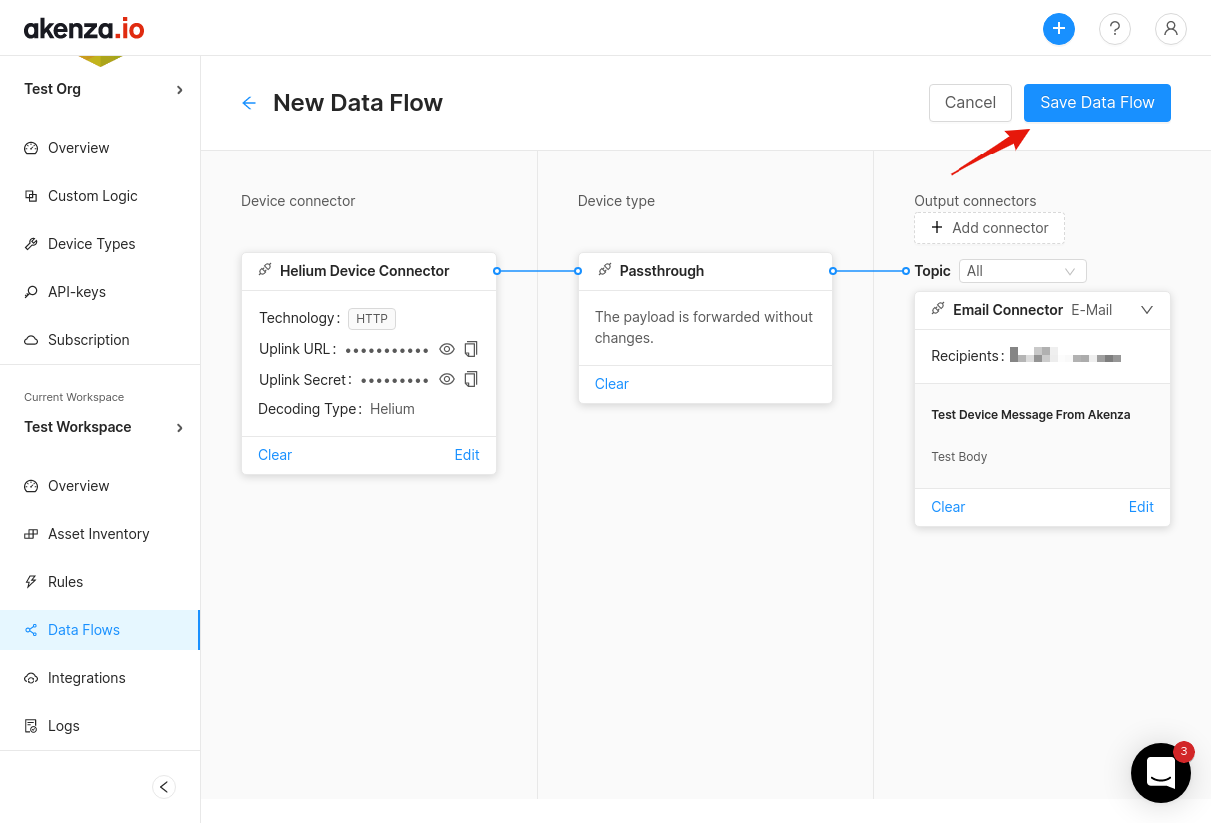
Next, for simplicity we will pick the Passthrough device type and the E-Mail connector to complete the data flow. Finally, click Save Data Flow. This Data Flow will send an email every time the device transmits an uplink.
To complete the integration creation on Console, copy the Uplink Secret as shown below.
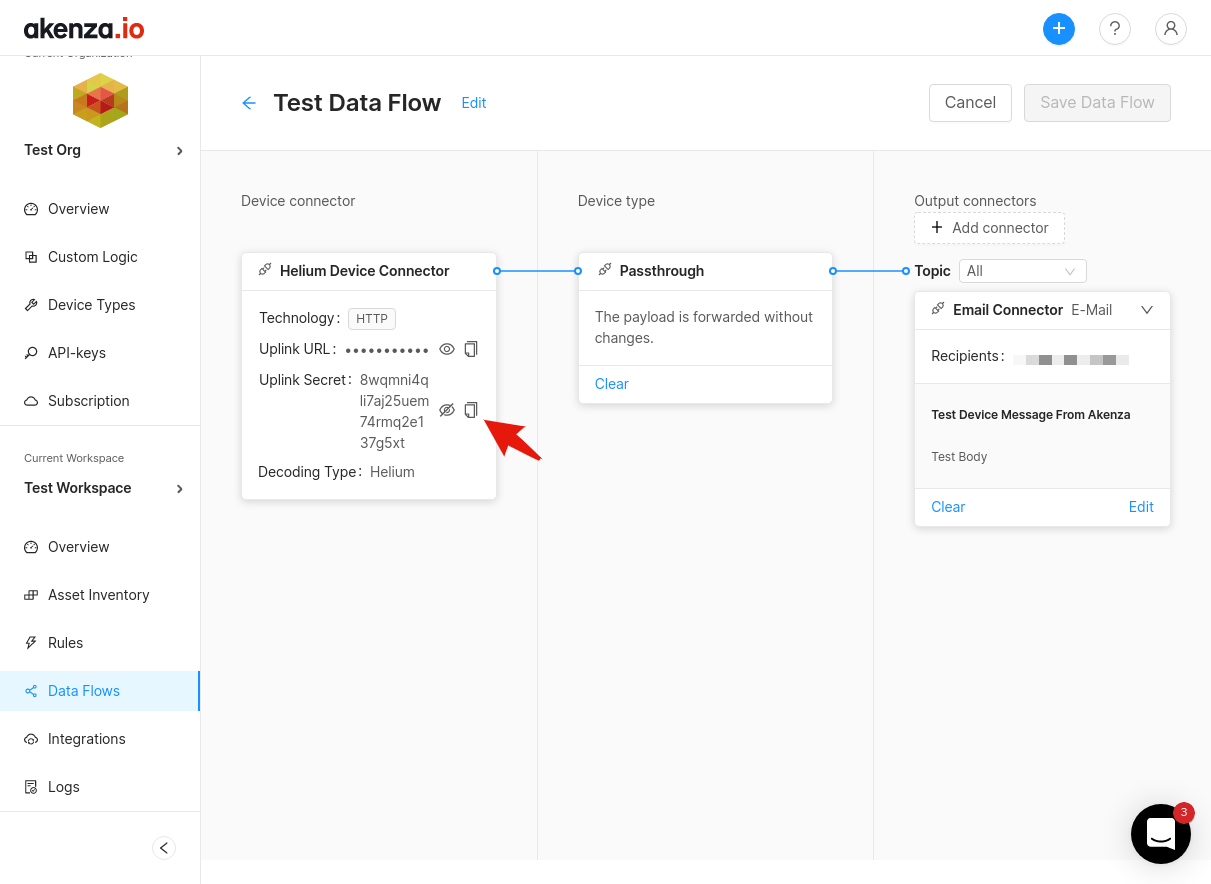
Next, navigate back to your Console browser window, paste it in the Uplink Secret field for step 2. Lastly, name the integration and click Add Integration
Create Device in Akenza
Before we connect the Akenza integration to our device in Console, we first need to make Akenza aware of it.
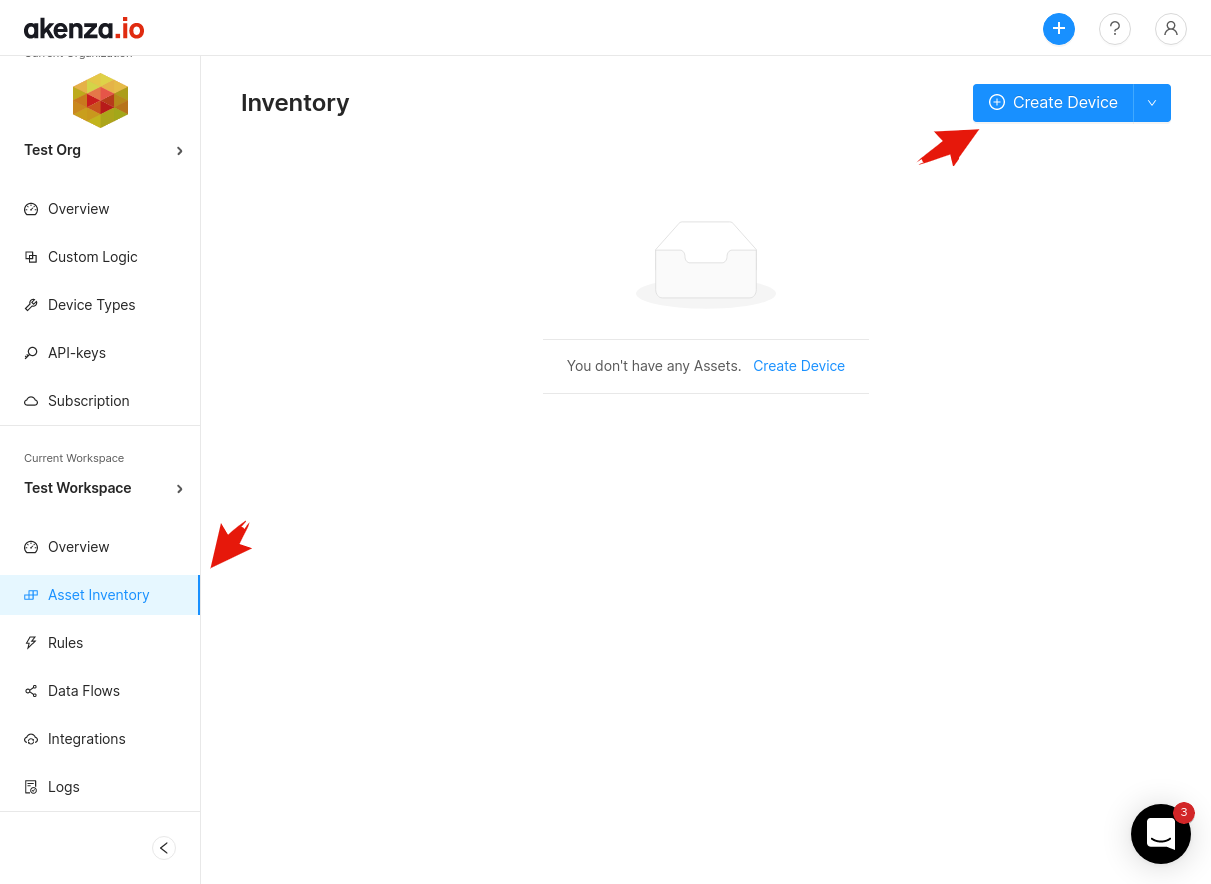
To do this, navigate back to your Akenza user portal window and create a new device by going to the Asset Inventory section and clicking Create Device in the top right as shown below.
Next fill in details such as the name and description. At the very bottom, we can establish the connection between this new device and the Data Flow we created above with the new device.
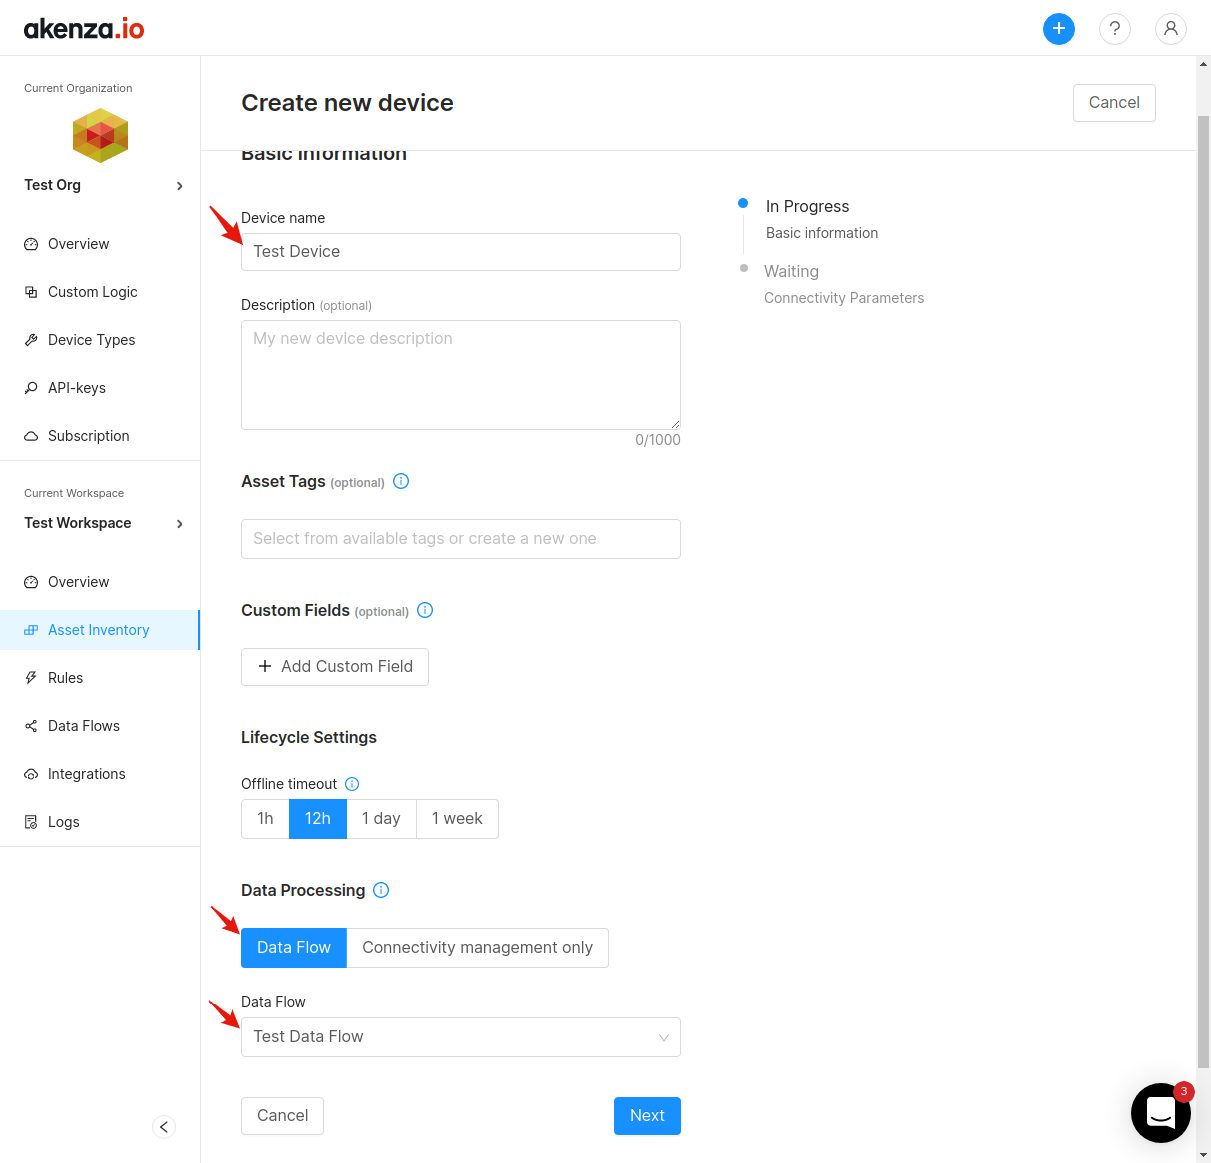
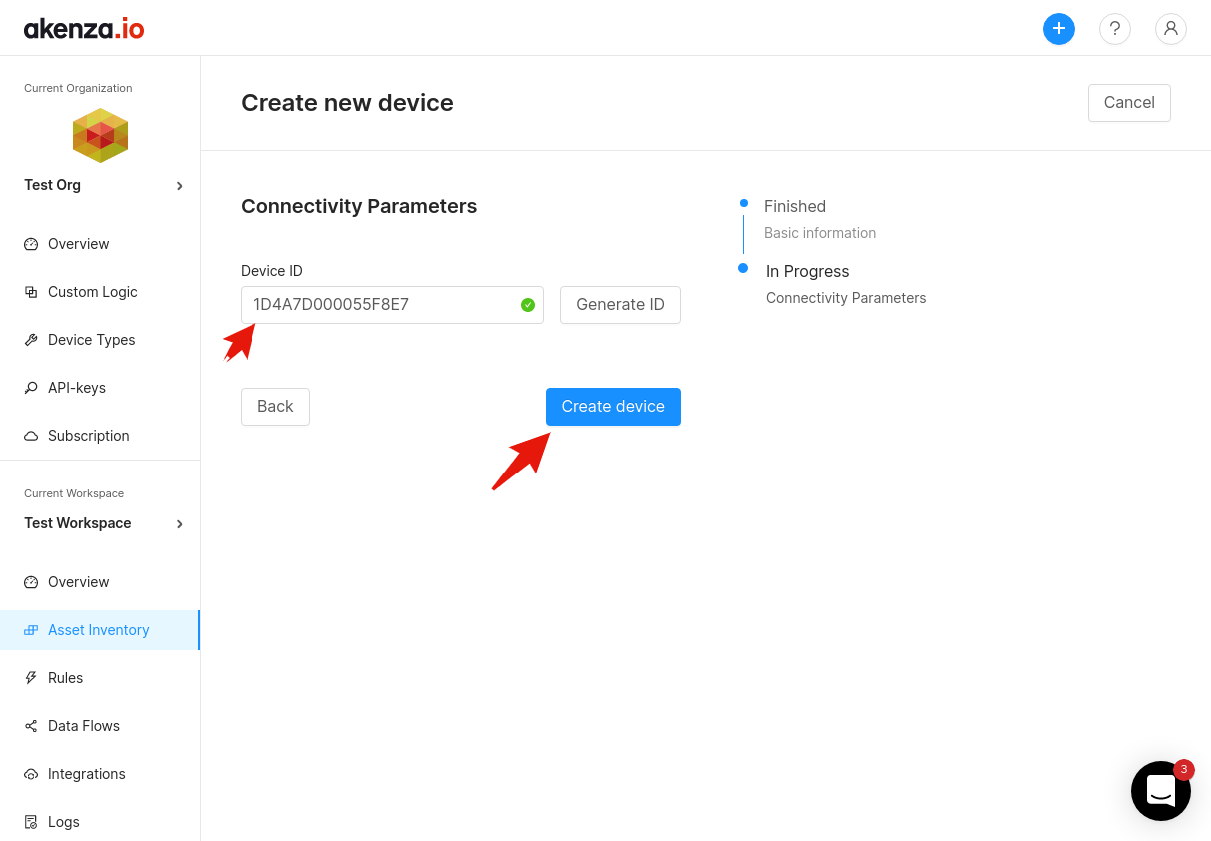
After filling in those details click Next. The final step to creating the new device is to enter the Device EUI of the device from Console. Important, this is not the ID on the Console device page, but the Device EUI as shown below. Copy the Device EUI on the Console device page as shown below.

Paste it in the Device ID field on Akenza, then finish by clicking Create Device.
This completes the steps required for setup on Akenza, but now we must connect our device to the Akenza Integration on Console, follow the steps below.
Connect Akenza Integration to Device
The final step to completing the Akenza integration with a device is to create a flow connection. Navigate to the Flows page on Console, add the device and integration nodes, and finally connect both of them as shown below.
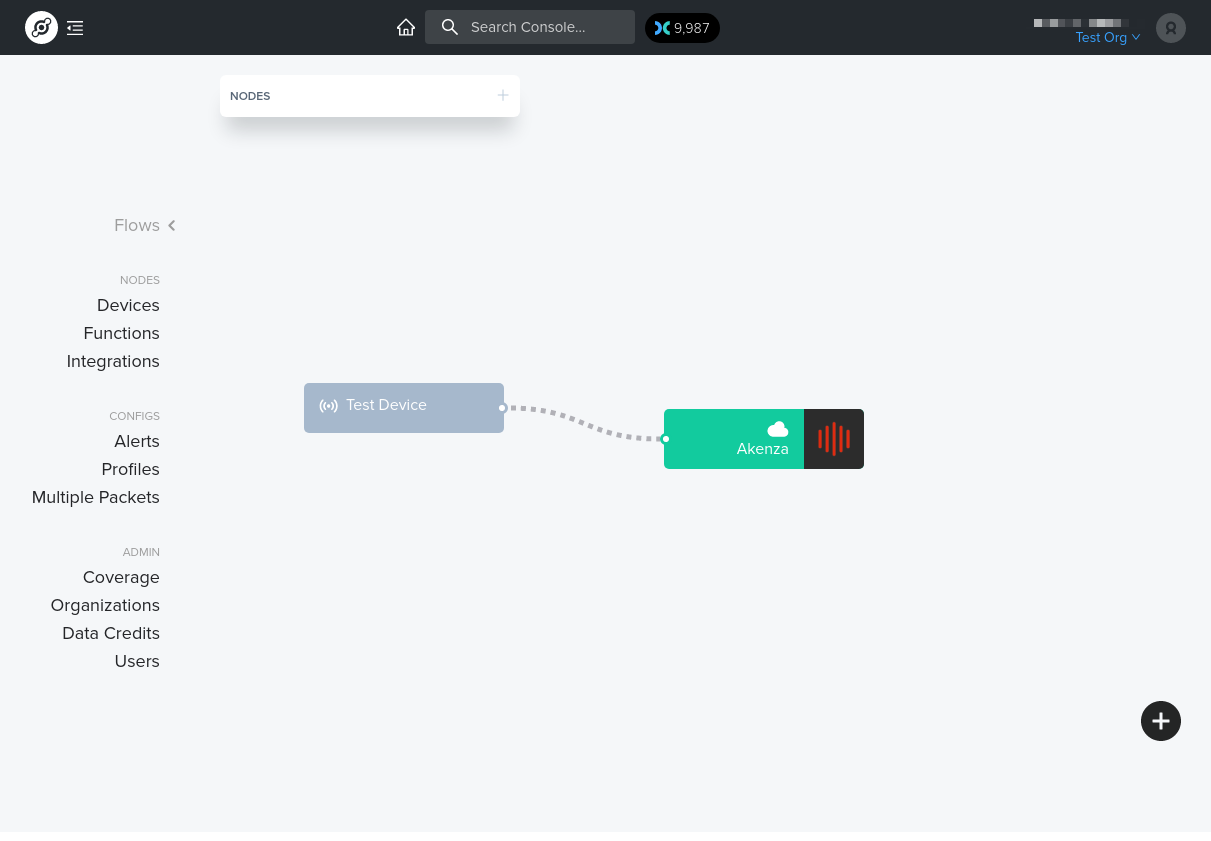
Your device data should now be flowing to Akenza once your device transmits an uplink.