Adafruit IO
Adafruit IO is a powerful but simple to use Internet of Things platform from Adafruit. It makes data from devices useful by allowing you to display, respond, and interact with it. You can sign up for a free account at https://io.adafruit.com.
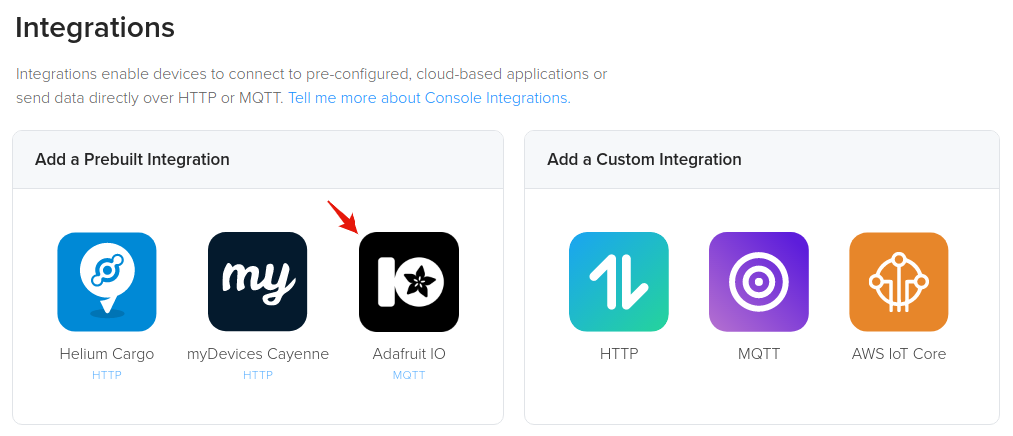
To add the integration in Console, go to Integrations on the left-hand menu. Select the integration to add - in this case, the Adafruit IO integration as shown below.
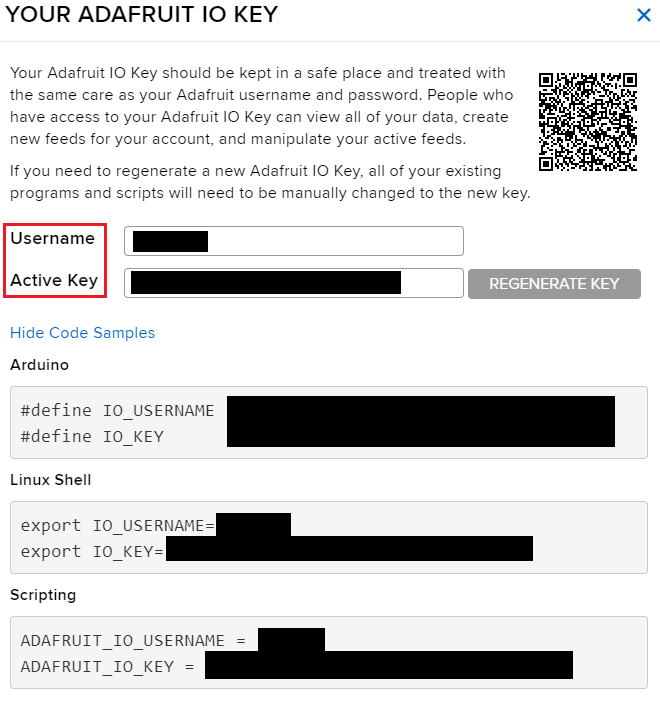
The next step is to enter your Adafruit IO username and key. These can be found by visiting https://io.adafruit.com and clicking MyKey in the top right corner as shown below.

You will then be presented with both your username and key as shown below.
Copy these values into the username and key fields in Console for the integration configuration shown below.
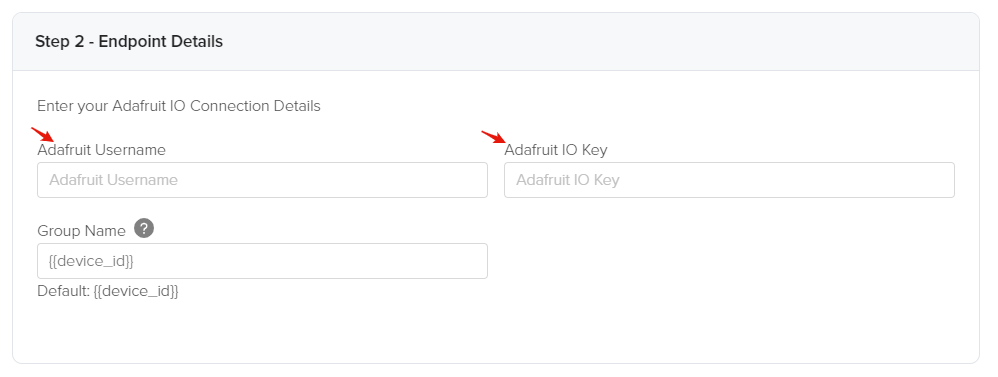
Last for this step, you can optionally change the group name that is set to {{device_id}} by
default. The group name is used to group one or more data values that is received from a device and
sent to AdafruitIO in a single message. This name is used as the default because it is guaranteed to
be unique for every Helium device. You can use any of the available template tags which are auto
populated when messages are actually sent, which are {{device_id}}, {{device_eui}}, and
{{device_name}}. This integration uses group topics to send device data to AdafruitIO over MQTT,
you can read more about it here.
Next, let's name the integration in step 3. You will use this name to identify the integration when attaching it to devices.

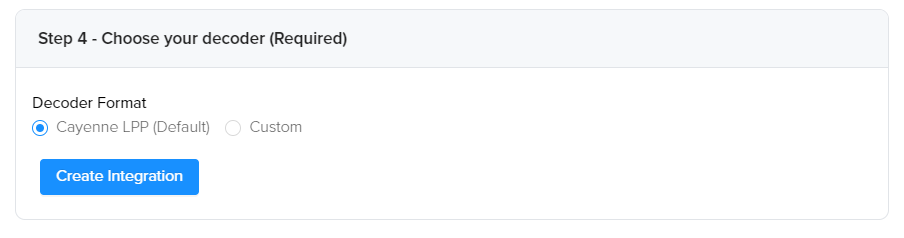
The very last step is to select the decoder that will be used to decode the data payload received from your device. We suggest using the CayenneLPP decoder as shown below and encoding your data with CayenneLPP as this will be a seamless experience and not require any further configuration on Console. You can learn more about CayenneLPP encoding here as well as find an Arduino library for it here. If you are comfortable with writing your own decoder and template then simply select Custom and then search for your function decoder. Last be sure to click Create Integration to finish.
Connecting Integrations to Devices
Devices or groups of devices (via labels) can be directly connected to integrations on the Flows Workspace. Labels are identifiers used to group devices for easy management. To connect one or more devices to one or more integrations, simply connect the Device and Integration nodes on the Flows Workspace.
Quick video tutorial connecting devices to an integration here.
Node elements (devices, labels, integrations) need to be created before they're available on the Flows Workspace. More information about Flows here.