Rak7201 Wisnode Button 4K
Overview
The RAK7201 WisNode Button 4K is a remote wireless trigger device. It supports user-defined functions for each key and is based on the LoRaWAN 1.0.2 protocol. Supported LoRaWAN bands are IN865, EU868, AU915, US915, KR920, and AS923.
This WisNode Button is suitable for a variety of Smart Home applications. Including, but not limited to, entertainment system control, control of lights, a snooze button for the alarms, or a remote trigger. A device with long-range wireless connectivity, amazing battery life, and four programmable buttons. There are tons of applications this device can fit into.
Product Features
- Four (4) buttons with LED indicator
- Product size: 43 x 57 x 15 mm
- LoRaWAN® 1.0.2 compatible
- Battery: 350 mAh
- Battery working time: 1 year (Rechargeable)
- Power consumption:
- Transmit: 77.4-153 mA (Transmit current depends on factors such as transmit power, SF and Payload Length)
- Standby: 4.8 uA
- Operating temperature: -20º C to 60º C
- Working environment: Indoor
Useful Resources
Connecting to Helium (The People's Network)
Before going through each and every step in connecting the RAK7201 to Helium, it is recommended to check first our Quick Start Guide.
Helium has quickly become the most widespread LPWAN communal network with more than 27,000 devices deployed globally. All the RAKwireless node products are compatible with it and the process of adding a device to the network is intuitive and straightforward. This section will focus on giving a brief guide on how to connect the RAK7201 to the network console, assuming that there is a Helium Hotspot within range.
Log in or create your account here.
Once registered/logged in, you will end up at the home page, where you can see your function tree on the left and DC balance at the top, as well as a number of useful links.
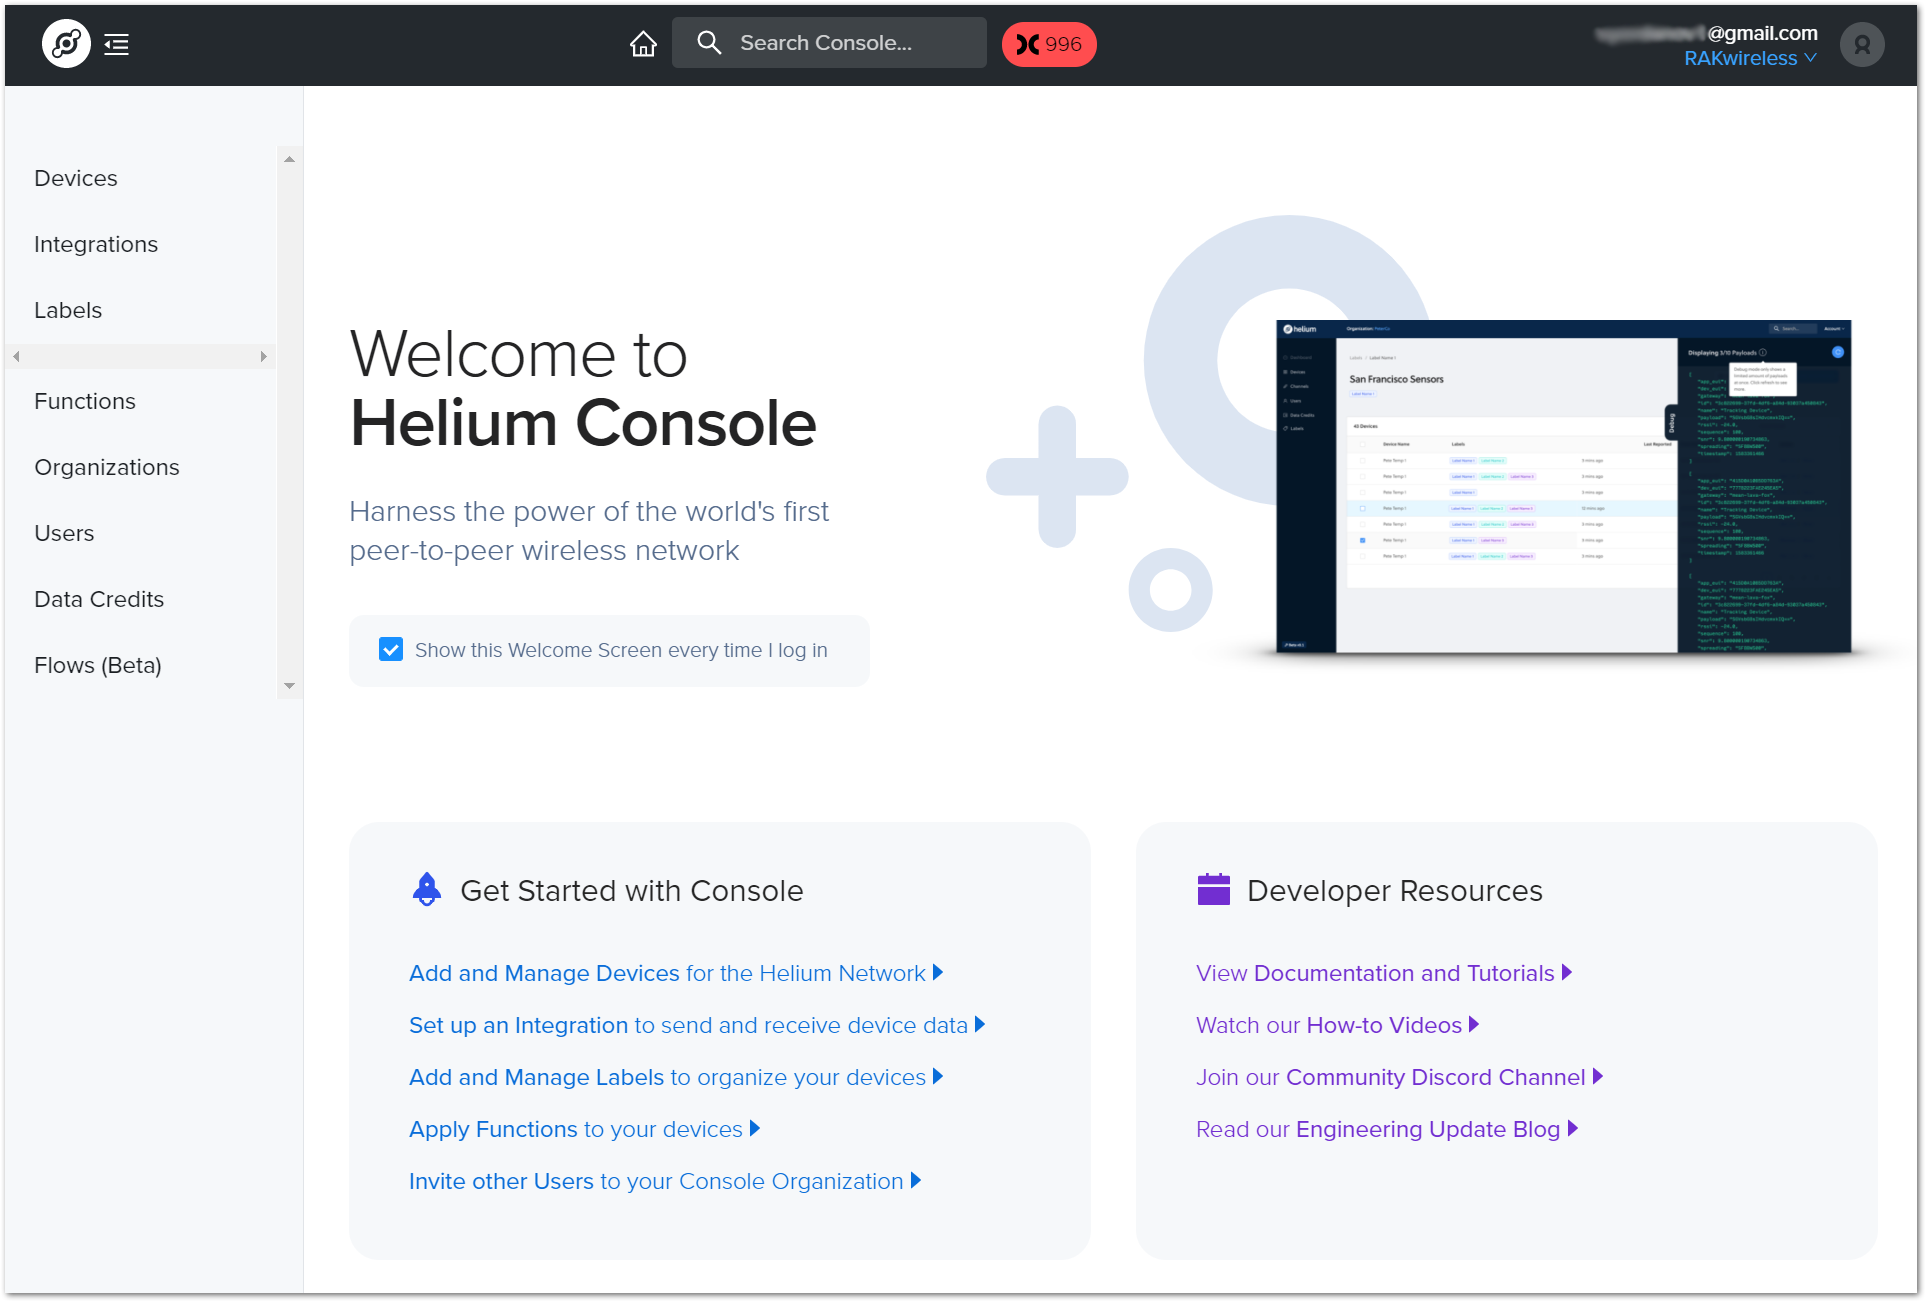
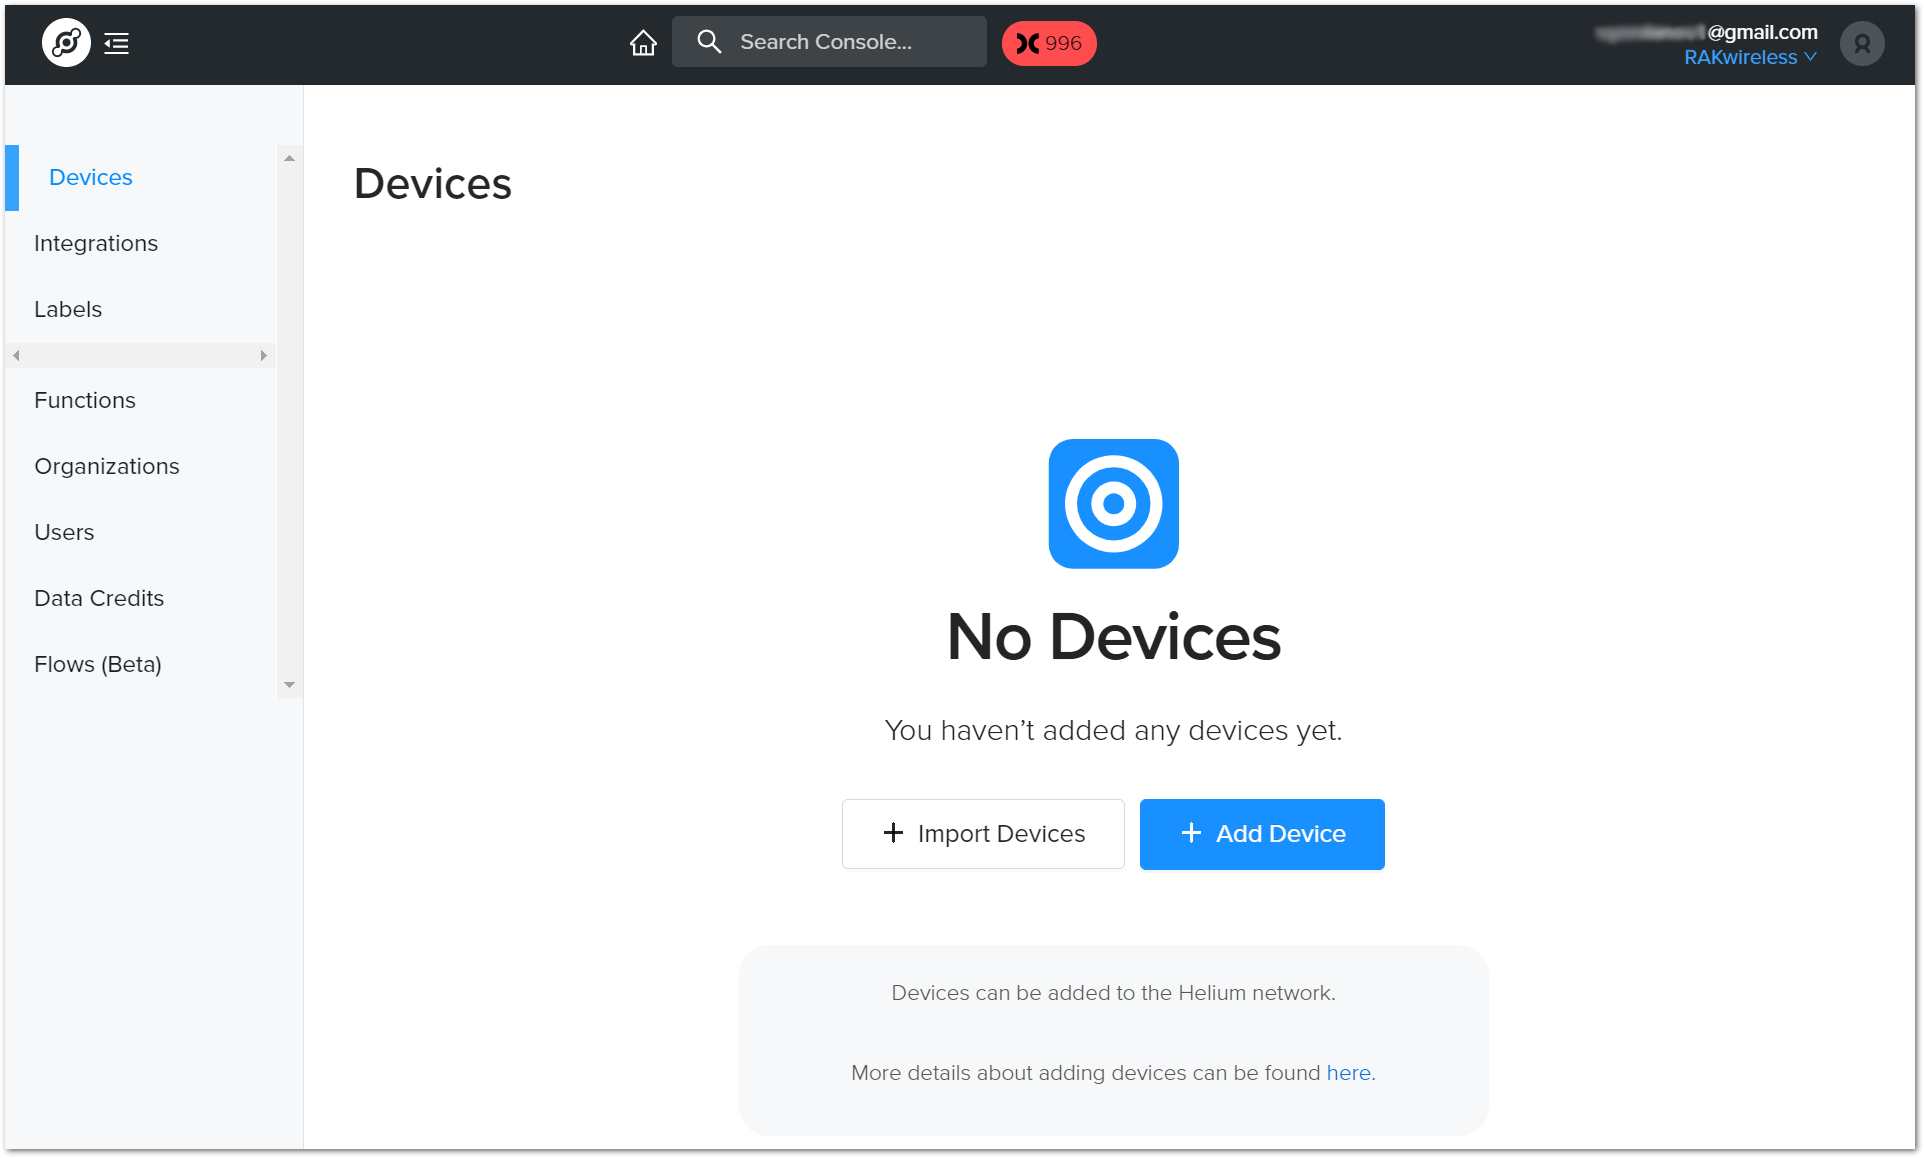
Go to the Devices section in the function tree. There will be no registered devices if this is your first time doing this. To add a device, click the + Add Device button and get started.
A window will pop up with a set of fields containing the device parameters required for its registration.
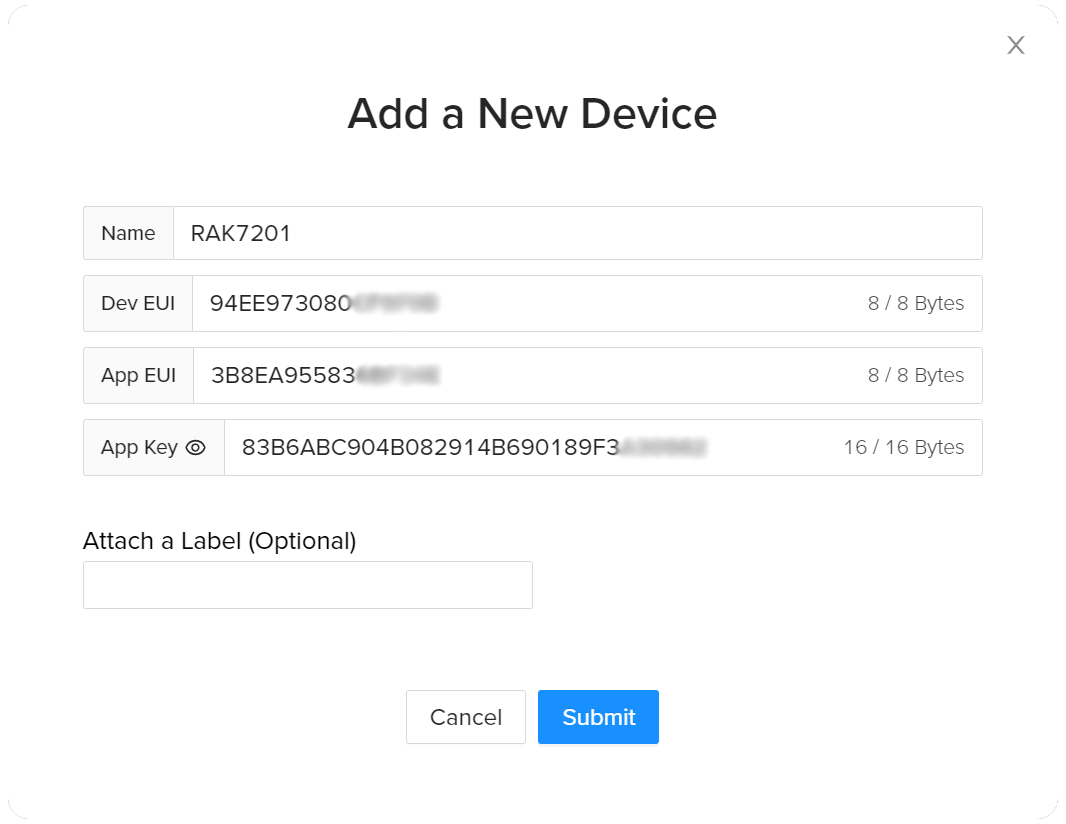
ill in a name of your choosing. The Dev EUI, App EUI, and App Key will have random values generated for you by default. Press the eye icon to reveal the values. You can manually replace them with values of your own. For this tutorial, default values are used. Press the Submit button, and you are done.
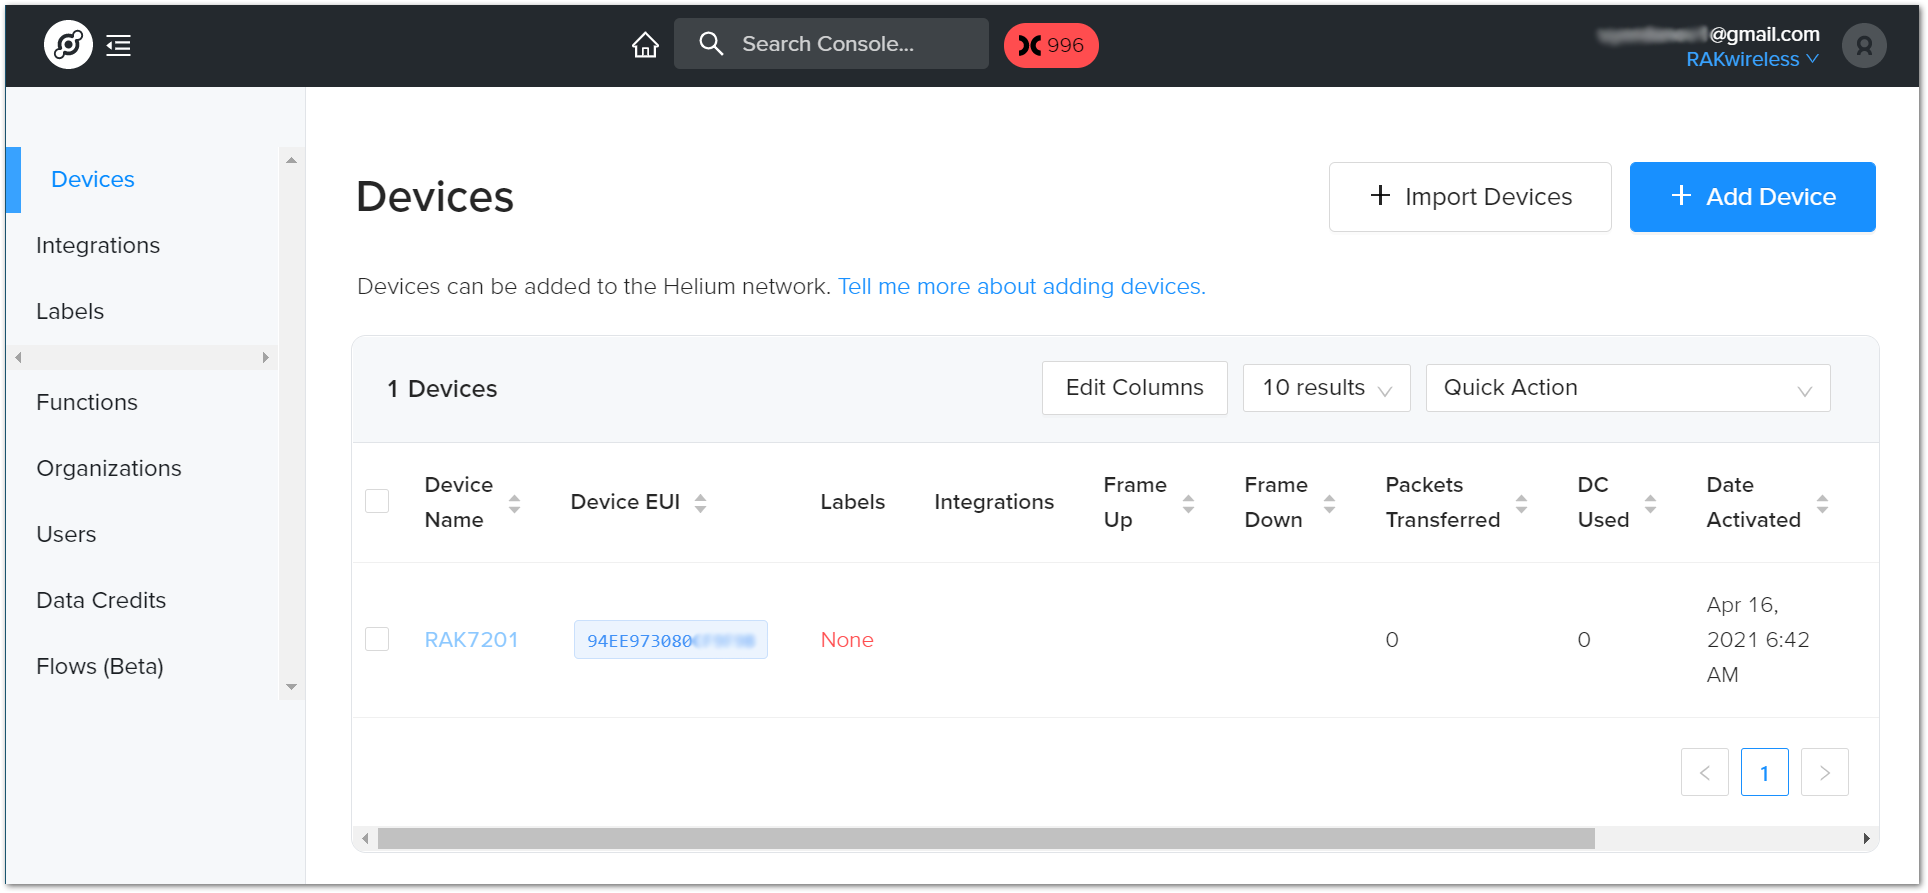
Now, your RAK7201 is registered and is awaiting activation. For this to happen, import the Dev EUI, App EUI, and App Key in the RAK7201 using the RAK Serial Port Tool.
Open the tool, select the desired port (default baud rate) and open it. Hold the button 1 for 3 seconds to enter configuration mode, and then start importing your settings.
Configure your LoRa band and activation mode. This tutorial will be using the EU868 band and OTAA (the only option available for now with Helium) with device class A (the default one does not need configuring).
- Regional band, device class, and activation mode setting
at+set_config=lora:join_mode:0
at+set_config=lora:region:EU868
- Enter the Dev UI
Use the command below by replacing the XXXX with your Device EUI from the Helium console:
at+set_config=lora:dev_eui:XXXX
- Enter the App EUI
The same as with the Device EUI, replace the XXXX with your value:
at+set_config=lora:app_eui:XXXX
- Enter App Key
Finally, fill in the App key with the command:
at+set_config=lora:app_key:XXXX
- Join Network
Finish executing the join command for the node to initiate the join procedure. Once the procedure is initiated and completed, you will have a notification in the serial console.
at+join
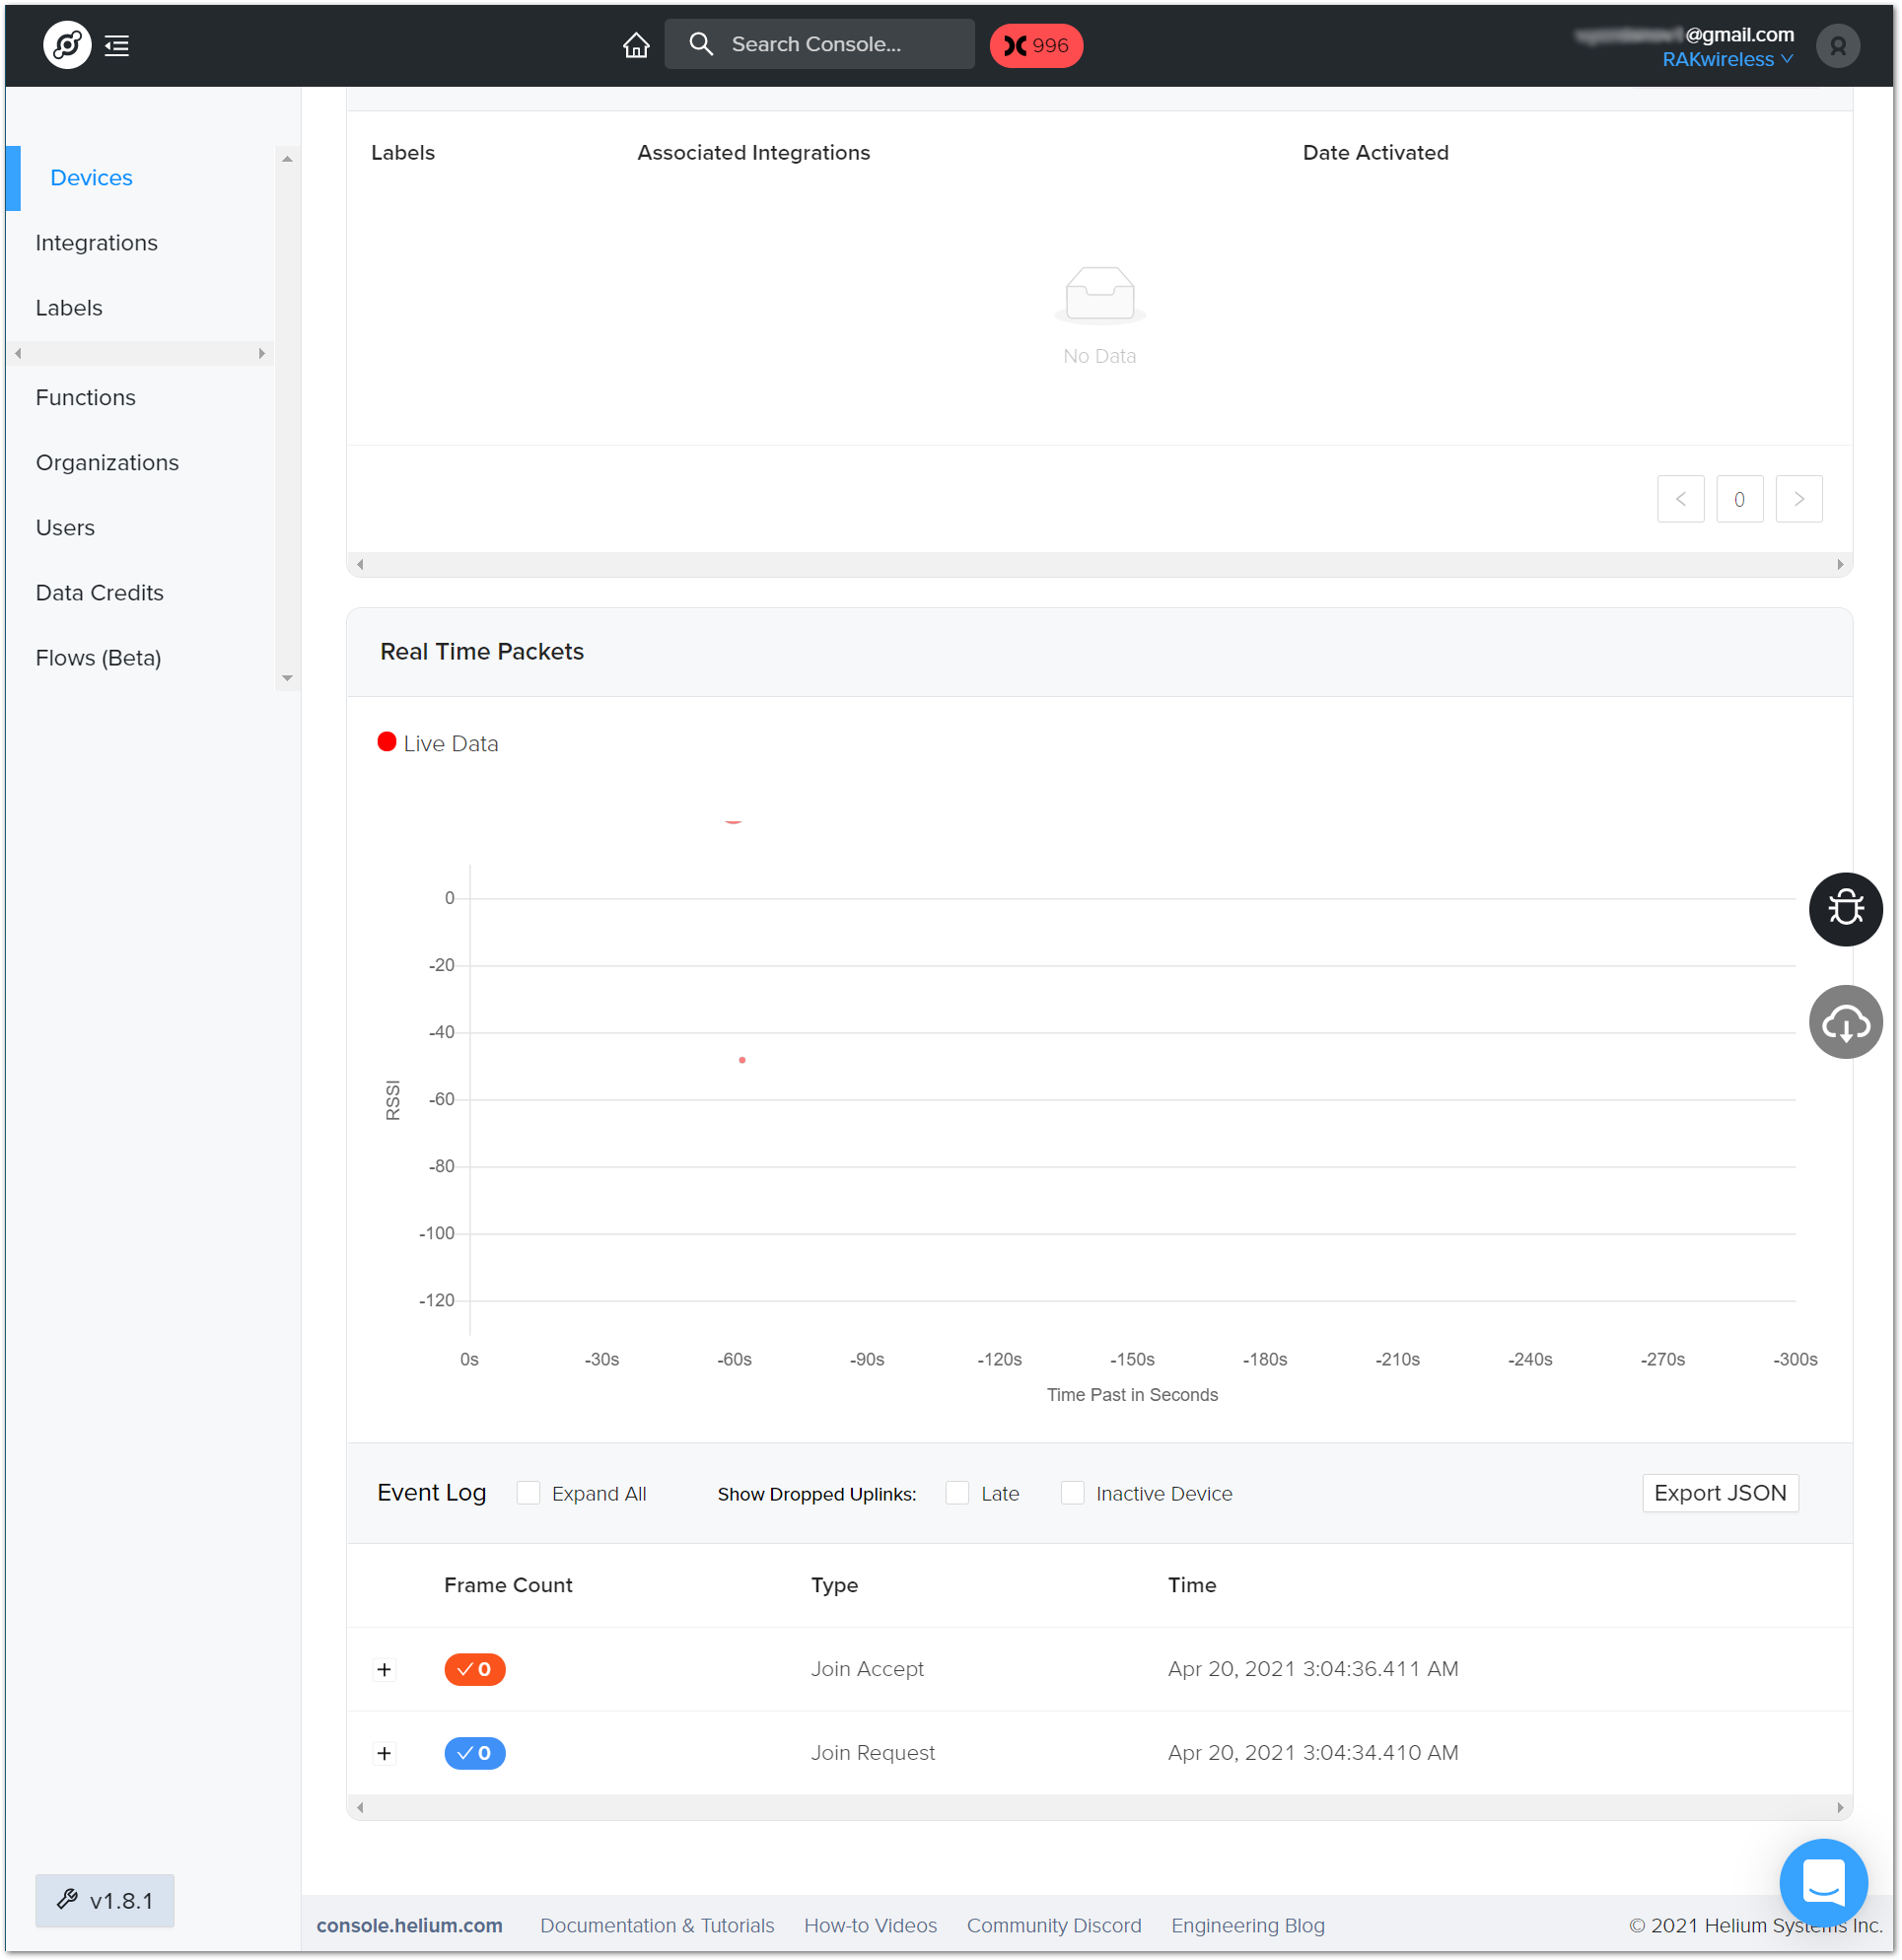
Your output should resemble the one in figure below:

If you take a look at the Helium console, you will also see the join request packets both in the graph and event log. Your node is now a part of the Helium Network.