PlatformIO
ST B-L072Z-LRWAN1 PlatformIO Guide
Introduction
Before we begin, please make sure you've followed the steps from this guide, which goes over some initial setup steps.
Objective and Requirements
In this guide, you will learn:
- What hardware and software are required
- Where to find additional WisBlock documentation as well as links to hardware retail outlets
- Software required
- Where to find sample embedded application projects
For these examples, you will need the following:
Hardware
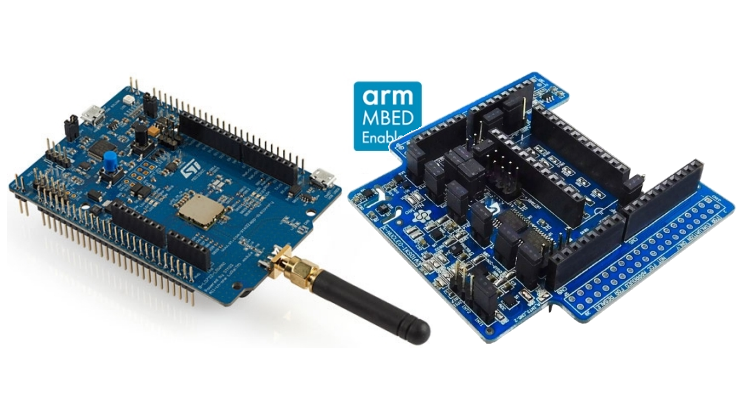
- STMicroelectronics B-L072Z-LRWAN1 Discovery kit
- Micro USB Type B Cable - Example
Software
The following products are required.
PlatformIO - An Easier Way to Develop Embedded Applications
PlatformIO is a cross-platform, cross-architecture, multiple framework, professional tool for embedded systems engineers and for software developers who write applications for embedded products.
PlatformIO provides developers with a modern integrated development environment (Cloud & Desktop IDE) that works cross-platform, supports many different software development kits (SDKs) or Frameworks, and includes sophisticated debugging (PIO Unified Debugger), unit testing (PIO Unit Testing), automated code analysis (PIO Check), and remote management (PIO Remote). It is architected to maximize flexibility and choice by developers, who can use either graphical or command line editors (PlatformIO Core (CLI)), or both.
If you are used to developing using the Arduino IDE but constantly feel constrained by the environment, you are going to love what PlatformIO opens up for you.
The many widget views available within PlatformIO.
This guide will walk through installing PlatformIO and deploying a Helium Arduino program on the ST Discovery Development Kit. Let's do it.
Installing PlatformIO
Download and install Microsoft's Visual Studio Code, PlatformIO IDE is built on top of it.
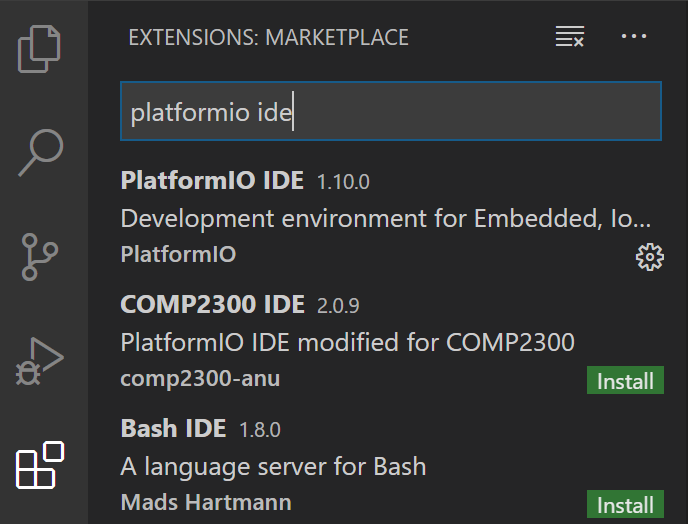
- Open VSCode Extension Manager
- Search for official PlatformIO IDE extension
- Install PlatformIO IDE. (https://marketplace.visualstudio.com/items?itemName=platformio.platformio-ide)
It is highly recommended to give the quick-start guide a read. It will help you navigate the new interface. https://docs.platformio.org/en/latest/integration/ide/vscode.html#quick-start
In this tutorial, I will be using the Helium Developer Kit.
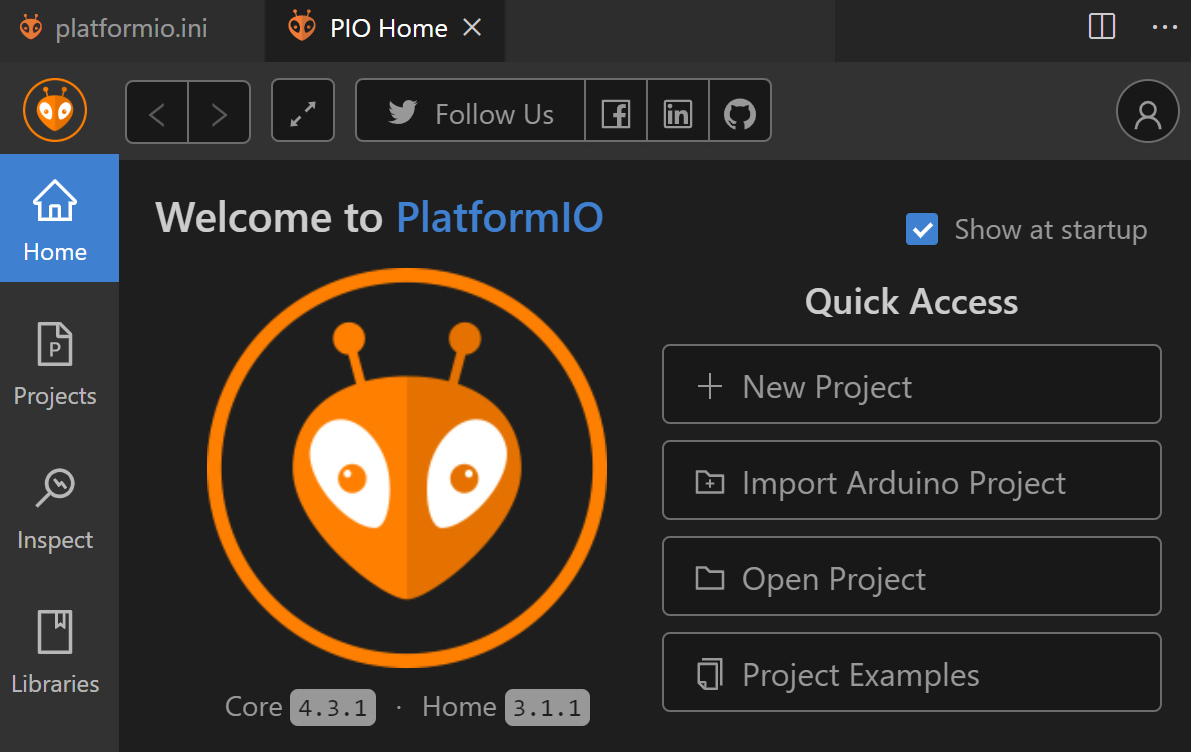
Once PlatformIO is installed, you should be welcomed to VSCode with the following "PIO Home" screen:
Starting a new PlatformIO Project
Let's click on "New Project" to get started.
Enter a project name and select the following board:
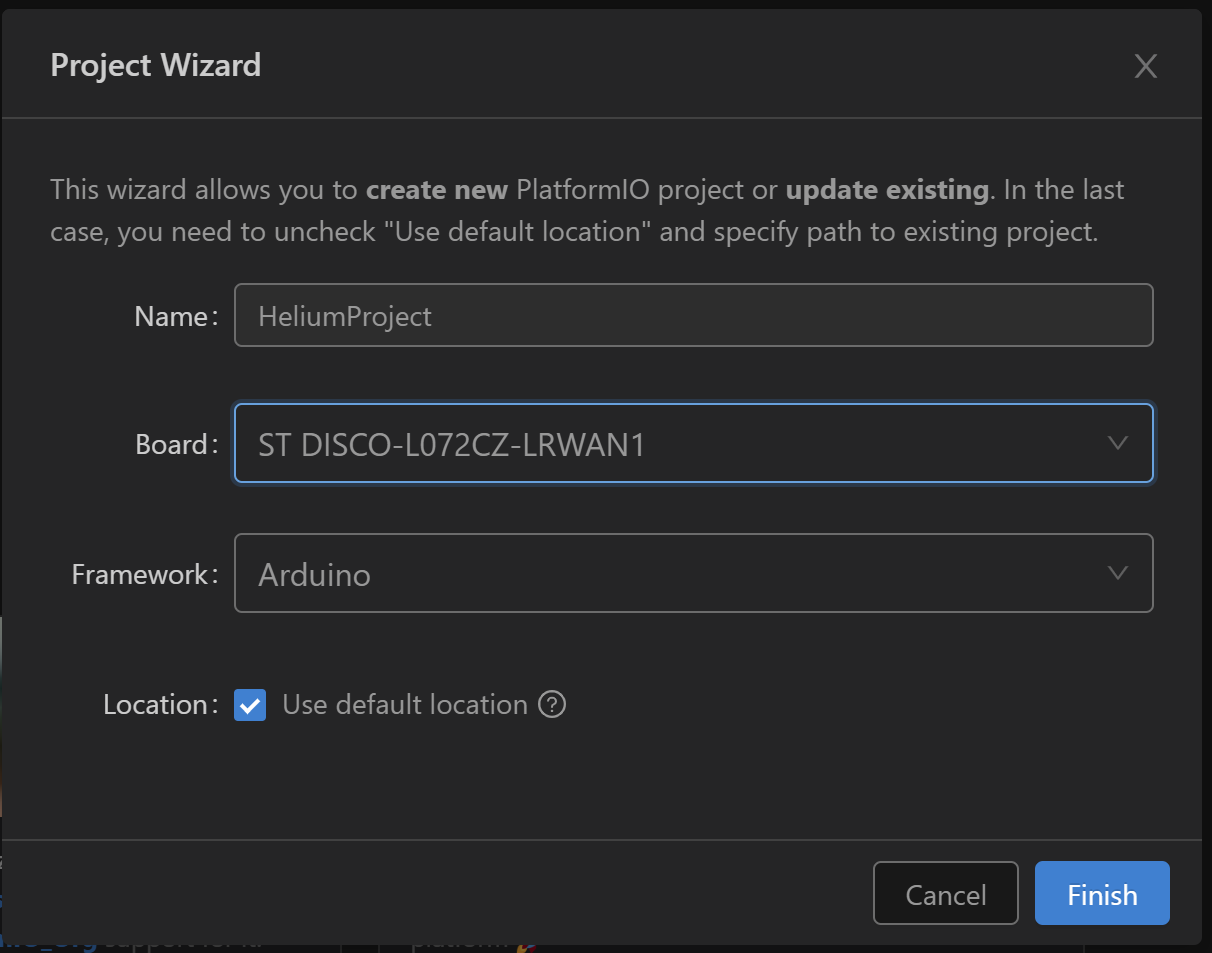
We will be using the Arduino Framework, so go ahead and click "Finish".
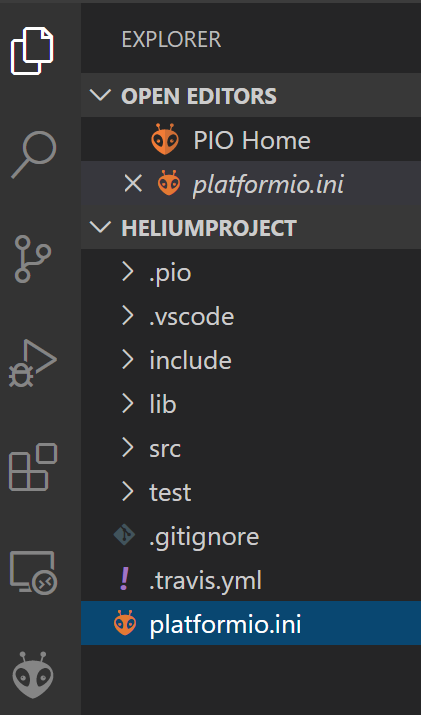
This may take a bit on the first run, but you should soon be left with a project that looks as such:
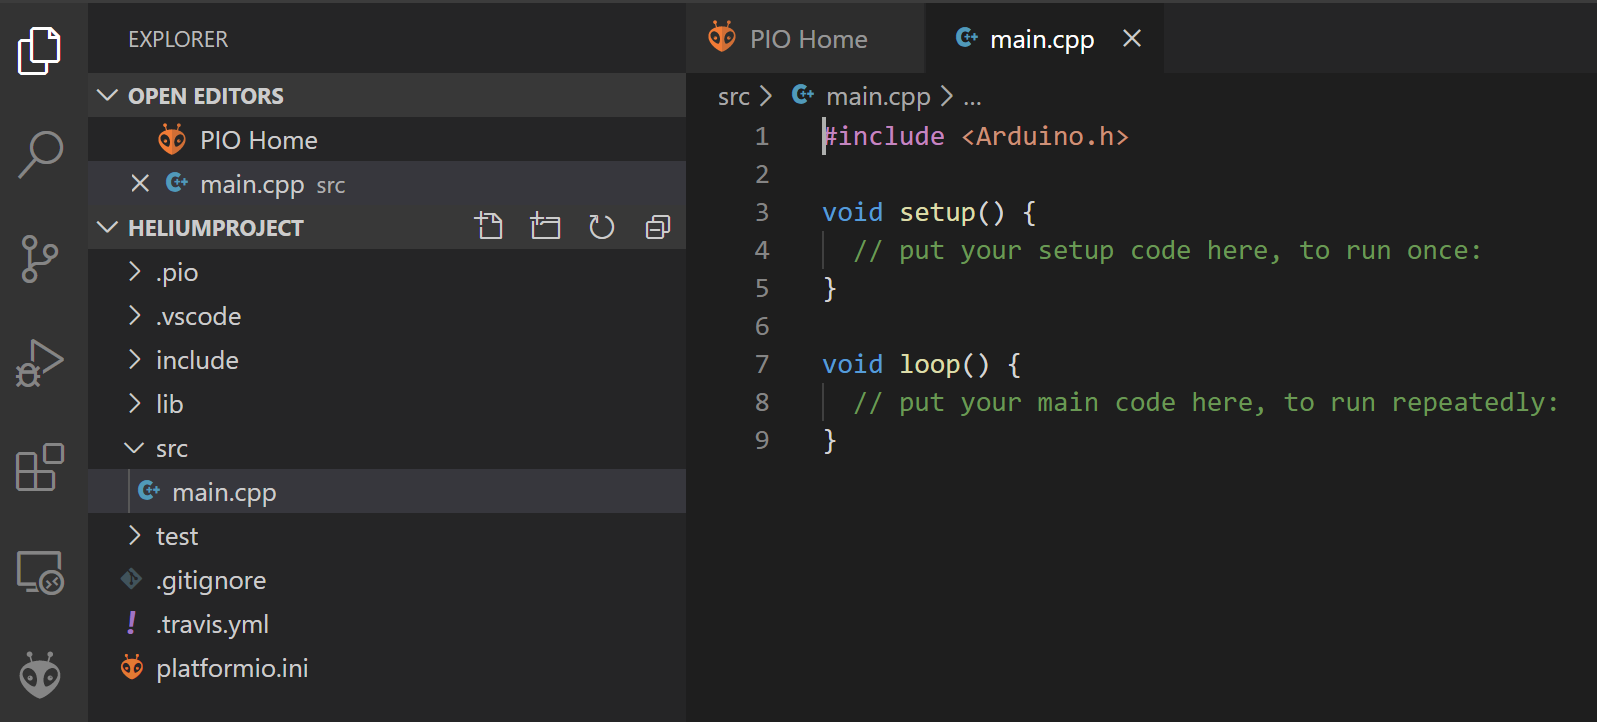
If we look into src/main.cpp, we see the familiar empty Arduino sketch structure:
Let's take a second here to look at the platformio.ini file in the root of our new project:
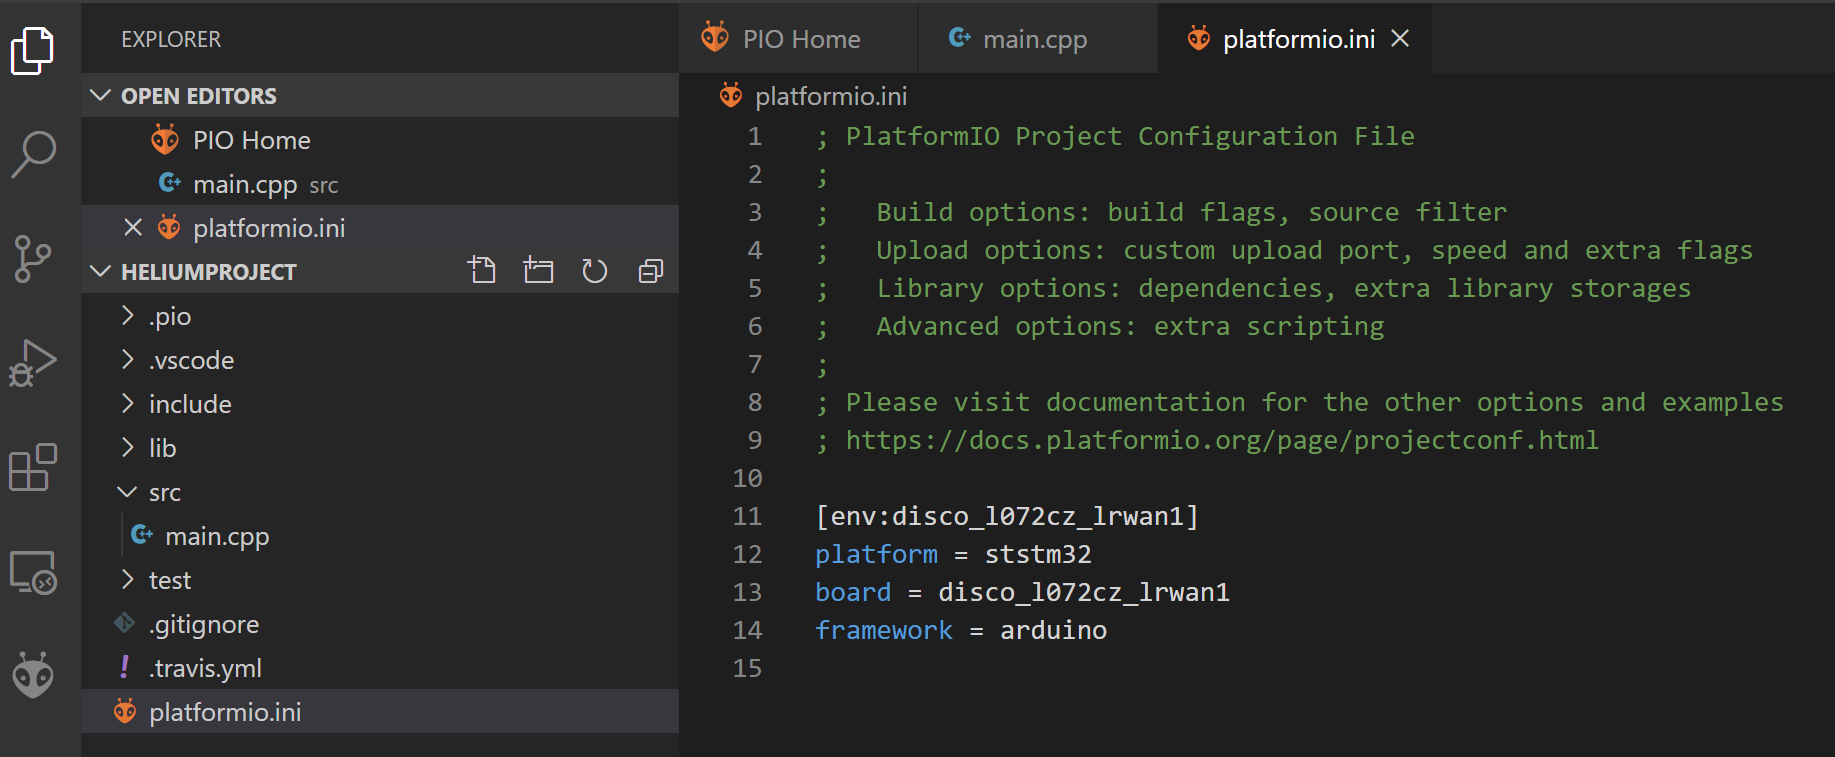
Notice that we specify the environment that we are going to be developing in using the following variables:
- platform
- board
- framework
At this point, you may click the PlatformIO Build checkbox in the status bar, and the project will build (just don't expect it to do anything yet):
You may notice something unexpected here (but very cool, and we will get into that here in just a bit):
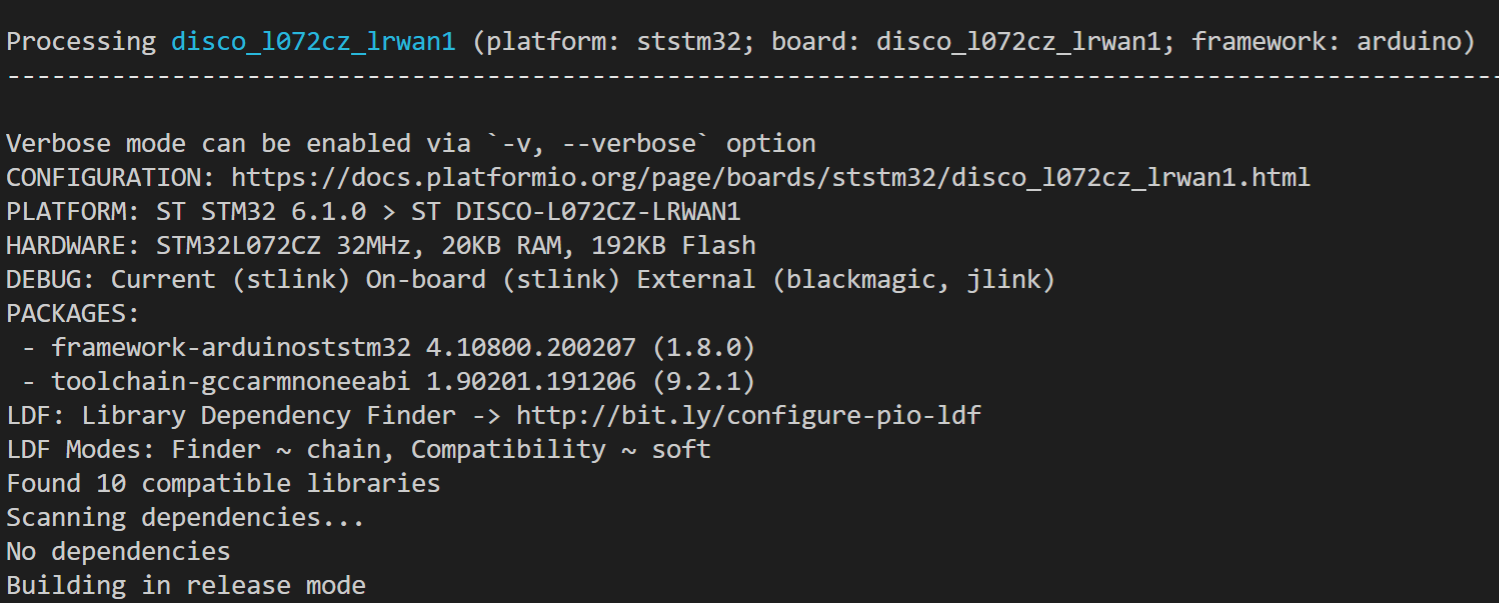
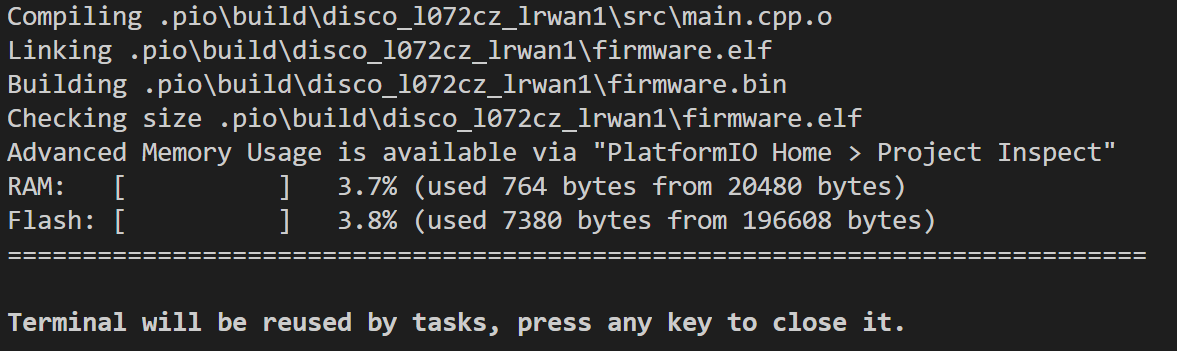
Above, PlatformIO "knew" what platform we were building on and installed what was necessary. This
will come in handy, as we can add libraries into our platformio.ini file, and they will be
added in at build time.
If, on the PIO Home page, you select the "Devices" icon on the left, you will see the physical devices that are connected to your development machine, and what ports they are connected to:
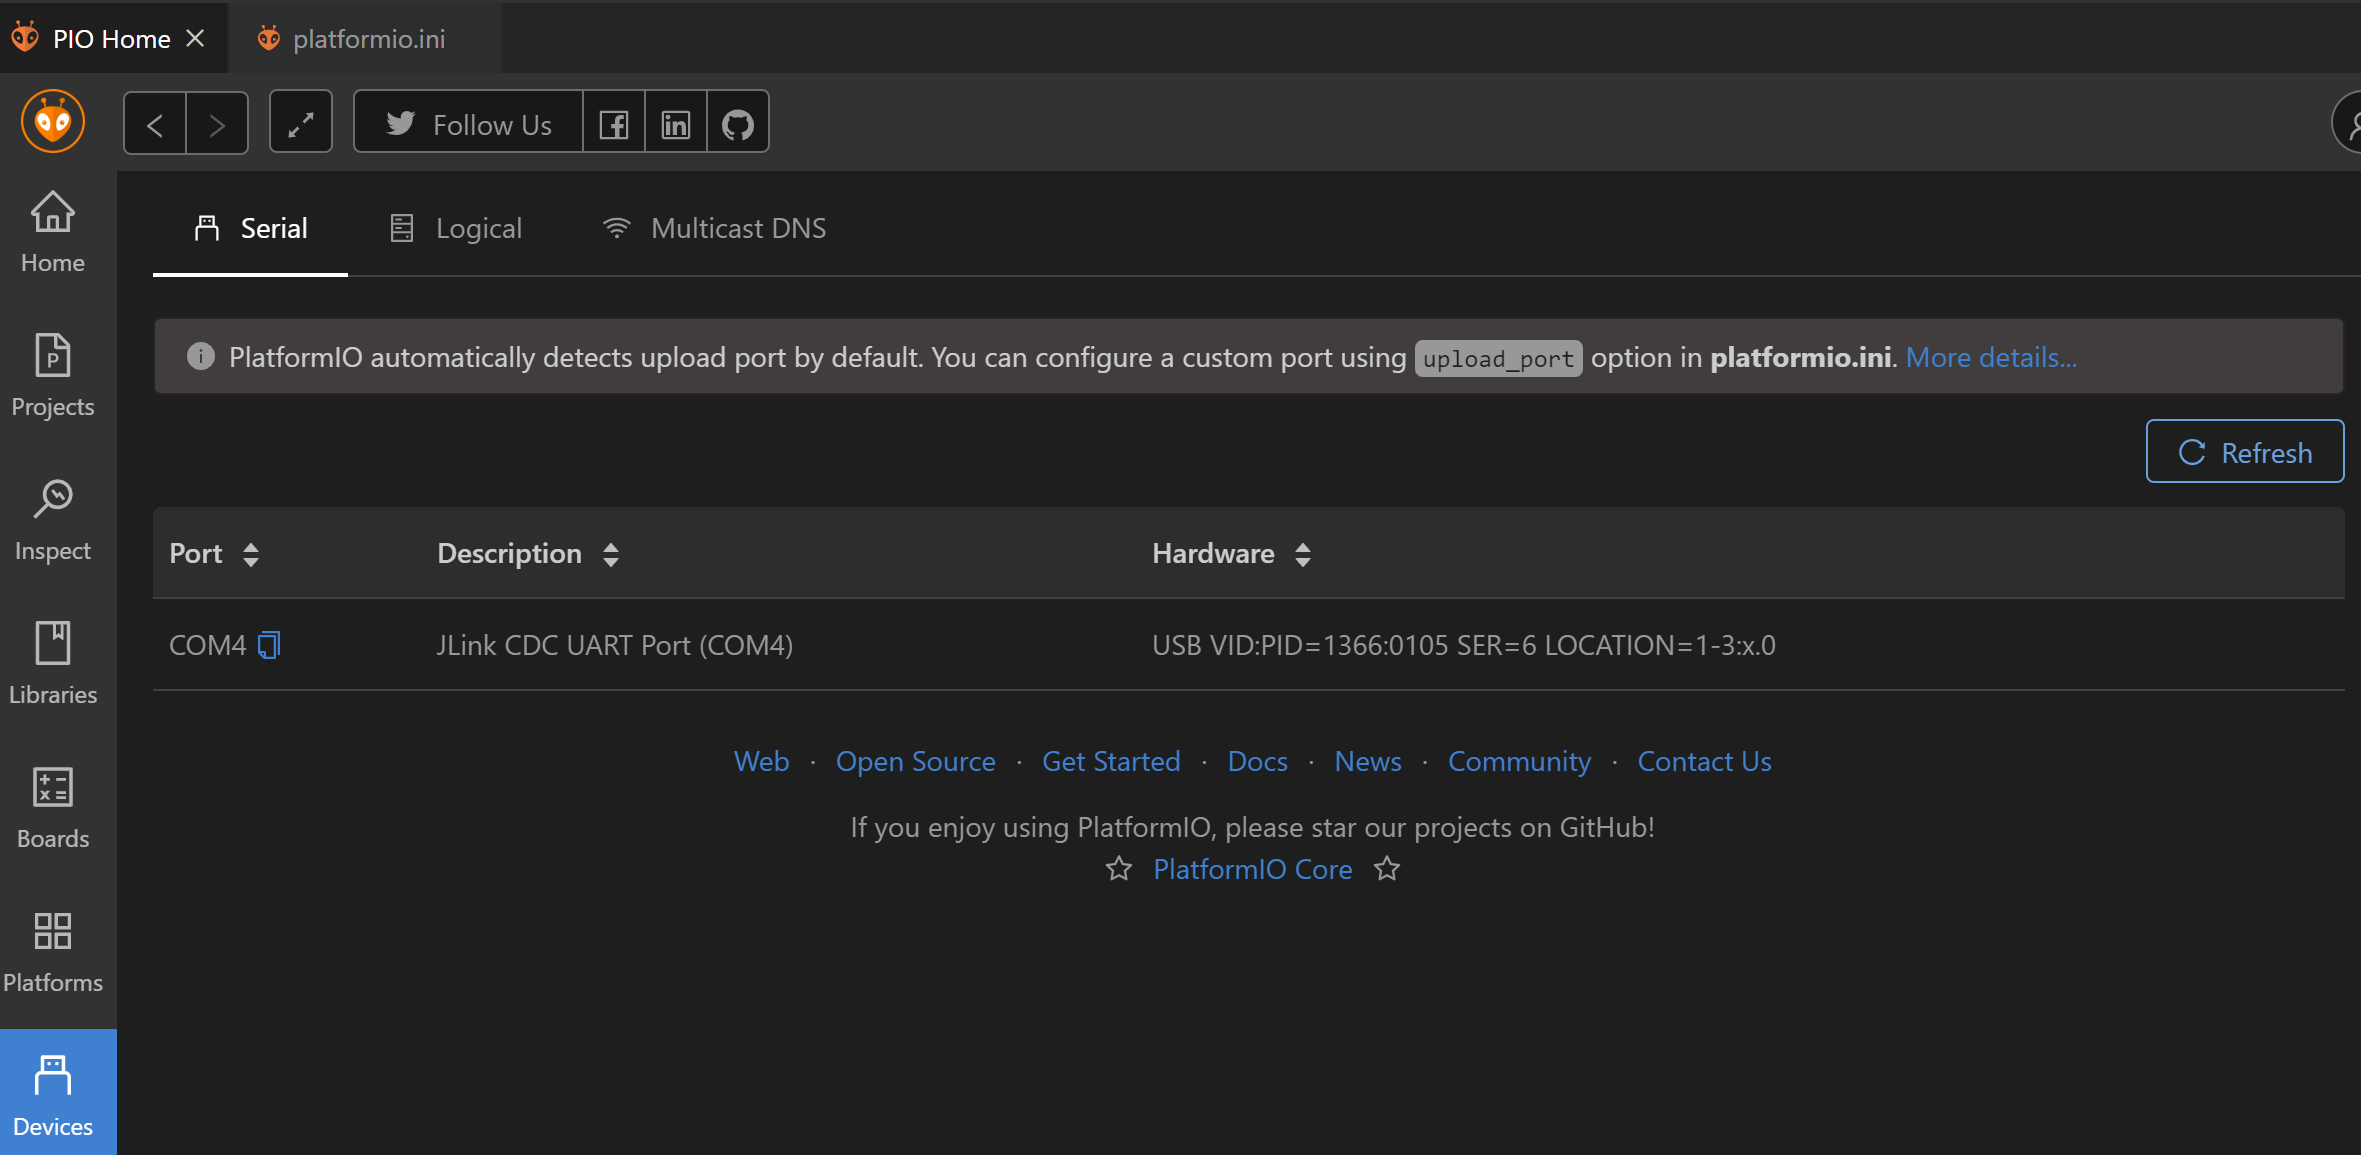
Notice that under Description, it says we are running "JLink" rather than "ST-Link". If we were to attempt to flash the board at this point, we would get a failure that looked like this:
Configuring upload protocol...
AVAILABLE: blackmagic, jlink, mbed, stlink
CURRENT: upload_protocol = stlink
Uploading .pio\build\disco_l072cz_lrwan1\firmware.elf
xPack OpenOCD, 64-bit Open On-Chip Debugger 0.10.0+dev (2019-07-17-11:28)
Licensed under GNU GPL v2
For bug reports, read
        http://openocd.org/doc/doxygen/bugs.html
debug_level: 1

srst_only separate srst_nogate srst_open_drain connect_deassert_srst

Error: open failed
in procedure 'program'
** OpenOCD init failed **
shutdown command invoked

*** [upload] Error 1
===================================================================================== [FAILED] Took 16.63 seconds =====================================================================================
The terminal process terminated with exit code: 1
What happened here? Well, we have this board set up to use a SEGGER JTAG interface rather than the
ST-Link interface that is integrated into the Discovery board. There are a number of advantages of
this approach, and I would highly suggest doing this. It will make your development iteration
process much faster.
Luckily, SEGGER has provided a method to (non-destructively) replace the ST-Link on our board
with a JTAG interface.

Head here to walk through the simple process.
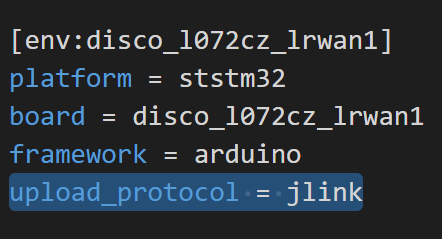
We then need to add one additional line to our platformio.ini file to let PlatformIO know that we
will be using a JTAG interface to our board (written as jlink in your file):
The next time we build and attempt to upload our project, we will be presented with the following Terms of Use:
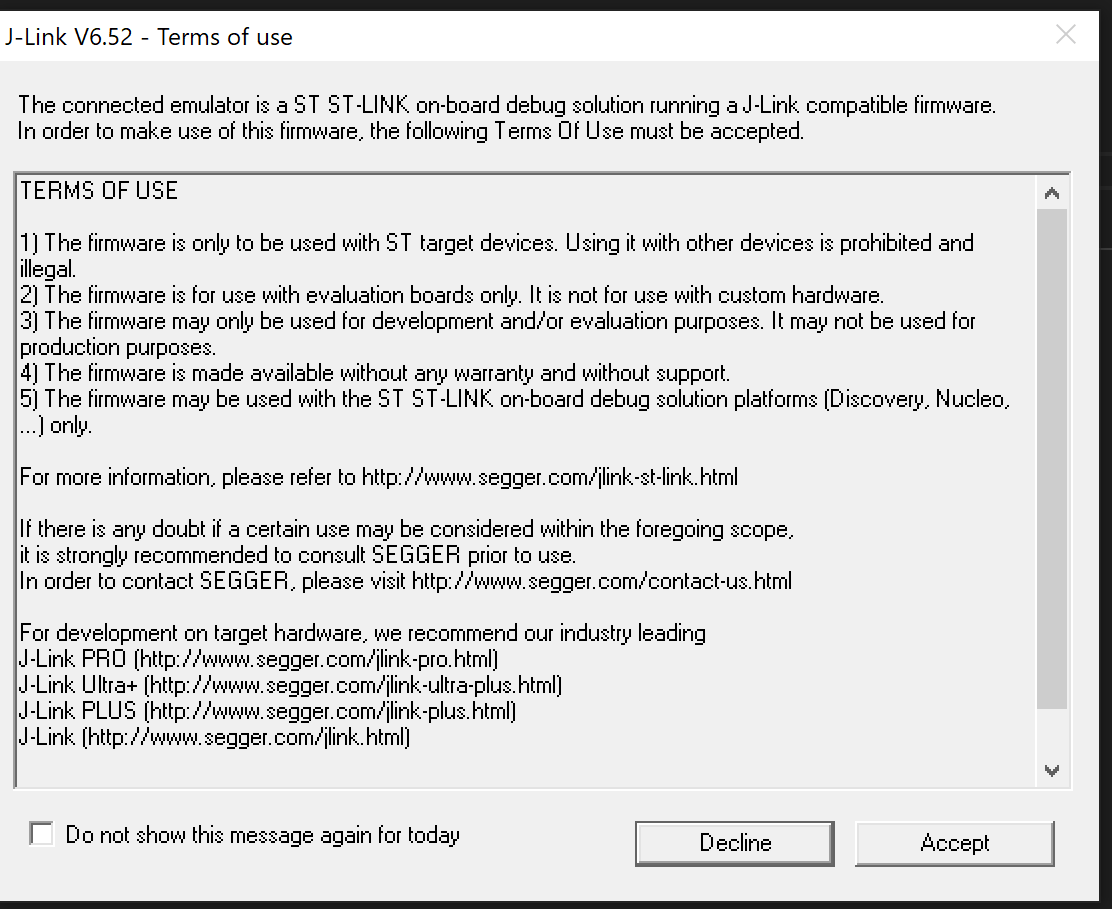
Accept this agreement, and you should see the following popup:
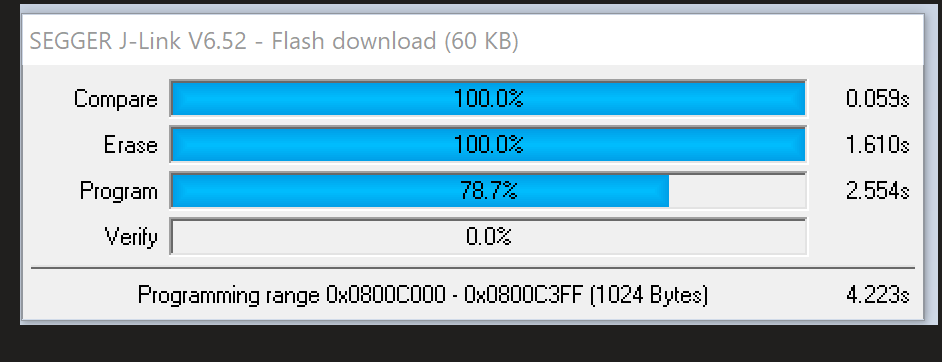
And there you have it. At this point, we have successfully programmed an empty sketch onto our Helium Developer Kit using PlatformIO! Check out the Helium LongFi PlatformIO repo for some example programs to get you started.
Go forth and build magical things.